Advertisement
Table of Contents
- 1 Table of Contents
- 2 General Information
- 3 Install Mounting Plate
- 4 4630 Template
- 5 4640 Template
- 6 Installing Closer Assembly
- 7 4600 Series Arm Installation
- 8 Closer Regulation & Power Adjustment
- 9 Controller Installation
- 10 Electrical Connections
- 11 Typical Wiring
- 12 Auxiliary Electrical Device Wiring
- 13 Controller Setting Adjustment
- 14 Controller Programming
- 15 Basic Operation & Cover Installation
- 16 Illustrated Parts List
- Download this manual
*28101*
28101
4630, 4640 Electric Auto Equalizer Series
PULL SIDE MOUNT
General Information ....................................................................................................................................................................................... 2
Install Mounting Plate .................................................................................................................................................................................... 3
4630 Template ............................................................................................................................................................................................... 4
4640 Template ............................................................................................................................................................................................... 5
Installing Closer Assembly ............................................................................................................................................................................. 6
4600 Series Arm Installation .......................................................................................................................................................................... 7
Closer Regulation & Power Adjustment ......................................................................................................................................................... 9
Controller Installation ................................................................................................................................................................................... 10
Electrical Connections ................................................................................................................................................................................. 11
Typical Wiring .............................................................................................................................................................................................. 12
Auxiliary Electrical Device Wiring ................................................................................................................................................................ 14
Controller Setting Adjustment ...................................................................................................................................................................... 15
Controller Programming............................................................................................................................................................................... 16
Basic Operation & Cover Installation ........................................................................................................................................................... 18
Illustrated Parts List ..................................................................................................................................................................................... 19
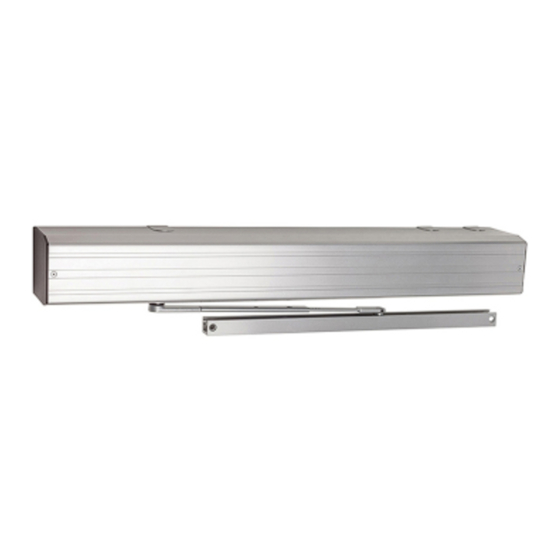
The 4600 Series electric Auto-Equalizer™ series combines all door operator and door control functions in one package. This versatile, easy-to-
install system is low maintenance and offers the following features:
Top jamb mounting on either side of an interior door allows 90° of power opening. (Mounting for exterior door on the inside only)
• Manual opening up to 170° (4630) or 100° (4640).
• Easy access to on / off and hold open switches.
• Quiet, reliable operator delivers consistent performance.
• No expensive service contracts or periodic maintenance required.
• Fail safe operator acts as a standard door closer in event of power outage.
• Low energy operator does not require guard rails or safety mats.
• Advanced, easy-to-install controller module allows independent adjustment of:
a. Door Opening Speed » Delay / Trigger Time for Sequential Option
b. Door Opening Force » Electric Strike Delay Time
c. Hold Open Time » 90° Slow Down
d. Alternate Action Timeout » Safety Scanner Lockout Time
4600 Electronic Low
Energy Operator
4630
Table of Contents
4640
PUSH SIDE MOUNT
Customer Service
1-877-671-7011
Installation Instructions
www.allegion.com/us
Advertisement
Table of Contents


Need help?
Do you have a question about the 4600 Series and is the answer not in the manual?
Questions and answers