Table of Contents
Advertisement
Quick Links
Safety Precautions
WARNING! Please read precautions thoroughly before operation. Must meet all applicable local codes and
Please use this equipment carefully and observe all warnings and cautions.
protective clothing and eyewear when dispensing chemicals or other materials or when working in the
WEAR
vicinity of all chemicals, filling or emptying equipment, or changing metering tips.
observe safety and handling instructions of the chemical manufacturer.
ALWAYS
direct discharge away from you or other persons or into approved containers.
dispense cleaners and chemicals in accordance with manufacturer's instructions. Exercise CAUTION when
maintaining your equipment.
reassemble equipment according to instruction procedures. Be sure all components are firmly screwed or
latched into position.
equipment clean to maintain proper operation.
KEEP
only to water tap outlets (25 psi Minimum, 85 psi Maximum and Maximum water temperature 120°
ATTACH
If the unit is used to fill a sink, or the discharge hose can be placed into a sink, the unit must mounted be
NOTE
so the bottom of the cabinet is above the overflow rim of the sink.
Device shall be installed in a vertical orientation.
A plumbed, dedicated line is preferred for installation. When a dedicated line is not available, installation
shall ensure that no cross-connections between hot and cold water are created, and that atmospheric
vaccum breakers integrated into the building water supply are not negatively affected by being under
presssure for over 12 continuous hours.
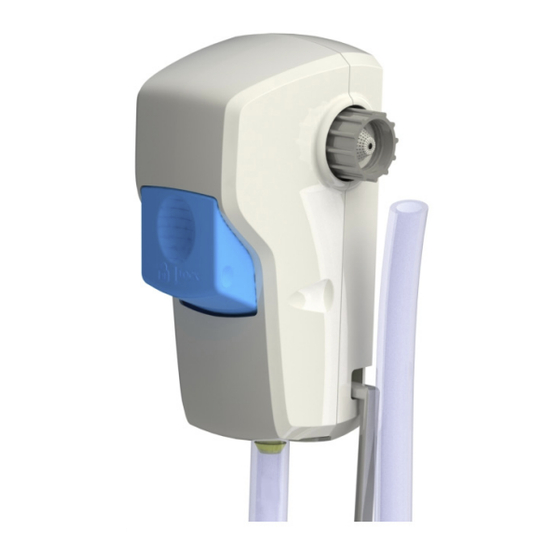
introduction
AccuMini Bottle Fill
HYD-AMI-LXY
Flow
Backflow
.
L = Bottle fill (Low)
Device
.
.
H = Bucket fill (High)
E = E-Gap
.
A = AirGap
THANK YOU FOR YOUR INTEREST IN OUR PRODUCTS
Button
Color
.
B = Blue
user manual
AccuMini Bucket Fill
HYD-AMI-HXY
AccuMini
regulations.
F).
Page 1
Advertisement
Table of Contents

Subscribe to Our Youtube Channel
Related Manuals for Hydro AccuMini


Summary of Contents for Hydro AccuMini
- Page 1 12 continuous hours. introduction AccuMini Bucket Fill AccuMini Bottle Fill HYD-AMI-HXY HYD-AMI-LXY...
-
Page 2: Installation
introduction (continued) Optional Foam Reduction Tube (1 GPM Lowflow AirGap Only) E-Gap Backflow Device AirGap Backflow Device installation Note: The installation process for E-Gap and AirGap versions are the same. GH Thread (3/4“ BSP Option available) Page 2... - Page 3 metering tip selection APPROXIMATE AIRGAP AND E-GAP DILUTIONS AT 40 psi FOR WATER-THIN PRODUCTS (1.0 CP) Orifice AirGap Ratio (per Eductor Flow) E-Gap Ratio (per Eductor Flow) Color Size 1 GPM 3.5 GPM 1 GPM 3.5 GPM No Tip .187 2.6:1 3.5:1 Gray...
-
Page 4: Daisy-Chain
daisy-chain Page 4... -
Page 5: Parts Diagram/List
6 a,b 7 a,b 10 a,b 9 a,b Part No. Description Part No. Description HYD10101300 AccuMini button Eductor AirGap version HYD10099710 1 GPM eductor - Gray HYD10100247 AccuMini cover HYD10099713 3.5 GPM eductor - Yellow HYD10100248 AccuMini Rear... - Page 6 quick fill operation Push the button in to start the flow. Release the button to stop the flow. button lock and unlock operation Push the button in and slide it down to lock. Slide the button up to unlock and button will Modest resistance to lock is by design.
-
Page 7: Troubleshooting
troubleshooting Problem Cause Solution 1. No discharge a. No water a. Open water supply b. Excessive water pressure b. Install regulator if water pressure (with water running) exceeds 85 psi. c. Clogged water inlet strainer c. Disconnect inlet water line and clean strainer d. -
Page 8: Warranty
Hydro Systems Company Phone 513-271-88OO 3798 Round Bottom Road 8OO.543.7184...
Need help?
Do you have a question about the AccuMini and is the answer not in the manual?
Questions and answers