Sign In
Upload
Download
Add to my manuals
Delete from my manuals
Share
URL of this page:
HTML Link:
Bookmark this page
Add
Manual will be automatically added to "My Manuals"
Print this page
×
Bookmark added
×
Added to my manuals
Manuals
Brands
SWIT Manuals
Monitor
BM-H Series
User manual
SWIT BM-H Series User Manual
4k input fhd broadcast monitor
Hide thumbs
1
2
3
4
5
6
7
8
9
10
11
12
13
14
15
16
17
18
19
20
21
22
23
24
25
26
27
28
page
of
28
Go
/
28
Bookmarks
Advertisement
Quick Links
Download this manual
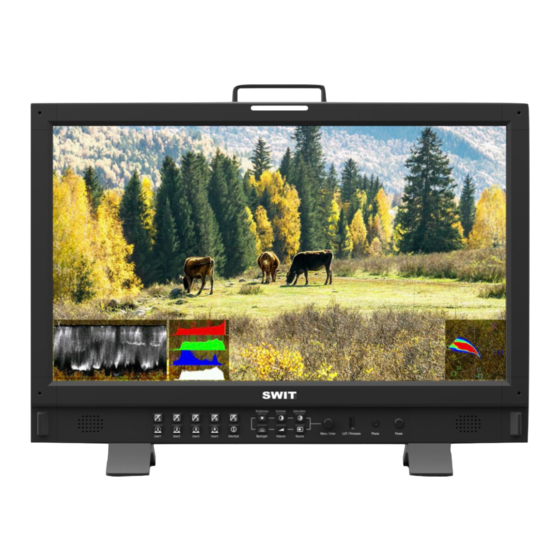
BM-H
SWIT ELECTRONICS CO., LTD.
4K input FHD Broadcast Monitor
Model: BM-H215/215HDR/245
User Manual
Please read this user manual throughout before using
Ver: A
01
Previous
Page
Next
Page
1
2
3
4
5
Advertisement
Need help?
Do you have a question about the BM-H Series and is the answer not in the manual?
Ask a question
Questions and answers
Related Manuals for SWIT BM-H Series
Monitor SWIT BM-215NDI User Manual
4k studio lcd monitor (22 pages)
Monitor SWIT BM-245NDI User Manual
4k studio lcd monitor (22 pages)
Monitor SWIT BM-U Series User Manual
4k high definition monitor (33 pages)
Monitor SWIT BM-U175 User Manual
4k high definition monitor (33 pages)
Monitor SWIT BM-U245 User Manual
4k high definition monitor (33 pages)
Monitor SWIT BM-U245HDR User Manual
4k high definition monitor (33 pages)
Monitor SWIT BM-U275HDR User Manual
4k high definition monitor (33 pages)
Monitor SWIT BM-U325 User Manual
4k high definition monitor (33 pages)
Monitor SWIT BM-H215 User Manual
4k input fhd broadcast monitor (28 pages)
Monitor SWIT BM-H215HDR User Manual
4k input fhd broadcast monitor (28 pages)
Monitor SWIT BM-H245 User Manual
4k input fhd broadcast monitor (28 pages)
Monitor SWIT K15 User Manual
(76 pages)
Monitor SWIT S-1073F User Manual
7" full hd waveform lcd monitor (20 pages)
Monitor SWIT S-1051H User Manual
5" portable on-camera hdsdi&hdmi lcd monitor (13 pages)
Monitor SWIT S-1071C User Manual
7" portable on-camera hdmi lcd monitor (10 pages)
Monitor SWIT FM-16B User Manual
15.6" lcd monitor (22 pages)
This manual is also suitable for:
Bm-h215
Bm-h215hdr
Bm-h245
Print
Rename the bookmark
Delete bookmark?
Delete from my manuals?
Login
Sign In
OR
Sign in with Facebook
Sign in with Google
Upload manual
Upload from disk
Upload from URL


Need help?
Do you have a question about the BM-H Series and is the answer not in the manual?
Questions and answers