Advertisement
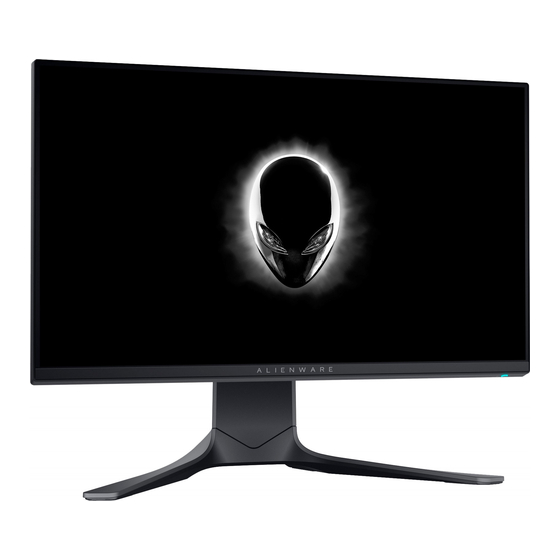
DELL AW2521HF/ AW2521HFL/ AW2521HFA/ AW2521HFLA
1. Disassembly Procedures
Note: The disassembly procedure for AW2521HF/ AW2521HFL/ AW2521HFA/ AW2521HFLA is the
same. The difference is only the appearance color. The actual color of AW2521HF/ AW2521HFA
is black, but AW2518HFL/ AW2521HFLA is Lunar Light.
S1
Turn off the monitor.
Place the monitor on a soft cloth or
S2
cushion.
Carefully slide and remove the I/O cover
from the monitor
Disconnect the cables from the monitor
S3
and slide them out through the
cable-management slot on the stand
riser.
Press and hold the stand release
S4
button.
Lift the stand up and away from the
S5
monitor
Unlock 4 screws on Rear Cover
S6
Use hands or scraper bar to
disassemble Rear Cover from monitor
Notice the disassembly order:
Top Side=>Right/ Left Side=>Bottom Side
(Screw Torque: 8~10kgf)
Remove USB FFC Cable and Audio
S7
FFC cable from the I/F BD
1
Advertisement
Table of Contents

Subscribe to Our Youtube Channel
Summary of Contents for Dell AW2521HF
- Page 1 1. Disassembly Procedures Note: The disassembly procedure for AW2521HF/ AW2521HFL/ AW2521HFA/ AW2521HFLA is the same. The difference is only the appearance color. The actual color of AW2521HF/ AW2521HFA is black, but AW2518HFL/ AW2521HFLA is Lunar Light. Lift the stand up and away from the Turn off the monitor.
- Page 2 DELL AW2521HF/ AW2521HFL/ AW2521HFA/ AW2521HFLA Remove CTRL FFC Cable from I/F BD Disassemble “USB FFC cable” and “Audio FFC cable” from USB BD Tear off an adhesive tape and remove the LED Driver BD wire from I/F BD Unplug wires from LED Driver BD...
- Page 3 DELL AW2521HF/ AW2521HFL/ AW2521HFA/ AW2521HFLA Remove FFC cables from Rear Cover, Unplug “Power LENS FFC cable” from CTRL BD and CTRL+KEY BD I/F BD and tear off “Power LENS FFC cable” from the panel Unlock 6 screws to disassemble CTRL...
- Page 4 DELL AW2521HF/ AW2521HFL/ AW2521HFA/ AW2521HFLA Tear off a tape on backlight wire and Unlock 1 screw on Docking BD unplug backlight wire from panel (Screw Torque: 8.5±1.0 kgf) Unlock 2 screws to disassemble Power Disassemble “I/F BD to Docking BD Button module from middle frame wire”...
- Page 5 DELL AW2521HF/ AW2521HFL/ AW2521HFA/ AW2521HFLA Unlock 1 ground screw and Disassemble wires from I/F BD disassemble AC power socket from Main SHD Disassemble SPS BD from Main SHD and disassemble “AC Socket Wire” from SPS BD (Screw Torque: 8.5±1.0 kgf)
- Page 6 DELL AW2521HF/ AW2521HFL/ AW2521HFA/ AW2521HFLA Remove electrolyte capacitors (red mark) from printed circuit boards S31-1 Cut the glue between bulk cap. and PCB with a knife S31-2 Ensure cutting path within the glue, don’t touch bulk cap. or PCB...
- Page 7 DELL AW2521HF/ AW2521HFL/ AW2521HFA/ AW2521HFLA S31-3 Take out bulk cap. pin solder with soldering iron and absorber S31-4 Lift the bulk cap. up and away from the PCB...
- Page 8 DELL AW2521HF/ AW2521HFL/ AW2521HFA/ AW2521HFLA 2. Product material information The following substances, preparations, or components should be disposed of or recovered separately from other WEEE in compliance with Article 4 of EU Council Directive 75/442/EEC. Capacitors / condensers (containing No used...


Need help?
Do you have a question about the AW2521HF and is the answer not in the manual?
Questions and answers