Advertisement
Quick Links
Advertisement

Subscribe to Our Youtube Channel
Related Manuals for Fortinet FortiCam FE120B


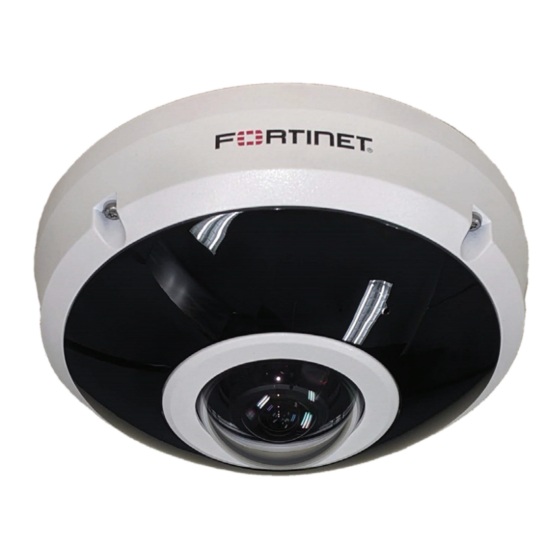
Summary of Contents for Fortinet FortiCam FE120B
- Page 1 FortiCam FE120B Mounting Guide FortiCam™ FD50 Mounting Guide...
- Page 2 Fortinet. For absolute clarity, any such warranty will be limited to performance in the same ideal conditions as in Fortinet's internal lab tests. Fortinet disclaims in full any covenants, representations, and guarantees pursuant hereto, whether express or implied.
- Page 3 Table of Contents Warnings and Cautions ..................4 Mounting the Pendant Cap .................. 5-9...
-
Page 4: Warnings And Cautions
Warnings and Cautions Handle the camera carefully Do not abuse the camera. The camera can be damaged by improper handing or storage. Do not disassemble the camera To prevent electric shock, do not remove screws or covers. There are no user serviceable parts inside. - Page 5 Mounting the Pendant Cap Pendant Cap FortiCam-FE120B Camera SKU: FCM-FE120B Pendant Cap SKU: FCM-FE120B-PCP-4 Included: 4x M4 bolts, 4x screws, allen key, 1x waterproof grommet and Ethernet connector push tip, 1x replacement dry pack The following instructions detail how to mount to the pendant cap: Note: More information on the mounting system based on the pendant cap can be found in the Pendant Cap Mounting Guide.
- Page 6 2. Press the tabs on the sides of the camera to separate the camera from the mounting plate. 3. Attach the mounting plate to the pendant cap with the supplied machine bolts (M4 x 10mm) using the holes (A). Note the position of the mounting plate: Correct: Not working: 4.
- Page 7 5. Open the small hole in the grommet by pulling the center tip. 6. Remove the protective cap from the Ethernet cable and use the Ethernet connector push tip to push the Ethernet cable through the grommet, making sure the grommet membrane is folded outwards.
- Page 8 8. Replace the dry pack found inside the camera with the fresh one from the protective pouch in the box. Ensure no moisture gets trapped inside of the camera. 9. Snap the camera onto the mounting plate. 10. Attach the camera’s cover and then fasten with the four provided screws.
- Page 9 11. Ensure the inside of the dome cover is free of dust and particles by gently wiping inside the dome cover with a clean lint free cloth or blowing away the dust. 12. Remove the protective covering from the lens after installation.
- Page 10 Fortinet. For absolute clarity, any such warranty will be limited to performance in the same ideal conditions as in Fortinet’s internal lab tests.
Need help?
Do you have a question about the FortiCam FE120B and is the answer not in the manual?
Questions and answers