Advertisement
Quick Links
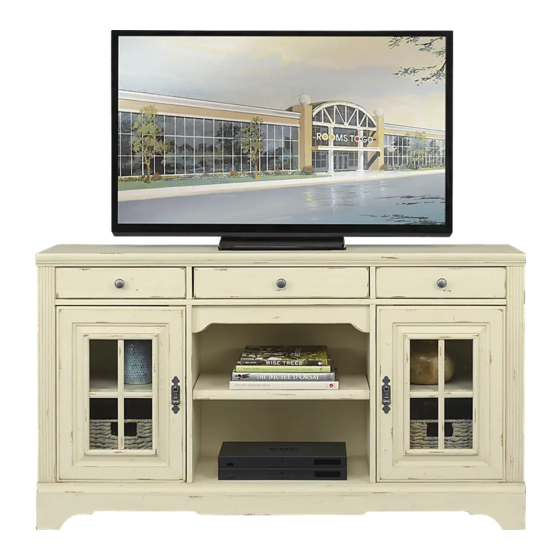
TV CONSOLE
Important: Be sure to check all packing material carefully for small parts which may come loose
inside carton during shipment. Separate, identify and count all parts and metal hardware.
Compare with part list and hardware illustrations to be sure all parts are present. If any part(s)
is missing or damaged contact your dealer's customer services deparment. For efficient and
fast service, please indicate the model number and the part needed.
ATTENTION: Some lettered parts listed on the instruction sheets may not be in
the parts bag, they may already be assembled.
TOOLS REQUIRED
(Not included)
Phillips Screwdriver
HARDWARE:
ANTI-TIP
Part No. HB-488 (1 Pc)
DROP PULL
Part No. HBJ-SP264LB
(2 Pcs)INSTALLED
MODEL No. MOU49-53 / 24049531
COVER CAP
Part No. HCPH-AW
(2 Pcs)INSTALLED
BACK PLATE
Part No. HBM-SP224LB
(2 Pcs)INSTALLED
ASSEMBLY INSTRUCTIONS
KNOB
Part No. HBJ-638LBP
(3 Pcs)INSTALLED
BOLT 8 X 32 X 1''
Part No. HCPP-07
(3 Pcs) INSTALLED
BOLT 8 X 32 X 5/8"
Part No. HCPP-05Z
(2 Pcs) INSTALLED
PAGE 1 OF 4
Advertisement

Related Manuals for ROOMS TO GO MOU49-53


Summary of Contents for ROOMS TO GO MOU49-53
- Page 1 ASSEMBLY INSTRUCTIONS TV CONSOLE MODEL No. MOU49-53 / 24049531 Important: Be sure to check all packing material carefully for small parts which may come loose inside carton during shipment. Separate, identify and count all parts and metal hardware. Compare with part list and hardware illustrations to be sure all parts are present. If any part(s) is missing or damaged contact your dealer's customer services deparment.
- Page 2 INSTRUCTIONS SHEET ADJUSTABLE WOOD SHELF STEP 1. STEP 2. PAGE 2 OF 4 STEP 3.
- Page 3 Warning Advertencia Avertissement WARNING INSTALL FURNITURE TIPPING RESTRAINT KIT ANTI-TIP Installation instructions: This tip restraint must be attached to wall stub using 2” screw enclosed 1.Attach a bracket securely to the back top rail of the furniture using the 5/8” screw provided through the smaller hole. 2.
- Page 4 Directions of Adjusting Euro Style Hinges 1.- PLEASE REMOVE SHIPPING SCREW. #1 2.- LATERAL ADJUSTMENT a)Loosen screw #4 slightly. b)Turn screw #2 to move door leftor right. c)Re-tighten screw #4. d)Adjust all hinges accordingly. 3.- VERTICAL ADJUSTMENT Loosen screws #3 to move door upor down, then tighten securely.
Need help?
Do you have a question about the MOU49-53 and is the answer not in the manual?
Questions and answers