Advertisement
Quick Links
Advertisement

Subscribe to Our Youtube Channel
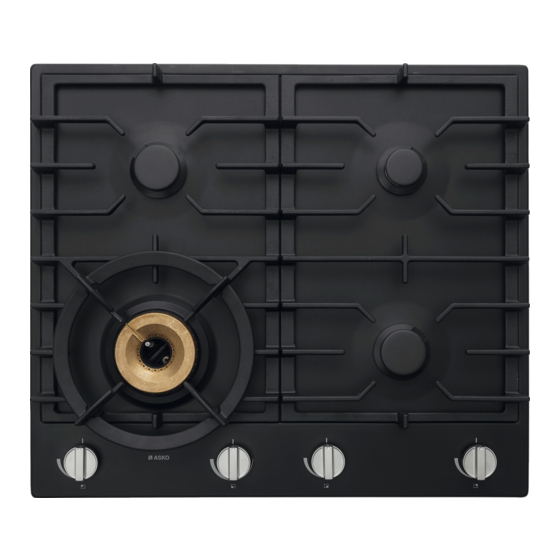
Summary of Contents for Asko HG1666AD
- Page 1 CONVERSION INSTRUCTION EN (AU) (NZ)
-
Page 2: Conversion Instruction
Conversion instruction Introduction WARNING! Performing of these instructions by a non-qualified engineer can lead to dangerous situations. The supplier is not responsible for the consequences (the arising of a hazardous situation and/or damage to persons or goods) caused by incorrect performance of these instructions by engineers who are not employees of the supplier. - Page 3 Conversion instruction Contents of conversion set: Injectors for the burners. Simmer setting screws for the gas taps. Gaskets. Two data labels with the modified gas setting. Fiber rings for enamelled appliances. Silicon sealing plugs. Test point adaptor. Dismantling WARNING! Disconnect the appliance from the power supply before you remove the drip tray! Prevent damage of the worktop.
- Page 4 Conversion instruction Converting For verification, you can find the values of the injector and simmer setting screws on the holder of the injectors. The characters of the sets correspond with the characters on the label inside the lower tray of the appliance (upper case characters for injectors and lower case characters for simmer setting screws).
- Page 5 Conversion instruction NOTE! The injector for the outer burner is the one at the bottom, the upper injector is for the inner burner. 4. Install the silicon sealing plugs, marked with a letter A, B and C in the air holes of the corresponding burners.
-
Page 6: Final Assembly
Conversion instruction NOTE! Press and open tap with thermo electric safety device and keep it pressed down. 2. Spray leakage test spray on the connections and check for gas tightness. 3. Repeat for every burner. Check the gas tightness with the use of a pressure pump: 1. - Page 7 Conversion instruction Startup 1. Install the knobs, the burner parts and pan supports. 2. Check whether the appliance is connected to the correct type of gas and gas pressure. 3. Open the main gas valve and insert the plug into the power socket. 4.
-
Page 8: Checking Operation
Checking operation Flame pattern using LPG or Propane gas Flame pattern using Butane gas In contrast to propane gas, conversion to butane gas will result in a more yellow flame pattern (yellow tipping). Yellow tipping is customary and safe and has no negative impact on combustion, use etc. - Page 9 567972-a1...


Need help?
Do you have a question about the HG1666AD and is the answer not in the manual?
Questions and answers