Table of Contents
Advertisement
Installation &
Maintenance Instructions
WARNING: TO REDUCE THE RISK OF FIRE, ELECTRIC SHOCK, OR INJURY TO PERSONS, OBSERVE THE
FOLLOWING:
A. Use this unit only in the manner intended by the manufacturer. If you have any questions, contact the manufacturer.
B. Before servicing or cleaning unit, switch power off at service panel and lock the service disconnecting means to prevent power
from being switched on accidentally. When the service disconnecting means cannot be locked, securely fasten a prominent
warning device, such as a tag, to the service panel.
C. Installation work and electrical wiring must be done by qualified person(s) in accordance with all applicable codes and
standards, including fire-rated construction.
D. Sufficient air is needed for proper combustion and exhausting of gases through the flue (chimney) of fuel burning equipment
to prevent back drafting. Follow the heating equipment manufacturer's guideline and safety standards such as those published
by the National Fire Protection Association (NFPA), and the American Society for Heating, Refrigeration and Air Conditioning
Engineers (ASHRAE), and local code authorities.
E. When cutting or drilling into wall or ceiling, do not damage electrical wiring and other hidden utilities.
I. UNCRATING
Carefully examine the carton(s) for damage before opening. If the
carton is damaged, immediately notify shipping company. If the
unit(s) were shipped on wooden skids, remove protective wood and
banding straps securing the carton(s) to the skid. Open the carton(s)
and remove all protective packaging. Immediately verify that the
electrical rating nameplate located on the cover matches electrical
power supply available. Retain the shipping carton(s) until the unit(s)
are installed and properly operating.
724-658-3551
© Copyright 2007 Berner International Corporation
BERNER INTERNATIONAL CORPORATION
New Castle, Pennsylvania
1-800-245-4455
●
ACCESSORIES: If the unit(s) were ordered with optional electrical
accessories (door switch, control panel, etc.), the accessories may
be found in the carton containing the unit or in a separate carton(s)
accompanying the unit(s). Check all of the cartons/skids for
accessories before discarding.
www.berner.com
●
- 1 -
No.:
Date:
October, 2007
airdoors@berner.com
●
II-470
Advertisement
Table of Contents

Related Manuals for Berner ZEPHYR


Summary of Contents for Berner ZEPHYR
- Page 1 Retain the shipping carton(s) until the unit(s) are installed and properly operating. BERNER INTERNATIONAL CORPORATION New Castle, Pennsylvania 724-658-3551 1-800-245-4455 www.berner.com airdoors@berner.com ● ● ● © Copyright 2007 Berner International Corporation - 1 -...
-
Page 2: Mounting Instructions
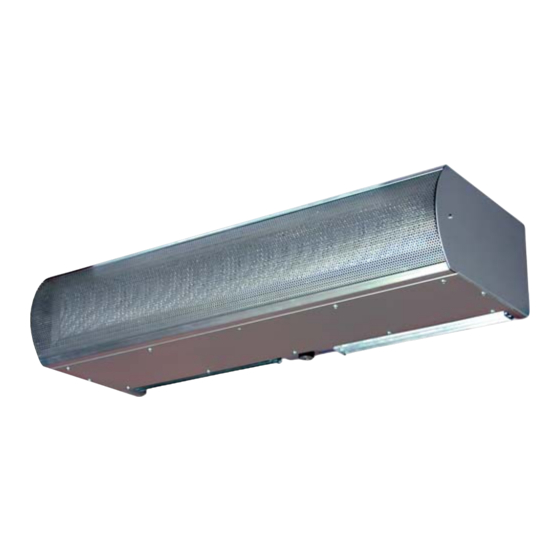
INDOOR MOUNTING - Environmental/Insect/Dust Control OUTDOOR MOUNTING (Unheated Only)- Insect/Dust Control Zephyr/Maxair air door is designed to be an effective barrier against cold drafts in the winter and hot air in the summer. To achieve optimum protection, the unit should be mounted on the inside of the building, flush to the wall and as close to the top of the door opening as possible. -
Page 3: Suspended Mounting
rating nameplate. Remove the required knockouts and attach necessary electrical hardware. Save the wiring diagram found inside of wiring tray. See Figure 7 I. There are two sets of keyhole slots on the wall mounting plate. In low overhead installations the air door may be staged in the lower keyholes to provide clearance for electrical wiring and then moved to the higher holes after completion. -
Page 4: Electrical Connections
V. ELECTRICAL CONNECTIONS All electrical wiring and connections MUST be performed by qualified personnel in accordance with the National electrical Code ANSI/NFPA No. 70 (latest edition) or, in Canada, the Cana- dian Electrical Code, Part 1-C.S.A. Standard C22.1 and local codes and regulations. - Page 5 ELECTRIC HEATER DATA* Add total motor amp draw from Table #2 to circuit #1 for unit total amp draw 208V 1Ø 240V 1Ø 208V 3Ø 240V 3Ø 480V 3Ø** 600V 3Ø** Amp Draw Amp Draw Amp Draw Amp Draw Amp Draw Amp Draw MODEL Circuit 1 Circuit 2...
-
Page 6: Mechanical Connections
Locate 1" hole in wiring tray directly above control A. The Intelliswitch is a user programmable microprocessor board. controller that lets the user control all aspects of the Zephyr/ g. Guide the female end of the 8-conductor ribbon cable Maxair air door. -
Page 7: Airflow Adjustments
The hand held remote will change any of the settings when the display is locked. External Connections Remote Mounted Thermostat: A remote mounted thermostat may be connected to wires 6 & 7 of the Intelliswitch. If the internal thermostat is left on, NOTE: hold arrow down to scroll values faster for time the external thermostat will and temperature settings... - Page 8 Any service performed on the ZPR/MAX Series air door MUST be done by qualified personnel. Berner air doors require very little servicing. All parts are easily accessible for periodic inspection and maintenance. Units should be cleaned at least twice a year. Your particular application (the...
- Page 9 on back of display board with 8-pin header on control Remove the two phillips head screws from the Intelliswitch board. Push gently and firmly (confirming all pins are display faceplate. inserted) until face plate rests against mounting bracket. Remove the faceplate from the control board by grasping Insert and tighten two phillips head screws.
- Page 10 INTELLISWITCH TEMPERATURE SENSOR G . FAN AND MOTOR REMOVAL REPLACEMENT Set Intelliswitch mode to off. Disconnect power to the unit. Set Intelliswitch mode to off. Remove the intake grille by removing the locking screws Disconnect power to the unit. on each end of the unit. Lift the intake grille up and then Remove the two phillips head screws from the Intelliswitch away from the unit.
-
Page 11: Troubleshooting
TROUBLESHOOTING CAUSE SYMPTOMS REMEDY • Power supply line open (no power) • Check power source, check method of control in ON NO AIR position • Fuse blown/circuit breaker tripped • Replace fuse(s)/reset breaker • Motor overload tripped • Internally protected motor - should reset automatically after cool-down, if not, replace motor. -
Page 12: Warranty
WARRANTY Berner International warrants all new equipment to be free of defects in workmanship and material for a period of five years (5 years) on unheated models and two years (2 years) on heated models from the original date of shipment, provided the equipment has been properly cared for, installed and operated in accordance with the limits specified on the nameplate and The Company’s instructions.
Need help?
Do you have a question about the ZEPHYR and is the answer not in the manual?
Questions and answers