Sign In
Upload
Download
Table of Contents
Contents
Add to my manuals
Delete from my manuals
Share
URL of this page:
HTML Link:
Bookmark this page
Add
Manual will be automatically added to "My Manuals"
Print this page
×
Bookmark added
×
Added to my manuals
Manuals
Brands
BenQ Manuals
Projector
I Series
User manual
BenQ I Series User Manual
Hide thumbs
Also See for I Series
:
User manual
(56 pages)
,
User manual
(58 pages)
1
2
Table Of Contents
3
4
5
6
7
8
9
10
11
12
13
14
15
16
17
18
19
20
21
22
23
24
25
26
27
28
29
30
31
32
33
34
35
36
37
38
39
40
41
42
43
44
45
46
47
48
49
50
51
52
53
54
55
56
57
58
59
60
61
62
page
of
62
Go
/
62
Contents
Table of Contents
Troubleshooting
Bookmarks
Table of Contents
Warranty and Copyright Information
Table of Contents
Important Safety Instructions
Introduction
Shipping Contents
Installing the QS02 HDMI Media Streaming
Projector Exterior View
Terminals
Controls and Functions
Positioning Your Projector
Choosing a Location
Obtaining a Preferred Projected Image Size
Mounting the Projector
Adjusting the Projector Position
Adjusting the Projected Image
Connection
Operation
Starting up the Projector
Setting up the QS02 HDMI Media Streaming
Using the Menus
Securing the Projector
Switching Input Signal
Presenting from a Media Reader
Connecting the Projector to the Internet
Upgrading Firmware
Shutting down the Projector
Menu Operation
Basic Menu
Advanced Menu
Maintenance
Care of the Projector
Light Source Information
Troubleshooting
Specifications
Projector Specifications
Dimensions
Timing Chart
RS232 Command
Advertisement
Quick Links
Download this manual
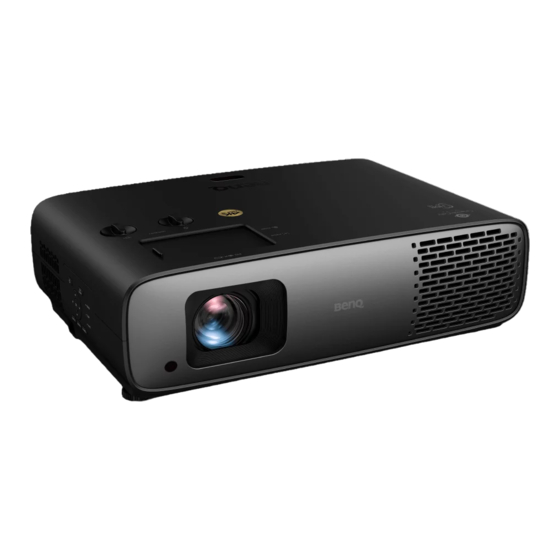
Digital Projector
User Manual
Home Entertainment Series I W4000i/HT4550i
V 1.00
Table of
Contents
Previous
Page
Next
Page
1
2
3
4
5
Advertisement
Table of Contents
Need help?
Do you have a question about the I Series and is the answer not in the manual?
Ask a question
Questions and answers
Related Manuals for BenQ I Series
Projector BenQ Home Entertainment I Series User Manual
(58 pages)
Projector BenQ Home Entertainment Series User Manual
(56 pages)
Projector BenQ HT4550i Manual
(38 pages)
Projector BenQ i500 User Manual
Digital projector personal smart series (75 pages)
Projector BenQ i500 User Manual
(14 pages)
Projector BenQ I500 Quick Start Manual
Ultra lite led smart projector (28 pages)
Projector BenQ Home Entertainment W100 User Manual
Benq w100 digital projector home entertainment series user's manual (47 pages)
Projector BenQ MP515 User Manual
Benq projector user manual (68 pages)
Projector BenQ MP723 User Manual
Benq digital projector user manual (66 pages)
Projector BenQ PB7200 User Manual
Benq user's manual projector pb7220 pb7100 pb7200 (38 pages)
Projector BenQ PB7230 User Manual
Benq user's manual digital projector pb7210/ pb7230/ pb7110 (44 pages)
Projector BenQ PB8120 User Manual
Benq digital projector user's manual (38 pages)
Projector BenQ PE6800 User Manual
Benq digital projector home theater user's manual (33 pages)
Projector BenQ PE7700 User Manual
Benq digital home theater user's manual pe7700 (34 pages)
Projector BenQ PE8720 Ceiling Mounting Manual
Benq projector pe8720 user guide (10 pages)
Projector BenQ SL 705X/S User Manual
Benq user's manual dlp projector sl 705x/s (32 pages)
This manual is also suitable for:
W4000i
Ht4550i
Home cinema w4100i
Table of Contents
Print
Rename the bookmark
Delete bookmark?
Delete from my manuals?
Login
Sign In
OR
Sign in with Facebook
Sign in with Google
Upload manual
Upload from disk
Upload from URL


Need help?
Do you have a question about the I Series and is the answer not in the manual?
Questions and answers