Advertisement
Quick Links
01
/What's in the Box
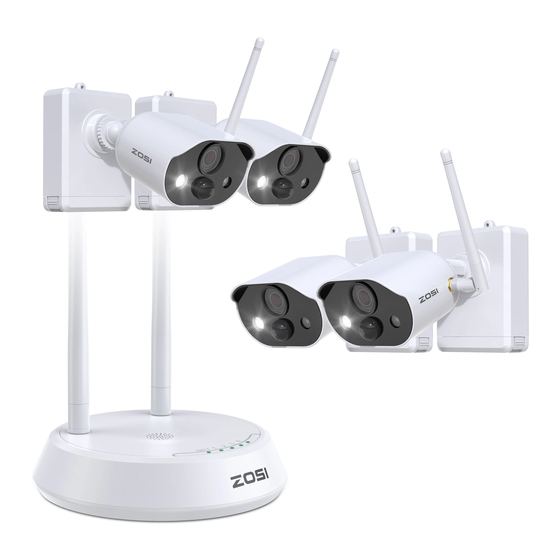
1.1 Packing List of Base Station Kit
2-cam:
Base Station*1
Mounting Base*2
5V -1A USB Charger+Cable*1
4-cam:
Base Station*1
Mounting Base*4
5V -1A USB Charger+Cable*1
Camera*2
Mounting Screw Bag*2
5V-2A Power Supply of Base Station*1
Camera*4
Mounting Screw Bag*4
5V-2A Power Supply of Base Station*1
Battery Pack *1
Reset Needle*1
Battery Pack *1
Reset Needle*1
1
Quick Start Guide
Quick Start Guide*1
Screwdriver*1
1m Network Cable*1
Quick Start Guide
Quick Start Guide*1
Screwdriver*1
1m Network Cable*1
Advertisement

Subscribe to Our Youtube Channel
Related Manuals for ZOSI C309


Summary of Contents for ZOSI C309
- Page 1 /What’s in the Box 1.1 Packing List of Base Station Kit 2-cam: Quick Start Guide Base Station*1 Camera*2 Battery Pack *1 Quick Start Guide*1 Mounting Base*2 Mounting Screw Bag*2 Reset Needle*1 Screwdriver*1 5V -1A USB Charger+Cable*1 5V-2A Power Supply of Base Station*1 1m Network Cable*1 4-cam:...
- Page 2 1.2 Packing List of NVR Kit 4-cam: Quick Start Guide USB Mouse NVR*1 Camera*4 Quick Start Guide*1 Mounting Base*4 Mounting Screw Bag*4 Reset Needle*1 Screwdriver*1 5V -1A USB 12V-2A Power Charger+Cable*1 Supply of NVR*1 Battery Pack *1 1m Network Cable*1 8-cam:...
-
Page 3: Camera Buttons
/Specification & Interface Description 2.1 Camera ①Antenna ⑦White LED Spotlight ⑬Micro SD Card Slot ②HD Lens ⑧Adjusting Screw ⑭Retaining Screw ③Infrared LEDs ⑨Release Button ⑮Reset Button ④Microphone ⑩Power Switch ⑯Micro USB Port ⑤Network Indicator ⑪Loudspeaker ⑥PIR Sensor ⑫Charge Indicator Camera`s network indicator status: Blue light and red lights on: The camera is being previewed remotely Blue light on: The camera is paired or woken up Blue light flashes continuously: Upgrading... - Page 4 2.2 Base Station Micro SD SYNC RESET DC 5V ①Antenna ④Reset ⑦Loudspeaker ②Micro SD Card Slot ⑤RJ45 Ethernet Port ⑧Network Indicator ③Pairing Button ⑥Power Port ⑨Camera Status Indicator 2.3 NVR ①Antenna ③VGA ⑤RJ45 Ethernet Port ⑦Power Port ②3.5mm Audio Output ④HDMI ⑥USB Port...
- Page 5 /Download ZOSI CLOUD App 3.1 Search “ZOSI CLOUD” in App Store or Android Market, or scan the QR code below to download on your smartphone (please grant the App to obtain the corresponding permission for the first time use, otherwise, it will cause the device fails to add, or when the camera triggers motion detection or alarm, the mobile phone cannot receive the alarm push.)
- Page 6 /Add Device ●4.1 Add Base Station to APP ●4.1.1 Plug in base station, connect the base station to the router connected to WAN with a Ethernet cable. And then scan QR code on the base station with your mobile phone and follow the prompt to add devices.
- Page 7 ●4.2.2 Pair Cameras with NVR Note: Battery cameras have been paired with the NVR, no pairing is required. But if the pairing information between the camera and NVR is cleaned, you need to re-pair the devices, and follow the steps below: 1) Place the camera near the NVR at a distance of 30~100cm.
-
Page 8: Attach The Camera
/Camera Installation ●5.1 You can place it on any flat surface: table, chair, floor etc.. ●5.2 Install with Wall Mount ●5.2.1 Drill 5 holes according to the position of mounting base, and mount the base on the wall with the included pack of screws. Install Mounting Base ●5.2.2 Lock the two slots on the camera base to the hooks on mounting base. - Page 9 ●5.2.3 Screw your camera to the mounting base. Screw the Camera ●5.2.4 Screw the battery pack at bottom. ●5.2.5 Use the included screwdriver to adjust the camera to a proper angle and tighten the adjustment screw. Adjust camera angle...
- Page 10 /Important Notes for Reducing False Alarms 6.1 To reduce false alarms, please note: -Do not install the camera in a place facing bright light, including sunshine, bright lamp light, etc. -Do not place the camera too close to a place where there are frequently moving vehicles.
- Page 11 It is not recommended that the PIR sensor face the moving object vertically. The path of the moving object angle >10° Ideal range of visibility: 2-10m (7-33ft)
-
Page 12: 07 /Troubleshooting
/Troubleshooting 1.Fail to Connect Internet Please ensure that the mobile phone, camera and router are placed close enough. Please note that camera do not support connecting to a 5G router. Check if the name and password of the router were correct. Check the network setting of wireless NVR and base station.
Need help?
Do you have a question about the C309 and is the answer not in the manual?
Questions and answers