
Related Manuals for 3M Liqui-Cel EXF-14 28 Series


Summary of Contents for 3M Liqui-Cel EXF-14 28 Series
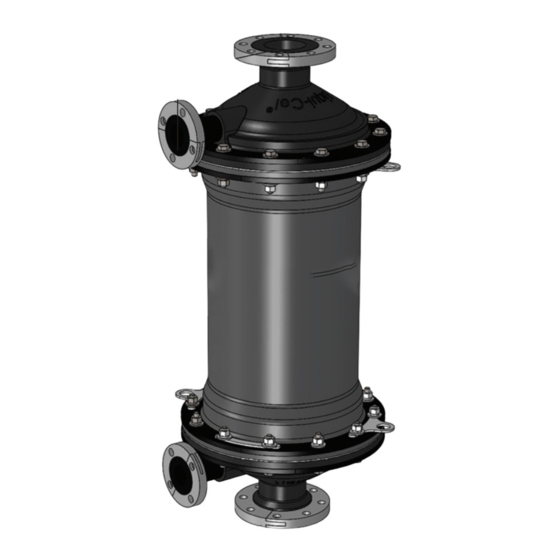
- Page 1 3M™ Liqui-Cel EXF-14x28 Series Membrane Contactor with Engineered Thermoplastic End Caps Including products used for TransMembrane ChemiSorption (TMCS) applications Assembly and Disassembly Instructions...
-
Page 2: Table Of Contents
Contents Safety Information..3 Required Materials..7 Disassembly: Remove the End Caps..8 Assembly: Installing the End Caps..9 Attach the End Cap to the Contactor Vessel..10... -
Page 3: Safety Information
3M product in user’s application. Restrictions on Use: 3M advises against the use of these 3M products in any application other than the stated intended use(s), since other applications have not been evaluated by 3M and may result in an unsafe or unintended condition. - Page 4 • Ensure chemically compatible materials of construction are used within system. - Always make sure to verify proper connections within the membrane contactor system. • Never modify or alter the membrane contactor. Only 3M or parties authorized in writing may make changes/repairs to the equipment.
- Page 5 • All plastic port extensions should be supported to prevent bending of extensions under excessive piping loads. • 3M Liqui-Cel Membrane Contactor products should be stored dry and in a sealed plastic bag or shrink wrap material to help prevent the introduction of contaminants into the membrane contactor.
- Page 6 • Cumulative exposure of the membrane to oxidants, such as ozone, chlorine, hydrogen peroxide, peracetic acid, etc., should be restricted to reduce the risk of membrane oxidation. • Avoid water hammer (sudden pressure spikes) in system. ATTENTION: Disposal At end of life, dispose of the membrane contactor or cartridges in accordance with all applicable local and government regulations.
-
Page 7: Required Materials
Required Materials Tools • 3-4 plastic wedges • Rubber mallet • Appropriate sockets or wrenches • Adjustable impact or torque wrench Parts • End Cap • Replacement gasket and O-rings... -
Page 8: Disassembly: Remove The End Caps
Disassembly: Remove the End Caps 1. To reduce the stress on the plastic parts, partially loosen the 12 bolts on the end cap in a star shaped pattern. 2. Completely loosen the bolts in the same star shaped pattern. 3. Remove all hardware from the end cap, including the nuts, bolts, backing rings,lifting rings, etc. -
Page 9: Assembly: Installing The End Caps
Assembly: Installing the End Caps 1. Hold the inner diameter corner radius side of the backing ring towards you and link two backing ring sections together at the puzzle joint as shown in figure 4. 2. On the contactor vessel side of the flange with the gas port pointing up, assemble the linked sections of backing ring. -
Page 10: Attach The End Cap To The Contactor Vessel
7. Place two o-rings into the grooves on the center nozzle on both end caps as shown in figure 7. • If the first o-ring will not go into the groove by hand: 1. Put a nut on every fourth bolt. 2. - Page 11 CONDITION OF MERCHANTABILITY, FITNESS FOR A PARTICULAR PURPOSE, OR ARISING OUT OF A COURSE OF DEALING, CUSTOM, OR USAGE OF TRADE. If a 3M product does not conform to this warranty, then the sole and exclusive remedy is, at 3M’s option, replacement of the 3M product or refund of the purchase price.
Need help?
Do you have a question about the Liqui-Cel EXF-14 28 Series and is the answer not in the manual?
Questions and answers