
Related Manuals for Digi Opengear OPERATIONS MANAGER 2200


Summary of Contents for Digi Opengear OPERATIONS MANAGER 2200
- Page 1 QUICK START GUIDE OPERATIONS MANAGER 2200 Includes: OM2216, OM2216-L, OM2224-24E, OM2224-24E-L, OM2224-24E-10G, OM2224-24E-10G-L, OM2232, OM2232-L, OM2248, OM2248-L, OM2248-10G, OM2248-10G-L, DDC 23.03 Mar 2023...
-
Page 2: What's In The Box
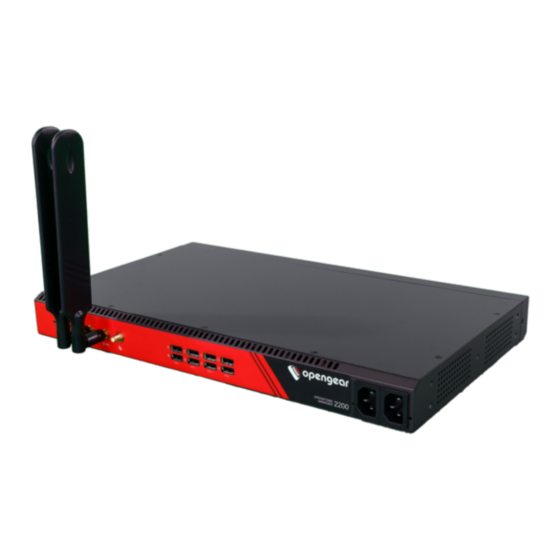
REGISTER This Quick Start Guide covers basic installation and configuration of the OM2200. For detailed guidance, consult the Operations Manager User Guide: https://opengear.com/support/documentation/. Register your product: https://opengear.com/product-registration When you register, you: Activate your warranty. Get notified when firmware updates are released: https://opengear.com/support/device-updates/ WHAT'S IN THE BOX OM2200 Device Figure: OM2248-L model... - Page 3 Device Variations Integrated Switch OM2224-24E models have 24 serial ports (left) and 24 gigabit ethernet ports (right). 10G Ethernet 10G models have network interfaces NET1 (10G SFP+), NET2 (10G SFP+) and NET3 (1G Copper). Dual DC Power Supply (DDC) DDC models have a dual DC power supply.
- Page 4 Kit Contents Note: Contents may be different from those pictured due to region or supplier. Label Item Quantity Notes OM2200 device IEC power cables or DDC terminals (optional) Region-specific Rack mount screw kit OM2200 rack ears Cisco straight pinout RJ45 to DB9F crossover serial Part number 319015 adapter CAT5e RJ45 UTP straight cable - 5ft/1.5m...
-
Page 5: Hardware Installation
HARDWARE INSTALLATION Step 1. Connect Network Interfaces Connect the device to a local network using any of the available physical network interfaces. All interfaces will receive a dynamic address via DHCP and DHCPv6. Figure: Network interfaces for 10Gb Ethernet models Figure: Network interfaces for 1Gb Ethernet models Additionally, the device can be accessed from a computer or local network via a static IPv4 address as shown in Table: Default static interface... - Page 6 Step 3. Connect Serial Devices Connect managed devices to the serial interfaces on the front of the unit. Step 4. Connect USB Devices USB serial devices can be connected to the USB slots at the front and rear of the unit if required. Note: The front USB slots are USB 3.0 and the rear USB slots are USB 2.0.
-
Page 7: Access The Device
ACCESS THE DEVICE Step 1. Log in via the Web UI Using a computer on the same subnet as the static network interface shown in "Hardware Installation" on page 5, access the web UI with your web browser at https://192.168.0.1/ Note: The device has a self-signed SSL certificate. Your browser will display an "Untrusted connection" warning. -
Page 8: Configure Serial Ports
CONFIGURE SERIAL PORTS To change settings for individual serial ports: 1. Navigate to CONFIGURE > Serial Ports. 2. Click the Edit button next to the port you wish to modify. 3. Change port settings, logging settings or configure IP aliases. 4. Click Apply to save changes. Field Value Mode... - Page 9 CONFIGURE LOCAL CONSOLE CONFIGURE > Local Management Consoles Operations Manager OM2200 units contain one RJ45 serial console and one micro-USB serial console. Console Manager CM8100-10G units contain one RJ45 serial console. To configure local console ports: 1. Navigate to CONFIGURE > Local Management Consoles. 2.
-
Page 10: Configure Network
CONFIGURE NETWORK CONFIGURE > Network Connections > Network Interfaces Click to expand any row to display status information about the interface and its connections. - Page 11 Configure Physical Interfaces Click the Edit button to configure media and MTU for the any of the physical interfaces. Modify Default IPv4 Static Interface 1. Click the "IPv4 Static" label under NET1 or NET3 NET3 to open the edit connection page. 2.
- Page 12 Tip: Before enabling the modem please follow the steps under "Hardware Installation" on page 5 ensure good signal strength. Step 2. Enter Carrier APN Settings If your carrier requires an APN it must be entered before a successful cellular connection can be established.
- Page 13 View Switch Port Interfaces OM2224-24E models have an integrated Ethernet switch. The switch ports are bridged together by default in the interface called "Switch". This default bridge can be modified or deleted to configure custom bridges or bonds between any interface.
- Page 14 CREATE NEW ADMINISTRATIVE USER Note: You should create a new administrative user rather than continuing as the root user. 1. Navigate to CONFIGURE > User Management > Local Users. 2. Click the Add User button at the top-right of the page. 3. Click the User Enabled checkbox. 4.
- Page 15 ACCESS DEVICE CONSOLES After you have attached managed devices and configured serial ports by following "Configure Serial Ports" on page 8, you can now access the console of your managed devices on your network. Web UI 1. Navigate to ACCESS > Serial Ports to view the list of serial ports on the device. 2.
- Page 16 LIGHTHOUSE CENTRALIZED MANAGEMENT Note: Lighthouse is a powerful tool that simplifies the way you manage your out-of-band network through a single pane of glass. Better control and visibility provides 24/7 resilient access to your connected IT infrastructure. For more information, visit https://opengear.com/products/lighthouse/. To enroll your device: 1.
Need help?
Do you have a question about the Opengear OPERATIONS MANAGER 2200 and is the answer not in the manual?
Questions and answers