Advertisement
STANDARD EQUIPMENT
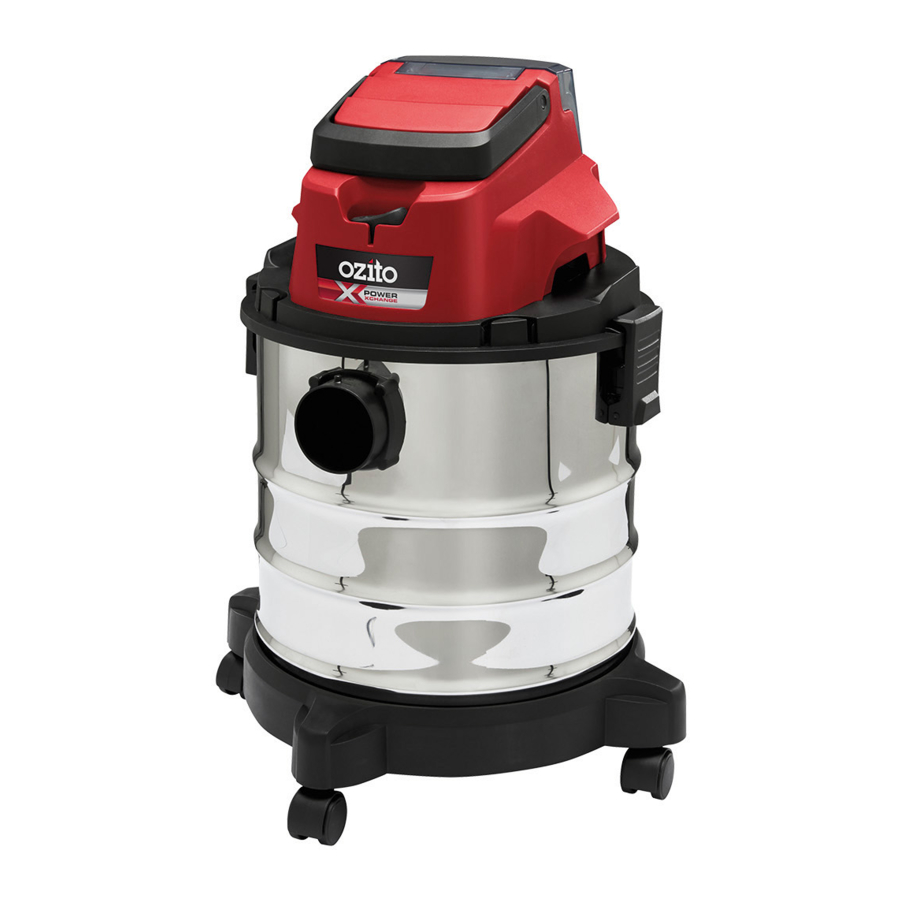
- Cordless Wet & Dry Vacuum
![]()
- Air Hose, Extension Tubes & Adaptor
![]()
- Crevice, Brush & Floor Tool
![]()
- Foam Filter, Dust Bag, Pleated Filter & Cap
![]()
- Castor Wheels
![]()


KNOW YOUR PRODUCT
CORDLESS WET & DRY VACUUM

- Carry Handle
- On/Off Switch
- Motor Securing Clips
- Vacuum Inlet
- Tank
- Castors
- Battery Seating
- Blower Outlet
ACCESSORIES

- Suction Hose
- Extension Tubes
- Adapter
- Foam Filter (wet vacuuming)
- Dust Bag
- Pleated Filter & Cap (dry vacuuming)
- Crevice Tool
- Floor Tool
- Brush Tool
This tool is compatible with all battery and chargers from the Ozito Power X Change Range.
For optimal performance, we recommend the use of a 3.0Ah battery or higher to operate this Power X Change Wet & Dry Vacuum.
SETUP & PREPARATION
BEFORE USE
Items Supplied
Please check that the article is complete as specified in the scope of delivery. If parts are missing, please contact our service center or the sales outlet where you made your purchase at the latest within 5 working days after purchasing the product and upon presentation of a valid bill of purchase. Also, refer to the warranty table in the service information at the end of the operating instructions.
- Open the packaging and take out the equipment with care.
- Remove the packaging material and any packaging and/or transportation braces (if available).
- Check to see if all items are supplied.
- Inspect the equipment and accessories for transport damage.
- If possible, please keep the packaging until the end of the guarantee period.

The equipment and packaging material are not toys. Do not let children play with plastic bags, foils or small parts. There is a danger of swallowing or suffocating!
Proper Use
The cordless wet and dry vacuum cleaner is designed for wet and dry vacuuming using the appropriate filter. The equipment is not suitable for the vacuuming of combustible, explosive or harmful substances.
The equipment is to be used only for its prescribed purpose. Any other use is deemed to be a case of misuse. The user / operator and not the manufacturer will be liable for any damage or injuries of any kind caused as a result of this.
Please note that our equipment has not been designed for use in commercial, trade or industrial applications. Our warranty will be voided if the machine is used in commercial, trade or industrial businesses or for equivalent purposes.

Residual risks
Even if you use this electric power tool in accordance with instructions, certain residual risks cannot be rules out. The following hazards may arise in connection with the equipment's construction and layout:
- Lung damage if no suitable protective dust mask is used.
- Damage to hearing if no suitable ear protection is used.
- Health damage caused by hand-arm vibrations if the equipment is used over a prolonged period or is not properly guided and maintained.
FITTING THE BATTERY
Inserting & Removing the Battery
- Align the ribs of the battery with the recess inside the battery compartment and push in until it clicks into place.

- To remove, open the battery compartment lid. Press and hold the battery release tab and pull the battery away from the vacuum.


Battery protection system
The tool is equipped with the battery protection system, which helps to ensure a long service life.
The output power automatically cuts off during operation when the tool and/or battery are placed under the following situations:
- When the tool is overloaded:
If this occurs, release the trigger switch and remove causes of overload, then pull the switch trigger again to restart. - When the remaining battery capacity becomes low:
Recharge the battery pack.
 Note: The battery protection system does not in any way damage the tool.
Note: The indicated capacity may be lower than the actual level during use or immediately after using the tool.
ASSEMBLY

ENSURE THE TOOL IS SWITCHED OFF AND DISCONNECTED FROM THE POWER SUPPLY BEFORE PERFORMING ANY OF THE FOLLOWING TASKS.
Fitting the Castors
- Turn the tank upside down and push all 4 castors into the base of the tank.


Fitting the Motor
- When fitting the motor to the tank, position it so that the tank securing clips on the motor align with the fastening points on the tank.

- Fasten the tank securing clips to the tank, making sure that they lock into place correctly.

Fitting the Dust Bag
- For vacuuming fine, dry dirt it is recommended that you fit the dust bag.
This will ensure that the pleated filter does not clog up so quickly and help maintain the vacuuming power. A dust bag is suitable for dry vacuuming only. Using the dust bag makes it easier to dispose of the dust that has been collected.

- To attach, slip the dust bag over the vacuum inlet.


OPERATION
FITTING THE FILTER

NEVER USE THE VACUUM CLEANER WITHOUT A FILTER! ALWAYS ENSURE THAT THE FILTERS ARE PERFECTLY SECURE!
Fitting the Foam Filter - Vacuuming Liquid
- For wet-vacuuming, slip the supplied foam filter over the filter basket.


Note: Do not use the pleated filter and/or dust bag when vacuuming liquid.
Fitting the Pleated Filter - Vacuuming Dry Matter
- For dry vacuum cleaning always use the pleated filter. Mount the filter so that no air is sucked through the filter cage without being filtered.

- Place the cap on the base of the pleated filter, turn clockwise to lock in position.


Note: Do not use the foam filter when vacuuming dry matter.
FITTING HOSES & NOZZLES
Connect the suction hose to the corresponding connector on the wet and dry vacuum, depending on the application required:
Vacuuming
- Connect the suction hose to the vacuum inlet at the front of the tank.


Blowing
- Connect the suction hose to the blow outlet at the back of the unit.


Extension Tube and Adaptor
- The suction hose can be extended by attaching one or more sections of the 3 part extension tubes.

- The adapter must be inserted between the extension tube and whichever of the nozzles is required.


Suction Tools
Floor Tool:
The floor tool is for vacuuming solids and liquids over medium to large areas.

Crevice Tool:
The crevice tool is designed for cleaning crevices and edges.

Brush Tool:
The brush tool with soft bristles can be used to vacuum windowsills, bookcases, framed art, lampshades, and blinds.

OPERATION
SWITCH OFF THE EQUIPMENT IF LIQUID OR FOAM IS EMITTED WITH THE EXHAUST AIR WHEN WET VACUUM CLEANING.
On/Off Switch
To start vacuum, press the on/off switch to the on position ('I').
To stop vacuum, press the on/off switch to the off position ('0').

DO NOT PUT PART OF YOUR BODY SUCH AS HANDS AND FINGERS NEAR THE INLET OPENING.
Dry Vacuuming
Use the dust bag, pleated filter and cap for dry vacuuming (see 4. Fitting the Filter).
Check that the filter is securely fitted at all times.

Wet Vacuuming
For wet-vacuuming, use the foam filter (see 4. Fitting the Filter).
Check that the filter is securely fitted at all times.

WHEN WET VACUUMING, THE SAFETY FLOAT TURNS OFF THE VACUUM CLEANING AUTOMATICALLY WHEN THE MAXIMUM LEVEL IS REACHED.
THE WET & DRY VACUUM CLEANING IS NOT SUITABLE FOR THE VACUUMING OF COMBUSTIBLE LIQUIDS.
CLEANING & STORING
BEFORE CLEANING YOUR VACUUM OR CARRYING OUT ANY MAINTENANCE, MAKE SURE THAT THE TOOL IS SWITCHED OFF AND POWER SUPPLY DISCONNECTED TO PREVENT ACCIDENTAL START-UP.
Cleaning
Keep air intake clean and air vents free of debris to avoid overheating the motor.
We recommend that you clean the equipment immediately after you use it.
Cleaning the motor housing
Clean the appliance regularly with a damp cloth. Do not use cleaning agents or solvents; these may be aggressive to the plastic parts in the appliance.
Cleaning the tank
The tank can be cleaned with a damp cloth and some soft soap.
Cleaning the foam filter
Clean the foam filter with a little soft soap under running water and allow it to air-dry.
Storing
Ensure the Wet & Dry Vacuum has been fully emptied of any dry matter or liquid before it is stored.
Keep all the accessories with the unit to avoid losing them.
Keep in a dry place out of reach of children.
MAINTENANCE
- If the vacuum vibrates abnormally, stop motor immediately. Abnormal vibration usually indicates a mechanical problem continued operation could lead to injury or damage.
Note: Ozito Industries will not be responsible for any damage or injuries caused by the repair of the vacuum by an unauthorised person or by mishandling of the vacuum. This tool is designed for DIY use - use in commercial or industrial environments will void the warranty.
SERVICE INFORMATION
Please note that the following parts of this product are subject to normal or natural wear and that the following parts are therefore also required for use as consumables.
| Category | Example |
| Wear parts* | Battery, Combination nozzle, crevice nozzle, upholstery nozzle, electric tool adapter, etc. |
| Consumables* | Pleated filter, foam filter, dirt bag, additional filter, etc. |
| Missing parts |
* Not necessarily included in the scope of delivery!
SPARE PARTS
Spare parts can be ordered from the Special Orders Desk at your local Bunnings Warehouse or Homebase store. For further information, or any parts visit www.ozito-diy.co.uk or contact Ozito Customer Service:
Great Britain: 0151 294 4488
Ireland: 1850 882711
E-mail: info@ozito-diy.co.uk
TROUBLESHOOTING
| Problem | Cause | Remedy |
| Vacuum is not starting | Battery is low in charge | Charge battery |
| Battery not inserted properly | Insert battery pack correctly | |
| Possible clogging | Empty the debris container and clean the filter. | |
| Vacuum is not operating at full capacity | Possible clogging | Empty the debris container and clean the filter. |
| Motor stops while vacuuming | Battery has no power | Charge battery |
SPECIFICATIONS
Voltage: 18V
Suction Power: 80mbar (8kPa)
Tank Capacity: 18L
Flow Rate: 25L/sec
Hose Diameter: Ø36mm
Hose Length: 1.5m
IP Rating: IPX4
Weight: 4.3kg
www.ozito-diy.co.uk

Documents / ResourcesDownload manual
Here you can download full pdf version of manual, it may contain additional safety instructions, warranty information, FCC rules, etc.
Advertisement


Need help?
Do you have a question about the PXVWDS-1818U and is the answer not in the manual?
Questions and answers