Table of Contents
Advertisement
Quick Links
INSTALLATION
RT1 RF
WIRELESS DAILY PROGRAMMABLE
ROOM THERMOSTAT AND RECEIVER
Pack contains ....................................................................................1
Installation - Receiver .......................................................................1
Mounting of wall mouting plate .......................................................................1
Wiring ...................................................................................................................1
Mounting Of The Receiver ...................................................................................2
Installation - Thermostat ....................................................................2
Installing Batteries ...............................................................................................2
Mounting Of Thermostat .....................................................................................2
Pairing Procedure..............................................................................3
Installer Settings .................................................................................3
Advanced Installer Setting ................................................................................3
Troubleshooting .................................................................................4
...................................................................4
PACK CONTAINS
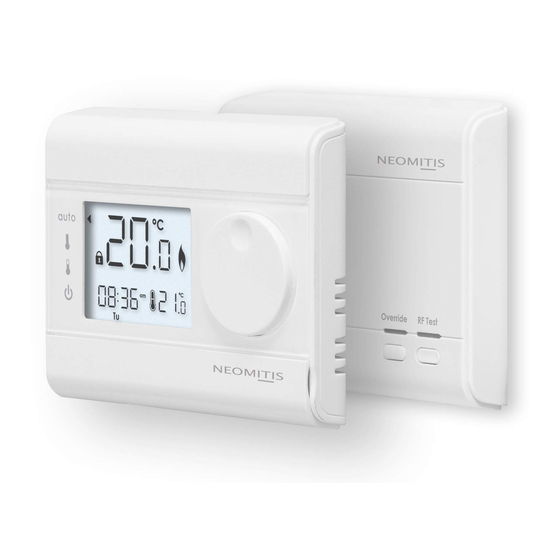
Thermostat
AA Batteries (LR6)
RTE1RFA NEO ENG FP V04 26 06 2015
INSTRUCTIONS
Receiver
Thermostat table stand
Screw Anchor
Screws
INSTALLATION - RECEIVER
MOUNTING OF WALL MOUTING PLATE
supplied with the product.
1- Unscrew the 2 screws under the
receiver.
3- Secure the wall plate with the
two screws provided using the
horizontal and vertical holes.
WIRING
are not sure how to install this thermostat consult either with a
All wiring must be in accordance with IEE regulations. This product is for
2- Remove the wall plate from the
receiver.
4- In case of surface mounting,
a knock out area is provided
on the wall plate and on the
corresponding area of the
receiver.
N
L
1
2
3
4
N = Neutral
L = Live
1 = Not used
2 = Normally closed
3 = Common
4 = Normally open
1
Advertisement
Table of Contents
Troubleshooting

Summary of Contents for Neomitis RT1 RF
- Page 1 INSTALLATION - RECEIVER INSTALLATION INSTRUCTIONS RT1 RF MOUNTING OF WALL MOUTING PLATE WIRELESS DAILY PROGRAMMABLE ROOM THERMOSTAT AND RECEIVER supplied with the product. 1- Unscrew the 2 screws under the 2- Remove the wall plate from the receiver. receiver. 3- Secure the wall plate with the 4- In case of surface mounting, Pack contains ..................1...
- Page 2 3- Secure the wall plate with the 4- Replace the thermostat on the MOUNTING OF THE RECEIVER two screws provided using the wall mounting plate. horizontal and vertical holes. 1- Replace the receiver on the 2- Secure the receiver by screwing wall mounting plate.
- Page 3 NB: In order to ensure proper operation of the product, ensure that the Slider Icon Installer mode access thermostat is not positioned near to an area which could be affected by position interference from another source. E.g.: a wireless transmitter or receiver, TV, PC, etc.
- Page 4 Creating innovative solutions for ambient comfort NEOMITIS LIMITED - 4th Floor, Lincoln House, 300 High Holborn, London WC1V 7JH ® Registered in England and Wales No: 9543404 www.neomitis.com Tel: +44 (0) 2071 250 236 - Fax: +44 (0) 2071 250 267 - E-mail: contact_uk@neomitis.com...
- Page 5 CONTROLS AND DISPLAY • Thermostat OPERATING INSTRUCTIONS Batteries compartment RT1 RF WIRELESS DAILY PROGRAMMABLE Reset ROOM THERMOSTAT AND RECEIVER button Programming RF test button Enter/boost button Programming sliders sequences: Time/day Comfort period setting Comfort temperature temperature • LCD Display Programmed...
- Page 6 PAIRING PROCEDURE SET THE PROGRAM COMFORT PERIOD The thermostat and the receiver are not bonded together at the facto- time, move the Programming 5 seconds this setting. the RF test button on the for 5 seconds the RF test button on the thermostat.
- Page 7 3- To set the Economy tempera- MANUAL: A TEMPORARY CHANGE ture, move the Programming (50°F). MANUAL: Indicates when the temperature has been moved mode. BOOST in increments of 0.5°C. BOOST: Boost mode is a temporary this setting. rate at the comfort temperature NOTE: This is the temperature for 1 hour.
- Page 8 Creating innovative solutions for ambient comfort NEOMITIS LIMITED - 4th Floor, Lincoln House, 300 High Holborn, London WC1V 7JH ® Registered in England and Wales No: 9543404 www.neomitis.com Tel: +44 (0) 2071 250 236 - Fax: +44 (0) 2071 250 267 - E-mail: contact_uk@neomitis.com...


Need help?
Do you have a question about the RT1 RF and is the answer not in the manual?
Questions and answers