Advertisement
Quick Links
OPERATING
RT0 RF
WIRELESS ROOM THERMOSTAT AND
RECEIVER
Overview ..................................................................................................1
Controls and display ...............................................................................1
Settings .....................................................................................................1
Initial power up ..................................................................................................1
Pairing procedure ..............................................................................................2
Operating .................................................................................................1
Temperatures setting .........................................................................................1
Factory settings ...................................................................................................2
Troubleshooting .......................................................................................2
Technical specifications .........................................................................2
What is a room thermostat......................................................................2
OVERVIEW
Thank you for purchasing our RT0 RF, wireless
digital room thermostat.
It is by listening to your requirements we
have created and designed our products
to be easy to operate and install.
It is this ease of operation that is intended
to make your life easier and help you save
energy and money.
CONTROLS AND DISPLAY
• Thermostat
Batteries
compartment
RTE0RFa NEO ENG FP V02 29 05 2015
INSTRUCTIONS
LCD display
C
Rotary dial
C
RF test button
Reset
button
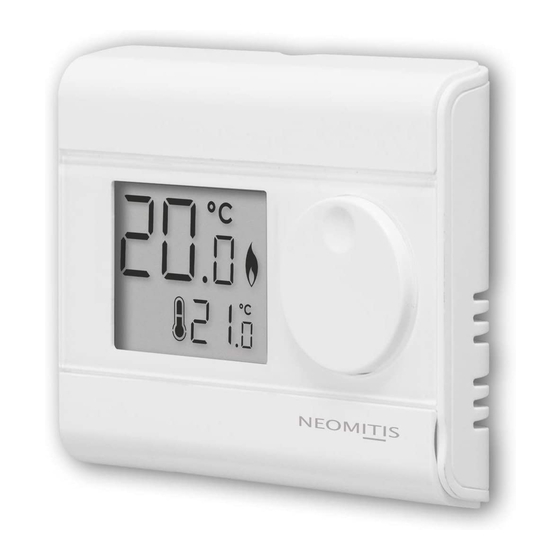
• LCD Display
Measured room
temperature
Pairing icon
Frost protection
icon
SETTINGS
INITIAL POWER UP
1- To start: insert the two AA bat-
teries provided into the battery
compartment.
O nce batteries are fitted all
symbols will be displayed on
the LCD screen as shown for
two seconds.
C
C
Note: When the batteries must be changed, a low battery level indicator
appears on the device.
Remember to take used batteries to battery collection points so they can
be recycled.
PAIRING PROCEDURE
The thermostat and the receiver are not bonded together at the facto-
ry.
To bond the transmitter and the receiver together, proceed as below:
1- Press and hold for 5 seconds
the RF test button on the
receiver. RF test green light is
blinking.
Override
RF Test
Override
5 sec
C
Low battery
icon
Call for heat
icon
C
Temperature
setpoint
2- After 2 seconds, the LCD will
show:
- The ambient temperature (°C)
solid.
- The icon
is solid when the
heating is turned ON.
- The setpoint temperature (°C)
solid.
- RF icon flashes.
2- Within 1 minute, press and hold
for 5 seconds the RF test button
on the thermostat. Pairing icon
is flashing.
C
RF Test
C
5 sec
1
Advertisement

Related Manuals for Neomitis RT0 RF


Summary of Contents for Neomitis RT0 RF
- Page 1 • LCD Display Low battery icon OPERATING INSTRUCTIONS Measured room temperature Call for heat icon RT0 RF Pairing icon Temperature setpoint WIRELESS ROOM THERMOSTAT AND Frost protection icon RECEIVER SETTINGS INITIAL POWER UP 1- To start: insert the two AA bat- 2- After 2 seconds, the LCD will...
- Page 2 Creating innovative solutions for ambient comfort NEOMITIS LIMITED - 4th Floor, Lincoln House, 300 High Holborn, London WC1V 7JH ® Registered in England and Wales No: 9543404 www.neomitis.com Tel: +44 (0) 2071 250 236 - Fax: +44 (0) 2071 250 267 - E-mail: contact_uk@neomitis.com...
Need help?
Do you have a question about the RT0 RF and is the answer not in the manual?
Questions and answers