Advertisement
Quick Links
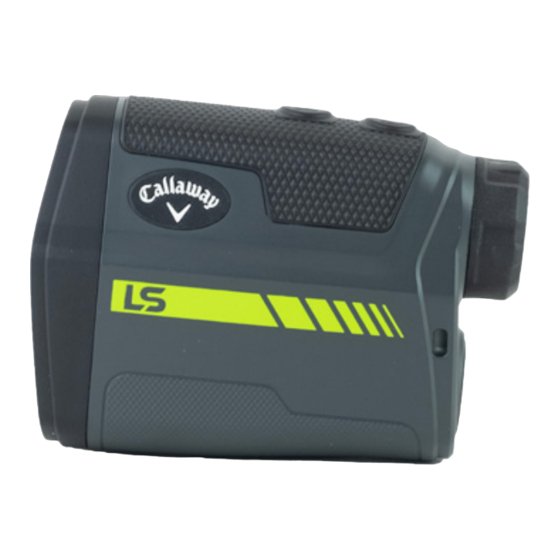
CALLAWAY
LS
HOW TO USE
1.
While looking through the Eye
Piece, PRESS & RELEASE the
Power Button. The rangefinder
is now powered on.
2.
To focus/increase clarity, use
the Diopter Adjustment by
turning the Eye Piece.
3.
C
ontinue looking through the Eye
Piece, aim the Zero-In Aiming Square
at your intended target & PRESS the
Power Button. The laser will fire and
the Laser Indicator Box will appear
around the Zero-In Aiming Square.
The measurement will be displayed at
the top of the LCD display.
FOR MORE SUPPORT VISIT: www.callawaytag.com/product-support
LASER RANGEFINDER
164
Y
RANGEFINDER DIAGRAM
A.
Eye Piece
B.
Diopter
Adjustment
C.
Power Button
D.
Mode Button
E.
Battery Door
LCD DISPLAY
A.
Zero-In Aiming Square
B.
Laser Indicator Box
C.
P.A.T. Mode Indicator
D.
Pulse Indicator
E.
Distance
F.
Unit of Measure
G.
Low Battery
H.
Slope Adjusted Distance
MANUAL
164
Y
Advertisement

Subscribe to Our Youtube Channel
Related Manuals for Callaway LS


Summary of Contents for Callaway LS
- Page 1 CALLAWAY MANUAL LASER RANGEFINDER HOW TO USE RANGEFINDER DIAGRAM While looking through the Eye Eye Piece Piece, PRESS & RELEASE the Diopter Power Button. The rangefinder Adjustment is now powered on. Power Button Mode Button Battery Door To focus/increase clarity, use the Diopter Adjustment by turning the Eye Piece.
- Page 2 MEASUREMENT MODES Standard - Standard Mode is recommended when NOTE: While scanning in P.A.T. Mode, the measurement will only change when a shorter distance is measured. This is useful when measuring distances to larger objects. (Fig. A) measuring the distance to a flagstick when there are trees or other P.A.T.
Need help?
Do you have a question about the LS and is the answer not in the manual?
Questions and answers