Table of Contents
Advertisement
Quick Links
Advertisement
Table of Contents

Subscribe to Our Youtube Channel
Related Manuals for IMAGO VisionSensor PV2


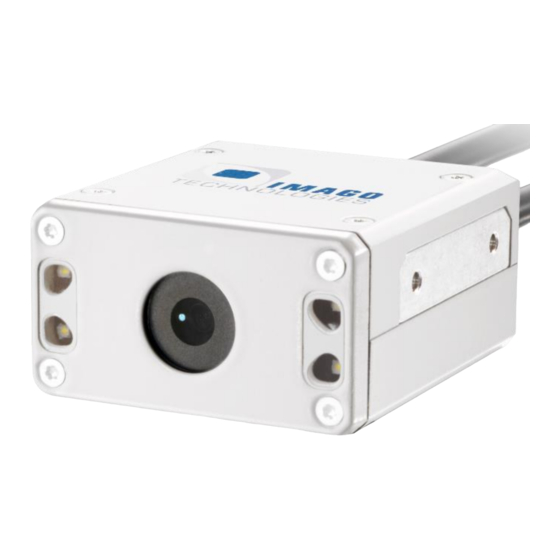
Summary of Contents for IMAGO VisionSensor PV2
- Page 1 Getting Started "VisionSensor PV2 / PV3" Version 1.9 – March 2022...
-
Page 2: What You Need
Page 2 / 16 Welcome Congrats on your new VisionSensor PV2 / PV3! In this “Getting Started” guide, we will show you all necessary steps to get the VisionSensor PV2 / PV3 ready for first operation. VisionSensor PV2 / PV3 What you need •... - Page 3 Page 3 / 16 o Ethernet cable (included in the VisionSensor PV2 / PV3 starter kit) o Power supply 24 V, minimum 1 A with green terminal connector (included in the Vi- sionSensor PV2 / PV3 starter kit) IMAGO Technologies GmbH Strassheimer Str.
- Page 4 Page 4 / 16 Attach the Ethernet cable If you have VisionSensor PV2 or a VisionSensor PV3 you have to attach the Ethernet cable to the Ethernet connector of the camera. Depending on the version of the camera, the Ethernet con-...
- Page 5 Page 5 / 16 Prepare the Ethernet connection The network interface of the VisionSensor PV2 / PV3 is set to DHCP. If you want to connect the camera to your local network infrastructure, a running DHCP server is required. Usually, every modern router has a built-in DHCP server.
- Page 6 If you are using Debian GNU-/Linux on your PC, you can use for example nmtui to configure the Ethernet adapter. Start nmtui and select the Ethernet adapter which is connected to the camera. Then select “Link-Local” as IPv4 address method: IMAGO Technologies GmbH Strassheimer Str. 45; 61169 Friedberg; Germany; Tel. +49(0)6031-6842611 info@imago-technologies.com; www.imago-technologies.com...
- Page 7 DHCP server is available and running in your network. Usually, every modern router has a built-in DHCP server. Now you can continue with the next step “Establish power supply”. IMAGO Technologies GmbH Strassheimer Str. 45; 61169 Friedberg; Germany; Tel. +49(0)6031-6842611 info@imago-technologies.com; www.imago-technologies.com...
-
Page 8: Establish Power Supply
Page 8 / 16 Establish power supply If you have VisionSensor PV2 or a VisionSensor PV3 an 0.5 meter cable with an M12 8-pin connector is used for power supply and I/O. Pin assignment M12 connector camera Function Power (21V-28V) - Page 9 “.local”. You can find the serial number on the camera. Example: If the serial number of the camera is “VSPV-1904-000315” you must enter “VSPV1904000315.local” into the text field “Remote host”. IMAGO Technologies GmbH Strassheimer Str. 45; 61169 Friedberg; Germany; Tel. +49(0)6031-6842611 info@imago-technologies.com; www.imago-technologies.com...
- Page 10 Windows PC, see chapter “What´s next?” for download details). This program sends a broadcast via SNMP and shows all IMAGO devices and their corresponding IP addresses. In this example, the camera has the IP address 192.168.0.209. For the login, you need to know the username and password. This device is preconfigured with two user accounts, namely “root”...
-
Page 11: Set Up Your System
Set up your network configuration The network interface of the VisionSensor PV2 / PV3 is set to DHCP. You can change this by edit- ing the file “/etc/network/interfaces”. For example, if you want to set the camera to the static IP address 192.168.0.2 and your gateway is 192.168.0.1, you can do this with the following... - Page 12 Page 12 / 16 Good to know… The operating system (OS) of the VisionSensor PV2 / PV3 is based on Debian GNU/Linux. The OS was built with a VisionSensor PV2 / PV3 specific • Linux kernel • U-Boot • Configuration files •...
- Page 13 Page 13 / 16 ViewIT By default, a VisionSensor PV2 / PV3 is delivered with an application called . It is a frame- work for easily handling image processing functions on IMAGO Technologies devices. The frame- work gives access to the live view from the camera, acquisition parameters, general purpose digital inputs and outputs and allows using self-designed image processing algorithms.
- Page 14 “Save”. Type “/root/ViewIT.sh” in a SSH console to start again. . Open the “About” dialog and For more information see the own documentation of press the button. IMAGO Technologies GmbH Strassheimer Str. 45; 61169 Friedberg; Germany; Tel. +49(0)6031-6842611 info@imago-technologies.com; www.imago-technologies.com...
-
Page 15: What's Next
• VisionSensor PV3: https://imago-technologies.sharefile.com/f/fo34eda9-9368-416a-a7f3- 98c2156378de Finally, if you have any open questions, the IMAGO support team is happy to assist you in any cases. For direct contact to the support, please use our ticket system: • https://imago.freshdesk.com IMAGO Technologies GmbH Strassheimer Str. -
Page 16: Document History
>= Apr-2020 deb10_vspv3_v1.0_a deb10_vspv_v1.0_a Added pictures of PV2 / PV3 Jun-2020 starter kit, text revision, update of all chapters Removed PV, added ViewIT sec- Mar-2022 tion IMAGO Technologies GmbH Strassheimer Str. 45; 61169 Friedberg; Germany; Tel. +49(0)6031-6842611 info@imago-technologies.com; www.imago-technologies.com...
Need help?
Do you have a question about the VisionSensor PV2 and is the answer not in the manual?
Questions and answers