Table of Contents
Advertisement
Available languages
Available languages
Quick Links
Fresatrice verticale
ISTRUZIONI D'USO
Istruzioni originali
Router
OPERATING INSTRUCTIONS
Translation of the original instructions
ATTENZIONE! Prima di usare la macchina, leggete e comprendete le istruzioni di sicurezza e le istruzioni d'uso fornite
WARNING! Before using the machine, read and understand the supplied safety instructions and operating instructions
Final dimension: A5
F1300C
S467017
23.02.2018
Advertisement
Table of Contents

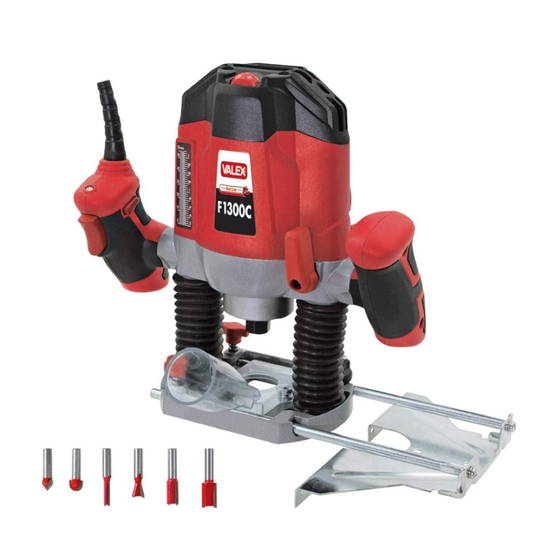
Summary of Contents for Valex F1300C
- Page 1 Final dimension: A5 S467017 23.02.2018 F1300C Fresatrice verticale ISTRUZIONI D’USO Istruzioni originali Router OPERATING INSTRUCTIONS Translation of the original instructions ATTENZIONE! Prima di usare la macchina, leggete e comprendete le istruzioni di sicurezza e le istruzioni d’uso fornite WARNING! Before using the machine, read and understand the supplied safety instructions and operating instructions...
- Page 2 - 2 -...
- Page 3 VALEX - 36015 SCHIO (VI) - ITALY MADE IN P.R.C. Avvitare Screw Svitare Unscrew - 3 -...
- Page 4 2 viti 2 screws - 4 -...
- Page 5 - 5 -...
-
Page 6: Dati Tecnici
è conforme ai requisiti essenziali di sicurezza e file is in salute contenuti nelle seguenti direttive europee: 2006/42/CE, 2014/35/CE, 2014/30/CE, 2011/65/CE Valex SpA - Via Lago Maggiore, 24 36015 Schio (VI) - Italy DECLARATION OF CONFORMITY 07.2017 The firm indicated on the label declares, under... -
Page 7: Messa In Servizio
DESCRIZIONE (FIG.A) 1 Corpo motore 2 Impugnature ATTENZIONE! Prima di usare questo 3 Regolatore velocità mandrino utensile elettrico, leggete ed applicate atten- 4 Interruttore tamente le norme di sicurezza e le istruzioni 5 Leva bloccaggio spostamento corpo motore di seguito riportate. Prima di iniziare il lavoro e fresa assicurateVi, in caso di emergenza, di saper 6 Volantino fissaggio fermo di profondità... - Page 8 Regolazione velocità di taglio: desiderato. Per far ciò e sufficiente, dopo aver Azionate la rotellina (Fig.A pos.3) seguendo le impostato la macchina come sopra descritto, indicazioni poste al suo fianco. ruotare la torretta in corrispondenza di gradini Impostate la velocità più idonea al lavoro da più...
-
Page 9: Manutenzione
della lavorazione sia la più corretta. e, se del caso, affilatela; sostituite la fresa con - Assicuratevi del senso di rotazione della fresa una più idonea al lavoro da eseguire; regolate e scegliete la direzione di taglio idonea (vedi al meglio la velocità del mandrino. Fig.E). -
Page 10: Description (Fig. A)
9 Milling depth graduated rod. 10 Base 11 Suction adaptor WARNING! Before using this electrical tool 12 Led power supply presence carefully read and observe the safety stan- 13 Plug for circular milling dards and operational instructions provided 14 Copier device 15 Plier mandrel hereafter. -
Page 11: Operational Tips
FITTING AND SETTING ACCESSORIES PARALLEL MILLING ROD (Fig. A) Insert the rod pins (Fig. A Pos. 8) into the blocks CUTTING DEPTH ADJUSTMENT in the base and lock them using the wheels. With the machine switched off and unplugged This accessory allows milling parallel to a refe- and with the desired miller installed on the chuck, rence edge at a set distance. -
Page 12: Maintenance
MAINTENANCE STORAGE Follow the tips below to store the tool: WARNING! Always unplug the tool from the 1)Clean the tool and all its accessories thorou- mains socket before proceeding with any sort ghly (see maintenance section). of inspection or maintenance jobs. 2)Store the tool: - Take good care of your tool and clean it regu- - Out of reach of children.


Need help?
Do you have a question about the F1300C and is the answer not in the manual?
Questions and answers