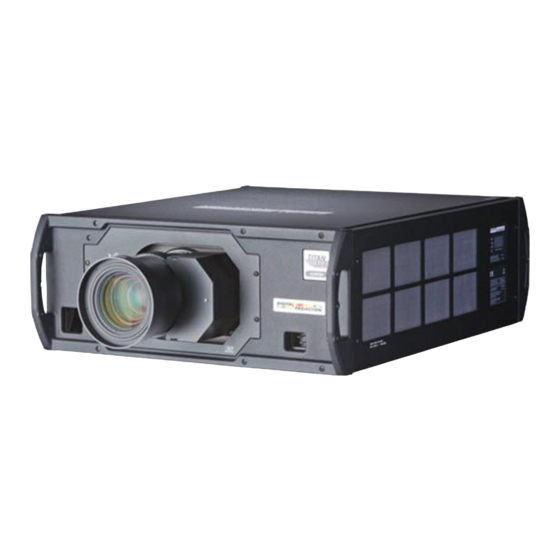
Digital Projection TITAN 800 Quick Start Manual
Hide thumbs
Also See for TITAN 800:
- User manual (215 pages) ,
- Important information manual (30 pages) ,
- User manual (132 pages)
Advertisement
Quick Start Guide
TITAN 3D Displays
3D
displays
This guide applies to all 3D Titans of Production Version F or higher.
Version F projectors can be
identified by inspecting
Input 8 for the new BNC type
Sync connectors.
Atlanta, GA USA • Manchester, UK • Beijing, China • Singapore
770.420.1350 • www.digitalprojection.com
Advertisement
Table of Contents

Summary of Contents for Digital Projection TITAN 800
- Page 1 Quick Start Guide TITAN 3D Displays displays This guide applies to all 3D Titans of Production Version F or higher. Version F projectors can be identified by inspecting Input 8 for the new BNC type Sync connectors. Atlanta, GA USA • Manchester, UK • Beijing, China • Singapore 770.420.1350 •...
- Page 2 Quick Start Guide TITAN 3D Displays Connect the Components a. Plug in and power all devices. b. Set the 3D source to output the desired resolution. c. Connect a BNC – BNC cable from the projector’s Sync Out to the Sync IR Emitter. d. Connect an “HDMI to DVI”...
- Page 3 Quick Start Guide TITAN 3D Displays Understanding and Selecting your 3D Mode a. Set the projector’s 3D Mode in the 3D menu. Go to : Menu / Setup / 3D Press the left and right arrows to select 3D Mode. Press the up and t arrows to select. Possible 3D Modes include: • Off –...
- Page 4 Quick Start Guide TITAN 3D Displays Defining your 3D Settings (continued) 3D Format – Select from Frame Packing, Side-By-Side (Half), Sequential, Top-And-Bottom, or Dual Pipe, as appropriate for your 3D source. Please note, this setting is not available in Consumer Mode, as the 3D format is automatically detected by the HDMI 1.4a receiver. Dark Time –...


Need help?
Do you have a question about the TITAN 800 and is the answer not in the manual?
Questions and answers