Advertisement
®
OFFICE FURNITUR E
ASSEMBLY INSTRUCTIONS
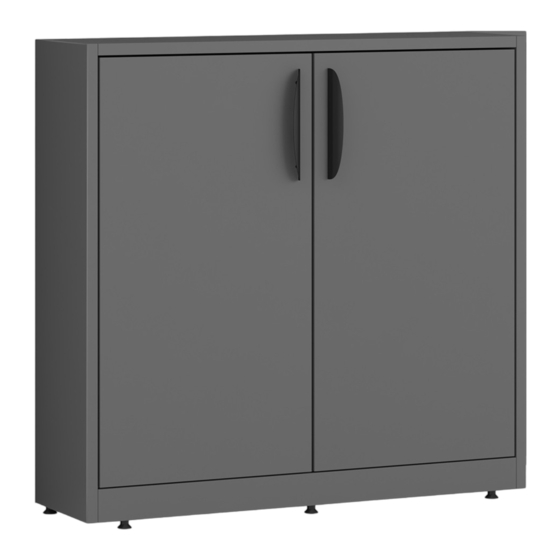
MODEL: PL213
MODEL: PL213
Before assembly, please remove all parts from the carton, verifying that you have the correct quantities, and read all the instructions.
Before assembly, please remove all parts from carton, verifying that you have the correct quantities, and read all the instructions.
IN THE CARTON:
IN THE CARTON:
1
2
Cam Lock
12 Pcs
A
B
Side Panel L
Last Updated: 6/2022
3
4
M4 x 65
Housing
Allen-Key
Klix Cam
Cap (Short)
1 Pc
12 Pcs
12 Pcs
C
D
Side Panel R
Top Rail
Bottom Panel
KLIX CAM INSTRUCTIONS
1
2
Insert the cam with the arrow
Line up Cam Lock,
pointing towards the hole in
turn clockwise.
the edge.
HARDWARE
5
6
7
Metal Scallop
Adjustable
Shelf Support
Shape Handle
Glide
Pin Small
2 Sets
4 Pcs
4 Pcs
COMPONENTS
E
F
G
Bottom Rail
Back Rail X 2Pcs
Door Panel
HINGES INSTRUCTIONS
3
Insert the Cam Lock into Klix
Cam. Turn Klix Cam to lock.
I
C
B
G
A
G
E
ASSEMBLY INSTRUCTIONS
MODEL NO. PL213
8
9
0' Compo
JCBC Screw
Door Hingers
M6 x 40mm = 8pcs
1
Washer = 8pcs
4 Pcs
4
H
I
+
PL214
Adjustable
Shelf Panel
(SOLD SEPERATELY)
DETAIL x-x
BACK VIEW
ADJUST THIS SCREW FOR DOOR ALIGNMENT
AFTER ASSEMBLY THE HINGES.
1 OF 2
1 of 2.
OFFICESOURCE.COM
Advertisement
Table of Contents

Summary of Contents for OfficeSource PL213
- Page 1 ® ASSEMBLY INSTRUCTIONS MODEL NO. PL213 OFFICE FURNITUR E ASSEMBLY INSTRUCTIONS MODEL: PL213 MODEL: PL213 Before assembly, please remove all parts from the carton, verifying that you have the correct quantities, and read all the instructions. Before assembly, please remove all parts from carton, verifying that you have the correct quantities, and read all the instructions.
- Page 2 ® ASSEMBLY INSTRUCTIONS MODEL NO. PL213 OFFICE FURNITUR E ASSEMBLY INSTRUCTIONS MODEL: PL213 MODEL: PL213 Before assembly, please remove all parts from carton, verifying that you have the correct quantities, and read all the instructions. INSTRUCTION: INSTRUCTIONS: Attach Bottom Panel (D),Bottom...


Need help?
Do you have a question about the PL213 and is the answer not in the manual?
Questions and answers