
Related Manuals for DELLA 048-TL-WAC6K32


Summary of Contents for DELLA 048-TL-WAC6K32
- Page 1 Model# 048-TL-WAC6K32 Read all instructions before use this device. Recommended Room Size: 151-250 sp.ft / 14~23m Product appearance and color may vary from pictures. Keep the manual properly for future reference.
- Page 2 INTRODUCTION IMPORTANT SAFETY INSTRUCTION ................ELECTRICAL REQUIREMENTS ..................PACKING LIST ......................INSTALLATION & ASSEMBLY INSTRUCTIONS ............... USING YOUR AIR CONDITIONER .................. CARE AND CLEANING ....................TROUBLESHOOTING ....................
- Page 3 Model Number: 048-TL-WAC6K32 Power supply(Ph-V-Hz) 1Ph, 115V~, 60Hz RATED Capacity(Btu/h) 6000 RATED Input(W) RATED Current(A) Moisture Removal(L/h) Refrigerant type (R32)(g) Refrigerant type (R32)(ozs) R32/ Indoor noise level (Hi/Med/Lo)(dBA) 5 /5 /5 Outdoor noise level (Hi/Med/Lo) (dBA) 63/60/58 Application area (m2) Application area (sp.ft)
- Page 4 Please read the manual before installation, using, maintenance. Do not use means to accelerate the defrosting process or to clean, other than those recommended by the manufacturer. Do not pierce or burn the appliance. The appliance shall be stored in a room without continuously operating sources (for example: open flames, an operating ignition gas appliance or an operating electric heater.) Please contact the nearest after-sale service center when maintenance is necessary.
- Page 5 Electrical Shock Hazard Plug into a grounded 3 prong outlet. Do not remove the ground prong. Do not use an adapter Do not use an extension cord. Failure to follow these instructions can result in death, fire, or electrical shock...
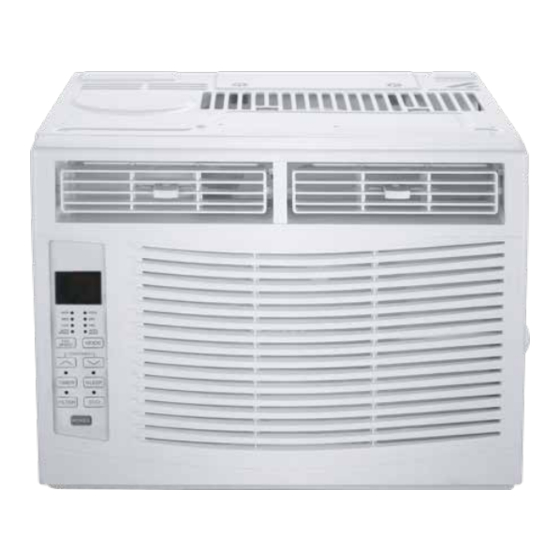
- Page 6 (Only for E-star model)
- Page 7 2 " to 34" 584 mm to 863 mm 6. The air conditioner should be tilted about 3° for better drainage of condensate and rainwater. Head...
- Page 8 (It is suggested to keep a downward angle to let accumulated rain water drain out from the back side of the unit bottom.
- Page 9 FIG. 13 Head FIG. 10 FIG. 9 FIG. 14 unplug FIG. 11 FIG. 12...
- Page 10 INSTALLATION & ASSEMBLY INSTRUCTIONS Introduction to Refrigerants R32 Before installing the appliance, you must read the manual carefully to get the safety information and notes. When filling the combustible refrigerant, any of your rude operations may cause serious injury or injuries to human body or bodies and object or objects. A leak test must be done after the installation is completed.
- Page 11 When the timer is not in use, Digital Display: the operation mode and the set temperature will be displayed. Time will be displayed under the timer setting. Press the mode button to cycle 2. Mode Button: through the various modes: Cool, Dry, Fan and Auto.
- Page 12 Press the FAN SPEED button 5. Eco Button: 9. Fan Speed Button: to select the fan speed. In COOL MODE you can choose the following settings: HI, MED, LO, or AUTO. In FAN MODE you can choose from HI, MED, and LO. Directional Louvers: Use the horizontal wheels to control horizontal airflow and the air deflectors...
- Page 13 temperature will automatically raise or decrease based on the room temperature and the duration of sleep. Do not mix alkaline, standard (carbon-zinc), or rechargeable batteries. 11 / 14...
- Page 14 Take off the power plug, then remove the filter by sliding it out from the front right side of the air conditioner. (See Fig .15)
- Page 16 The air conditioner is under demand It is the demand response Display dr and unit response, only turn ON/OFF can be condition, you can wait for the without control actived, and the set temperature may Delay time or override it by long raise, and the compressor may stop press down button for 3s on the control panel.
Need help?
Do you have a question about the 048-TL-WAC6K32 and is the answer not in the manual?
Questions and answers