
Related Manuals for Dahua Technology N55BS5


Summary of Contents for Dahua Technology N55BS5
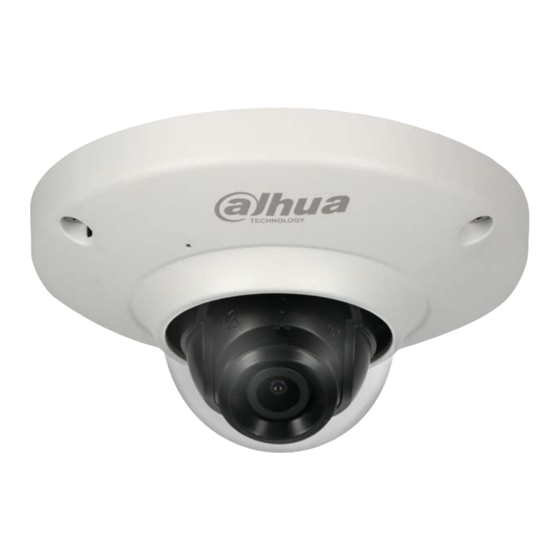
- Page 1 5 MP Fixed Network Fisheye Camera N55BS5 Quick Start Guide Version 001.001 Dahua Technology USA Inc.
-
Page 2: Table Of Contents
Table of Contents Welcome........................1 Important Safeguards and Warnings..............1 Electrical safety ....................1 Environmental Precautions ................2 Operation and Daily Maintenance ..............3 Warnings ......................3 FCC Information ....................4 FCC compliance: .................... 4 Legal Notices ....................4 Copyright ......................4 Trademarks ....................... -
Page 3: Welcome
1 Welcome This manual offers reference material and general information about the basic operation, maintenance, and troubleshooting of this Dahua camera. Read, follow, and retain the following safety instructions. Heed all warning on the unit and in the operating instructions before operating the unit. Keep this guide for future reference. -
Page 4: Environmental Precautions
• If the unit is damaged and requires service, unplug the unit from the main AC power supply and from the PoE supply and refer to qualified service personnel. Damage may include, but is not limited to: • The power supply cord or plug is damaged. •... -
Page 5: Operation And Daily Maintenance
Operation and Daily Maintenance • Do not touch the heat dissipation component of the unit. This part of the unit is hot and may cause a burn. • Do not open or dismantle the device; there are no components that a user can fix or replace. Opening the unit may cause water leakage or expose components to direct light. -
Page 6: Fcc Information
1.3 Legal Notices Copyright This user guide is ©2017, Dahua Technology Company, LTD. This user guide is the intellectual property of Dahua Technology Company, LTD and is protected by copyright. All rights reserved. Trademarks All hardware and software product names used in this document are likely to be registered trademarks and must be treated accordingly. -
Page 7: Unpacking
2 Unpacking This equipment should be unpacked and handled with care. If an item appears to have sustained damage during shipping, notify the shipper immediately. Verify that all the parts listed below are included. If an item is missing, contact customer support or your local representative. -
Page 8: Installation And Configuration
3 Installation and Configuration 3.1 Camera and Cables The following figure depicts the type and location of each cable coming from the device. This image is intended as a reference only. Figure 3-1 Cable Connections Port Name Function Lens Pan, Tilt, Rotate Module Dome Enclosure Built-in Microphone Audio Input... -
Page 9: Device Installation
4 Device Installation This section details installing the fisheye camera to a wall or ceiling. Note that the wall or ceiling must be capable of supporting a minimum of three (3) times the weight of the camera and a bracket (if used). - Page 10 Pre-drill the three (3) perimeter holes for the expansion bolts, using a drill bit that is no wider than the expansion bolt, according to the position on the mounting template. Insert an expansion bolt into each pre-drilled perimeter hole. Determine the route of the cables exiting the camera: Drill the Cable Outlet hole to route the cable from the camera through the installation medium.
- Page 11 4.3 Adjusting the Camera View Angle Loosen, but do not remove the set screws on either side of the bracket that holds the camera. Rotate the camera module to adjust the horizontal Lens rotation angle. (0° to +355°). Use the Torx wrench to press the button on the side of the camera module to unlock the vertical lens rotation control and the horizontal image control.
-
Page 12: Camera Maintenance
5 Network Configuration Dahua IP cameras feature a built-in Web interface to control all aspects of camera operation. This section includes details about the supported network protocols, configuring IP addresses, and configuring alarms and local recording options. Refer to the camera’s Operations Manual for full details. - Page 13 • Subnet mask – A mask is used to determine the subnet an IP address belongs to. • Gateway IP address – This address is a node on a network that serves as an entrance to another network. • Port – A port is an endpoint to a logical connection in an IP network. Dahua supplies the ConfigTool to access and to modify the network settings of a device.
- Page 14 Figure 5-2 Set the Mode to Static and change the Start IP, Subnet Mask, and the Gateway addresses to match your network parameters and click OK. If using a DHCP server, set the Mode to DHCP and click OK. 5.4 Accessing the Web Interface Each camera can be accessed directly from the Internet Explorer Web browser (default IP: 192.168.1.108).
- Page 15 Figure 5-4 Modify the administrator password as soon as possible after you successfully logged in. 5.5 Configuring Local SD Card Recording The devices Web interface contains settings to control the recording medium and to configure an alarm that triggers once the Micro SD card passes a pre-determined storage. Access the Web Interface for the device and click the Setup tab.
- Page 16 Select the event from the Event Type pull-down menu (No SD Card, Capacity Warning, SD Card Error). Check the Enable box to activate the alarm for this event. Check the Relay-out box to enable a relay alarm. Then, specify the time in seconds to delay the alarm relay output (10 s to 300 s).
-
Page 17: Optical Components
6 Camera Maintenance Proper maintenance will ensure consistent image quality over the life-span of the camera. 6.1 Optical Components Take care not to touch or stain the dome cover, lens, or the mirror surface. If the one of these surfaces is stained, use the following methods to clean: •... - Page 18 Dahua Technology USA Inc. 23 Hubble, Irvine, CA 92618 Tel: (949) 679-7777 Fax: (949) 679-5760 Email: sales.usa@global.dahuatech.com Rev 001.001 © 2018 Dahua. All rights reserved. Design and specifications are subject to change without notice.
Need help?
Do you have a question about the N55BS5 and is the answer not in the manual?
Questions and answers