
Related Manuals for SPORTS AFIELD SA-HD2-BIO


Summary of Contents for SPORTS AFIELD SA-HD2-BIO
- Page 1 QUICK ACCESS BIOMETRIC SECURITY VAULTS INSTRUCTION MANUAL FOR SA-HD2-BIO & SA-HD3-BIO 111622...
-
Page 2: Table Of Contents
TABLE OF CONTENTS IMPORTANT INFORMATION ....................2 1. REGISTRATION ........................ 3 2. UNDERSTANDING YOUR VAULT ..................4 3. INITIAL ENTRY ........................5 4. BATTERY INSTALLATION ....................6 5. PROGRAMMING YOUR FINGERPRINT................6 6. OPENING VAULT WITH PROGRAMMED FINGERPRINT ............ 7 7. -
Page 3: Important Information
DISCLAIMER - READ BEFORE VAULT SETUP PLEASE READ THIS INFORMATION CAREFULLY BEFORE OPERATING YOUR SPORTS AFIELD VAULT. DO NOT LOCK THIS MANUAL OR THE OVERRIDE ACCESS KEYS IN YOUR VAULT. Thank you for choosing a Sports Afield vault to protect your valuables. We are committed to securing, organizing and protecting your most important documents, valuables and keepsakes. -
Page 4: Registration
1. REGISTRATION Register your vault at www.saproducts.com By registering your Sports Afield vault we will be able to expedite and address any problems or challenges you may have which would otherwise require a notary letter and proof of payment. REGISTRATION INFORMATION The information you record onto this page will be required in the event you cannot access the contents of your Sports Afield vault. -
Page 5: Understanding Your Vault
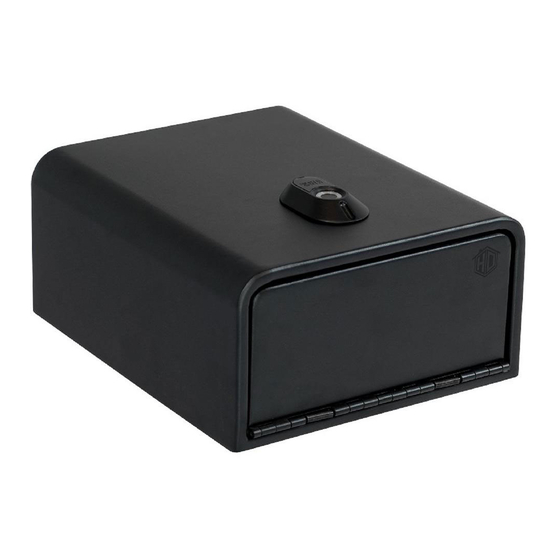
2. UNDERSTANDING YOUR VAULT Key Override Entry (Underneath Cover) Biometric Scanner Battery Compartment Removable Shelf (SA-HD3-BIO Only) RESET BUTTON MUTE Security Cable BATTERY COMPARTMENT SPRING LOADED DOOR TOP INSIDE OF THE VAULT RESET BUTTON MUTE OPEN BATTERY COMPARTMENT... -
Page 6: Initial Entry
3. INITIAL ENTRY Locate the override key attached to the product packaging. Remove the override key cover carefully by placing a flat end screw driver into the slot and pry it upwards. 2. Turn the key clockwise to unlock your vault. 3. -
Page 7: Battery Installation
4. BATTERY INSTALLATION WARNING: The battery must be inserted with the correct polarity. Exhausted battery must be removed from the product and discarded safely. Do not use rechargeable (nickel – cadmium) batteries. Locate the battery compartment on the inside of the door panel. Insert the 9V battery in the proper orientation. -
Page 8: Opening Vault With Programmed Fingerprint
5. PROGRAMMING YOUR FINGERPRINT HOLD FOR BEEP 2. Place and hold the pad of your finger on the scanner until it flashes green and beeps one time. LIFT FINGER 3. Repeat at least 3 more times until there are 2 consecutive beeps and 2 green flashes. -
Page 9: Programming Additional Fingerprints
7. PROGRAMMING ADDITIONAL FINGERPRINTS When accessing your vault quickly, there is a chance you may touch the scanner with a part of your finger that you have not registered before. For this reason, we recommend programming additional areas of your fingerprint to ensure fast and reliable entry to your vault. -
Page 10: Trouble Shooting
8. TROUBLE SHOOTING In the event that you run into issues with programming and accessing your vault, please read through this section for answers to your questions. Low Battery Indicator After an accepted fingerprint the scanner will illuminate and hold a beep for 3 seconds, signaling the vault is in low battery mode. -
Page 11: Lockout Mode /Tamper Protection
9. LOCKOUT MODE/ TAMPER PROTECTION 1. Three consecutive incorrect code entries will put the vault in “Basic Lockout” mode. Scanner is deactivated for 30 seconds. 2. After “Basic Lockout” mode has ended, another three consecutive incorrect code entries will result in “Severe Lockout” mode. Scanner is deactivated for 5-minutes. -
Page 12: Proper Placement And Moving Of Vault
12. PROPER PLACEMENT AND MOVING OF VAULT To maximize burglary protection and stability, securing the vault to the floor or wall is recommended. SA Consumer Products recommends that you store your vault in a closet, office, basement, bedroom or any other location that is convenient for you but out of direct line of sight from prying eyes. - Page 13 13. SECURING YOUR VAULT (CONTINUED) TOOLS AND HARDWARE NEEDED TO SECURE VAULT TO A WOOD OR CONCRETE SURFACE: • DRILL • 2 STEEL LAG BOLTS (NOT INCLUDED) - SIZE 1/4" X 1.50" TO 2.0" LONG • 2 STEEL WASHERS (NOT INCLUDED) •...
-
Page 14: Loading Your Vault
14. LOADING YOUR VAULT Store ammunition separately from valuables. Do not put anything in your vault that will put pressure against the door when it is closed. 15. MAINTAINING HINGES AND INTERNAL MECHANISMS The hinges and internal locking mechanism are permanently lubricated, thus needing no maintenance. -
Page 15: Warranty
SA Consumer Products will repair or replace, at their sole discretion, any Sports Afield vault with defective parts, paint or lock for three years of the original owner purchase date. If SA Consumer Products deems a replacement vault is to be sent, they will pay the freight costs to ship the replacement vault to the original owner.
Need help?
Do you have a question about the SA-HD2-BIO and is the answer not in the manual?
Questions and answers