Table of Contents
Advertisement
Quick Links
Advertisement
Table of Contents

Related Manuals for Inkbird IHT-2XP


Summary of Contents for Inkbird IHT-2XP
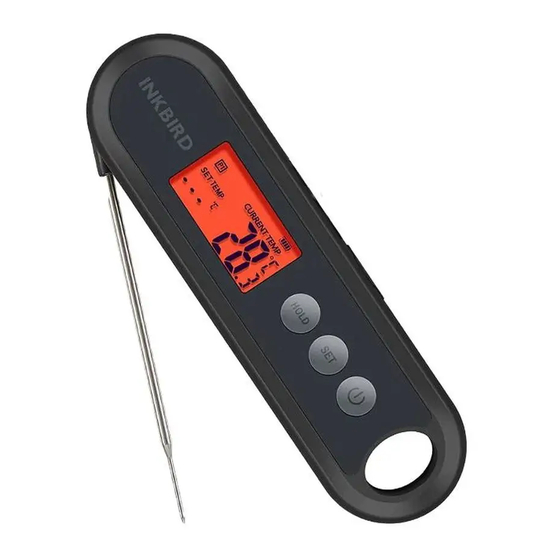
- Page 1 IHT-2XP Digital Food Thermometer With 2 External Probes...
-
Page 2: Features And Specifications
Features & Specifications Product Name: Digital food thermometer with 2 external probes Product Model: IHT-2XP 3 stainless steel probes for temperature measuring Heat-resistant, waterproof probe cables Temperature range of probes:-50.0℃ to 300℃(-58.0℉ to 572℉). -
Page 3: Product Diagram
Product Diagram ➀ LCD Screen & Backlight ➄ Probe 1/2 Sockets ➁ HOLD/UP Button ➅ Battery Charge Port ➂ SET Button ➆ Built-in Probe ➃ POWER/DOWN Button ⑧ Magnetic Back... -
Page 4: Key Definition
Key Definition : Press and hold the button for 2 seconds to enter the menu for function setting. During the setting process, press the button to choose functions; press and hold the button for 2 seconds to quit and save setting changes. : Press the button to turn on the device. - Page 5 -50.0℃~300℃ 77.0℃ Alarm value for the built-in probe -58.0℉~572℉ 170℉ -4.9℃~4.9℃ 0.0℃ Temperature calibration for the built-in probe 0.0℉ -9.9℉~9.9℉ Alarm function ALM1 ON or OFF for the external probe1 -50.0℃~300℃ 77.0℃ Alarm value for the external probe1 -58.0℉~572℉ 170℉ -4.9℃~4.9℃...
- Page 6 Parameter Setting Guide Temperature Display Unit of ℃/℉ Step 1: press and hold button for 2 seconds to enter the menu for function setting, then press the button to choose CF function. Step 2: press button to choose ℃ or ℉. NOTE: All parameters will be restored to their default values once you change the temperature unit.
- Page 7 Step 2: press button to choose ON or OFF. Step 3: press and hold button for 2 seconds to quit and save changes. (All changes will be automatically saved if there is no operation in 30 seconds.) Backlight Active Time Step 1: press and hold button for 2 seconds to enter the menu for function setting, then press the button to...
- Page 8 Step 2: press button to choose ON or OFF. Step 3: press and hold button for 2 seconds to quit and save changes. (All changes will be automatically saved if there is no operation in 30 seconds.) Alarm Value Setting for the Built-in Probe Step 1: press and hold button for 2 seconds to enter the menu for function setting, then press the button to...
- Page 9 Temperature Calibration for the Built-in Probe Step 1: press and hold button for 2 seconds to enter the menu for function setting, then press the button to choose CA function. Step 2: press button to decrease or increase the value; long press to quickly decrease or increase the value.
- Page 10 Step 2: press button to choose ON or OFF. Step 3: press and hold button for 2 seconds to quit and save changes. (All changes will be automatically saved if there is no operation in 30 seconds.) Alarm Value Setting for P1 (the External Probe 1) Step 1: press and hold button for 2 seconds to enter...
- Page 11 Temperature Calibration for P1 Probe(the External Probe 1) Step 1: press and hold button for 2 seconds to enter the menu for function setting, then press the button to choose CA1 function. Step 2: press button to decrease or increase the value;...
- Page 12 Alarm Function for P2 (the External Probe 2) Step 1: press and hold button for 2 seconds to enter the menu for function setting, then press the button to choose ALM2 function. Step 2: press button to choose ON or OFF. Step 3: press and hold button for 2 seconds to quit and save changes.
- Page 13 Step 2: press button to decrease or increase the value; long press to quickly decrease or increase the value. Step 3: press and hold button for 2 seconds to quit and save changes. (All changes will be automatically saved if there is no operation in 30 seconds.) Temperature Calibration for P2 (the External Probe 2) Step 1: press and hold...
- Page 14 Operating Functions Of The Built-In Probe (unplugging the external probes) Screen Display Without plugging the external probes, the built-in probe is the current channel. The LCD screen displays data of the current channel in priority. When ALM=ON (the alarm function is on), the screen displays SET TEMP and the alarm value of the probe.
- Page 15 Turn On/Off Automatically: The device is automatically turned on by unfolding the built-in probe. It is turned off when you fold the probe back. Manually: Press button to turn on the device. Regardless of the probe being folded or unfolded, you can press and hold button for 2 seconds to turn off the device.
- Page 16 How To Cancel The Alarm: ➀ Press any button to cancel the alarm; ➁The alarm will automatically stop if the temperature goes lower than the alarm value. Backlight Backlight helps you check data conveniently. Without any operation, the backlight will keep activated for the time of BLT parameter, then be off automatically .
- Page 17 BBQ FUNCTIONS (plugging the external probes) Screen Display When you plug the external probe P1, the P1 probe is the current channel. The LCD screen displays data of the current channel in priority. P1 symbol appears on the screen. When ALM1=ON (the alarm function of P1 probe is on), the screen displays SET TEMP and the alarm value of P1 probe.
- Page 18 When ALM2=ON (the alarm function of P2 probe is on), the screen displays SET TEMP and the alarm value of P2 probe. When ALM2=OFF (the alarm function of P2 probe is off), the screen displays SET TEMP and “ ”. When you plug both external probes simultaneously, both external probes are current channels.
- Page 19 Alarm 1&2 Function When you set ALM1 (or ALM2) as OFF, the alarm function of P1 (or P2) probe is off, and the screen only display the current measured temperature. When you set ALM1 (or ALM2) as ON, the alarm function of P1 (or P2) probe is on, and the screen displays the alarm value of P1(or P2) probe (TS1/2) and the current measured temperature.
- Page 20 Backlight Backlight helps you check data conveniently. Without any operation, the backlight will keep activated for the time of BLT parameter, then be off automatically . You can press any button to activate it when it’s off. If you unfold the probe, the backlight will be activated automatically when the probe detects a temperature change.
- Page 21 Q1: What can you do if the screen displays “Er”, “---“ or other unnormal values? Answer: Please contact INKBIRD in time. Q2: What can you do if the screen do not display any value about P1 after inserting an external probe into the...
-
Page 22: Important Notes/Warning
Important Notes/Warning Please do not allow the probes or the probe cables to touch the fire, or it may result in burning and fusing. Please insert the probe deep enough into the meat if the display reading value is too high or increases too quickly. -
Page 23: Product Warranty
Product Warranty This item carries a 2-year warranty against defects in either components or workmanship. During this period, products that prove to be defective will, at the discretion of INKBIRD, be either repaired or replaced without charge. - Page 24 Meat Temperature & Doneness Chart MEAT Rare M.Rare Medium M.Well Done 49℃/ 54℃/ 60℃/ 66℃/ Beef 77℃/170℉ 120℉ 130℉ 140℉ 150℉ 49℃/ 54℃/ 60℃/ 66℃/ 77℃/170℉ Veal 120℉ 130℉ 140℉ 150℉ 49℃/ 54℃/ 60℃/ 66℃/ 77℃/170℉ Lamb 120℉ 130℉ 140℉ 150℉...
Need help?
Do you have a question about the IHT-2XP and is the answer not in the manual?
Questions and answers