Table of Contents
Advertisement
Quick Links
Advertisement
Table of Contents

Summary of Contents for Hisense H530FI
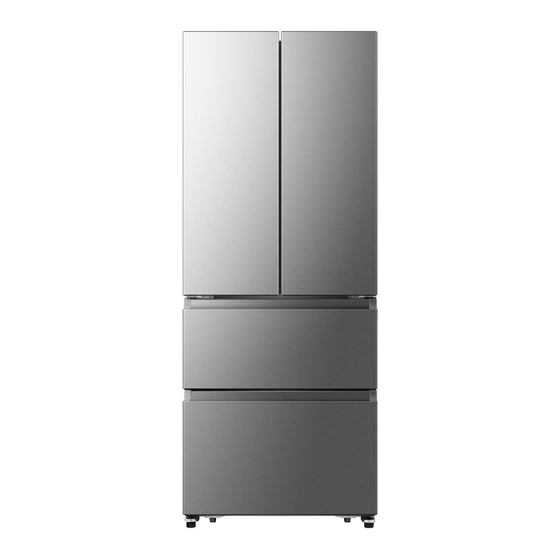
- Page 1 Refrigerator Use & Care Guide Model: H530FI...
-
Page 2: Table Of Contents
........................16 Disposal of the appliance ....................18 Brief Introduction Thank you for your choosing Hisense. We Kitchen areas in shops, offices and other are sure you will find your new refrigerator working environments. a pleasure to use. Before you use the... -
Page 3: Important Safety Instructions
Important Safety Instructions General safety and daily use Don’t place items on top of the appliance as this could cause injury should they fall off. It is important to use your appliance safely. We recommend that you follow the Never allow children to play with the guidelines below. - Page 4 If the fitted plug is not suitable for your To avoid eye injury, do not look directly socket outlets, it should be cut off and into the LED light located in the refrigerator carefully disposed of. To avoid a compartment. If it is not functioning possible shock hazard, do not insert the correctly, consult a qualified, registered discarded plug into a socket.
-
Page 5: Installing Your New Appliance
Installing Your New Appliance Before using the appliance for the first time, you should be informed of the following tips. WARNING For proper installation, this refrigerator 1785 must be placed on a level surface of hard material that is the same height as the rest of the flooring. - Page 6 Leveling of appliance Tools you will need(Not provided): For sufficient leveling and air circulating in the lower rear section of the Allen Wrench (5/32",4mm) Wrench (5/16",8mm) ,8mm) appliance, the bottom feet may need to be adjusted.You can adjust them manually by hand or by using a suitable spanner.
- Page 7 4. Remove the 4 hex head bolts hinges (5) 2. Take out the tray (9) by lifting it up in the direction of the arrow. with an Allen wrench (5/32",4mm). Remove the lower left and right door hinges (6). 3. Remove the screws (10) fixed on the slide guides with a Philips (+) screw driver, and then remove the freezer drawer (11) by lifting it up.
-
Page 8: Description Of The Appliance
Description of the Appliance Door Bins Fruit & Vegetable Crisper Vertical Baffle Part Freezer Door Refrigerator Gasket Upper Tray Part Refrigerator Door Freezer Upper Dawer Control Panel Freezer Door Glass shelves Lower Tray Part Air Chanel Freezer Lower Drawer Crisper cover Adjustable bottom feet ote: Your model may look different from this and other images in this manual, depending on your model’s features. -
Page 9: Display Panel
Brief introduction Control panel Use your appliance according to the following control regulations, your appliance has the corresponding functions and modes as the display panels showed in the pictures below. When the appliance is powered on for the first time, the backlighting of the icons on display panel starts working. - Page 10 Holiday NOTE: Super Cool will automatically turn off after 3 hours, and the refrigerator will revert If leaving the appliance for a long period of to its previous temperature setting. time, you can switch the appliance over to the holiday mode. Super Freeze Important! Do not store any food in the fridge...
-
Page 11: Using Your Appliance
Brief introduction Using your appliance Your appliance has the accessories as temp. setting of suggested storage type of food fridge compartment period the“Description of the appliance” showed 2 or 3 or 4°C fish or meat ≤2days in general, with this part instruction you 5 or 6°C fruit <2weeks... - Page 12 Order Compartments Target storage Appropriate food temp.[°C] Type Eggs, cooked food, packaged food, fruits and Fridge +2~+8 vegetables, dairy products, cakes, drinks and other foods which are not suitable for freezing. Seafood (fish,shrimp,shellfish),freshwater aquatic (***)*-Freezer products and meat products (recommended for 3 months ,the longer the storage time,the worse the taste and nutrition),suitable for frozen fresh food.
-
Page 13: Cleaning And Care
Cleaning and Care For hygienic reasons the appliance then rinse with warm water using a (including exterior and interior wrung-out sponge or cloth. Wipe accessories) should be cleaned at least completely dry before replacing the every two months. shelves and baskets. Thoroughly dry all surfaces and removable parts before putting them back into place. -
Page 14: Helpful Hints And Tips
Door seals cleaning CAUTION! Take care to keep door seals clean. Only after the door seals are Sticky food and drinks can cause seals completely dry should the to stick to the cabinet and tear when appliance be powered on. you open the door. - Page 15 Hints for refrigeration For Meat: (all types) wrap in cling wrap Iced products (ice cubes, popsicles): if and place on the glass shelf above the consumed immediately after removal vegetable drawer. Always follow food from the freezer compartment, will storage times and use by dates probably cause frost burns to the skin.
-
Page 16: Troubleshooting
Troubleshooting If you experience a problem with your appliance or are concerned that the appliance is not functioing correctly, you can carry out some easy checks before calling for service, please see below. WARNING 1. Don’t try to repair the appliance yourself. If the problem persists after you have made the checks mentioned below, contact a qualified electrician, authorized service technician or the shop where you purchased the product. - Page 17 It is normal to frequently hear the sound of the motor, it will need to run more when in following circumstances: Temperature setting is set colder than necessary. Large quantity of warm food has recently been stored The motor runs within the appliance.
-
Page 18: Disposal Of The Appliance
Disposal of the Appliance DANGER It is prohibited to dispose of this appliance as household waste. Packaging materials Packaging materials with the recycle symbol are recyclable. Dispose of the packaging into a suitable waste collection container to recycle it. Before disposal of the appliance 1.


