Advertisement
Support
Responsible: D. Rutz
Date: 1.03.2007
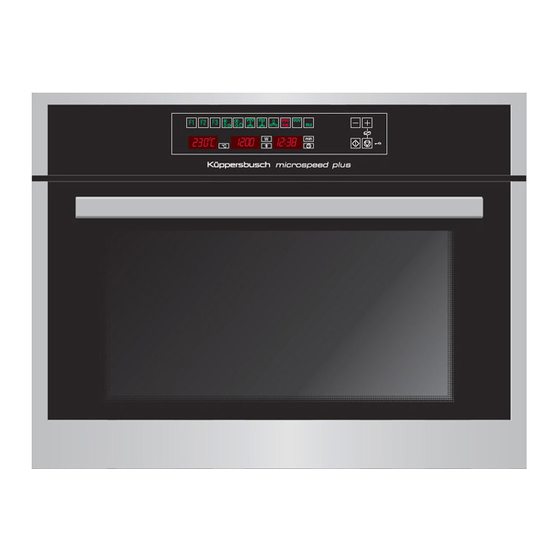
Replacing the inner frame of the door of the EMWK 1050.0
INTRODUCTION
Replacing the inner frame of the door has become one of the repairs most carried out by technicians on
the new series of compact microwave ovens (replacing hinges, handles and catches).
In order to be able to re-use individual elements without any damage we have below listed the correct
procedure for removing the door and its components. The inner frame is only pressed on without the
help of any devices such as screws or pins.
PROCEDURE
Removing the door
1. Pull the door right open.
2. Insert rivets into the holes of the hinge.
3. Pull the door upwards out of the hinges.
Removing the inner frame
1. Lift up the frame direct next to the hinges and remove it.
The frame is a little thinner at this point and can be lifted
out more easily.
2. Firstly use a screwdriver to carefully lift out the frame on
the outside between the two hinges direct next to the
glass.
3. Repeat this procedure on the left side.
4. Remove the inner clips on both sides of the frame.
5. Finally carefully remove the silicon sealing.
Internal use only
Technical Information
Tel.:
(0209) 401 733
Fax:
(0209) 401 743
and the EMWG 1050.0
T4-79-02
Advertisement
Table of Contents

Subscribe to Our Youtube Channel
Related Manuals for Kuppersbusch EMWK 1050.0


Summary of Contents for Kuppersbusch EMWK 1050.0
- Page 1 Date: 1.03.2007 Fax: (0209) 401 743 Replacing the inner frame of the door of the EMWK 1050.0 and the EMWG 1050.0 INTRODUCTION Replacing the inner frame of the door has become one of the repairs most carried out by technicians on the new series of compact microwave ovens (replacing hinges, handles and catches).
- Page 2 T4 79 02 Re-assembling the inner frame 1. Insert the hob seal all around, without any gaps. Begin in the centre of the underside of the new frame. The beginning and the end must meet. Make sure that the seal is not deformed. 2.
Need help?
Do you have a question about the EMWK 1050.0 and is the answer not in the manual?
Questions and answers