Sign In
Upload
Download
Table of Contents
Contents
Add to my manuals
Delete from my manuals
Share
URL of this page:
HTML Link:
Bookmark this page
Add
Manual will be automatically added to "My Manuals"
Print this page
×
Bookmark added
×
Added to my manuals
Manuals
Brands
EKKO Manuals
Forklifts
EK25LP
Operator's manual
EKKO EK25LP Operator's Manual
Counterbalanced type forklift truck with engine
Hide thumbs
1
Table Of Contents
2
3
4
5
6
7
8
9
10
11
12
13
14
15
16
17
18
19
20
21
22
23
24
25
26
27
28
29
30
31
32
33
34
35
36
37
38
39
40
41
42
43
44
45
46
47
48
49
50
51
52
53
54
55
56
57
58
59
60
61
62
63
64
65
66
67
68
69
70
71
72
73
74
75
76
77
78
79
80
81
82
83
84
85
86
87
88
89
90
91
92
93
94
95
96
97
98
99
100
101
102
103
104
105
106
107
108
109
110
111
112
113
114
115
116
117
page
of
117
Go
/
117
Contents
Table of Contents
Bookmarks
Table of Contents
Table of Contents
About Safety
Main Use of Forklift Trucks
Working Environment and Areas of Forklift Trucks
Safety Problem before Use
Safety Problem During Operation
Safety Problem During Service
Safety Problem of Battery Using
Safety Problems During Attachments Installation, Adjustment and Using
Safety Problem During LPG Truck
Decal
Operation Device & Method
I.liquid Crystal Displayer
Switches
Controls
Body & Others
Cab (Optional)
Safety Devices
Driving and Operation
I.notes on New Truck Usage
Relationship between Load and Stability of Truck
Load Center and Rated Load
Stability of Forklift Truck
Transporting and Loading the Truck
Before Starting Engine & after Engine Has Started
Pick up
Stacking Operation
Picking Operation
Notes When the Truck Is Equipped with Solid Tire
Storing
.Periodic Inspection & Servicing
I .General Rules on Inspection
Inspection Contents
Maintenance
Preventive Maintenance Service Schedule
Lubrication Chart
Fuel and Lubricants Used for Forklift Truck
Advertisement
Quick Links
Download this manual
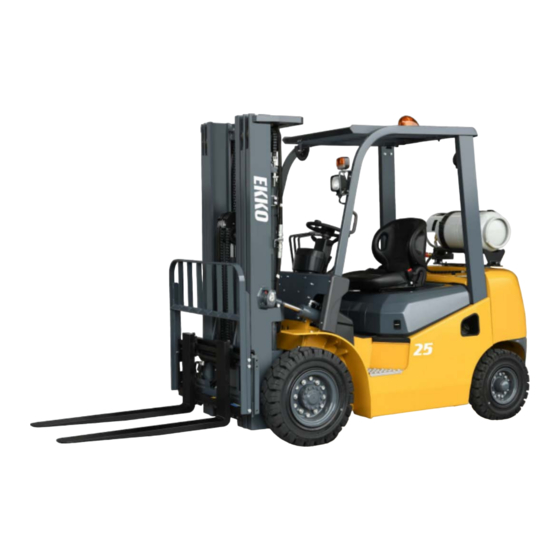
OPERATOR'S MANUAL
Counterbalanced Type Forklift Truck with Engine
EK25LP/EK25-212LP/EK30LP
Table of
Contents
Previous
Page
Next
Page
1
2
3
4
5
Advertisement
Table of Contents
Need help?
Do you have a question about the EK25LP and is the answer not in the manual?
Ask a question
Questions and answers
Related Manuals for EKKO EK25LP
Forklifts EKKO EK20R Manual
Electric counterbalanced forklift (61 pages)
Forklifts EKKO EK20R Service Manual
Electric forklift (42 pages)
Forklifts EKKO EK20LI Series Manual
Electric forklifts (52 pages)
Forklifts EKKO EK25SLP Operation And Maintenance Manual
Forklift truck with cushion tire (182 pages)
Forklifts EKKO EK18GS Operation And Maintenance Manual
Electric counterbalance forklift truck (107 pages)
Forklifts EKKO EK20TLP Instruction Manual
Internal combustion engine powered (143 pages)
Forklifts EKKO EK20GT-LI Manual
Counterbalance lithium battery forklift truck (122 pages)
Forklifts EKKO EK18G-LI Operation And Maintenance Manual
Electric counterbalance forklift truck series (107 pages)
Forklifts EKKO EK18RF Manual
Counter balanced electric forklift (40 pages)
Forklifts EKKO EK15A-189LI Series Manual
3 wheel electric forklift (28 pages)
Forklifts EKKO EK14-130 Manual
Counter balanced stacker (25 pages)
Forklifts EKKO EK07S Series Service Manual
Counter balanced stacker (38 pages)
Forklifts EKKO EK30LP Operator's Manual
Counterbalanced type forklift truck with engine (117 pages)
Forklifts EKKO EK50LP Operation And Maintenance Manual
Liquid propane forklift with pattern cushion tires (176 pages)
Forklifts EKKO EK30SLP Operation And Maintenance Manual
Forklift truck with cushion tire (182 pages)
Forklifts EKKO EK14C-130LI Operation & Maintenance Manual
Lithium counterbalance (25 pages)
This manual is also suitable for:
Ek25-212lp
Ek30lp
Table of Contents
Print
Rename the bookmark
Delete bookmark?
Delete from my manuals?
Login
Sign In
OR
Sign in with Facebook
Sign in with Google
Upload manual
Upload from disk
Upload from URL


Need help?
Do you have a question about the EK25LP and is the answer not in the manual?
Questions and answers