Table of Contents
Advertisement
Quick Links
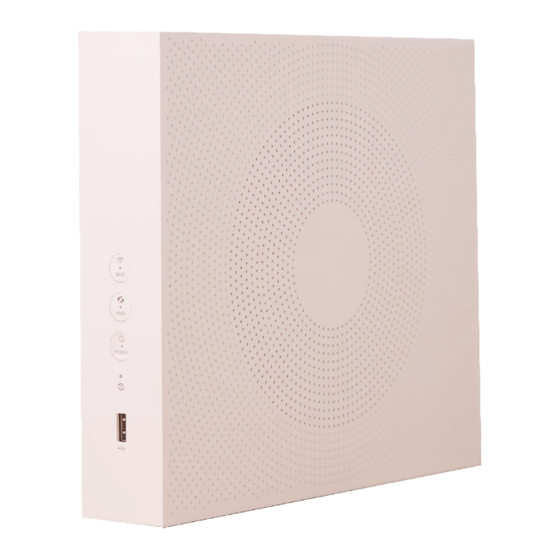
Telstra DJA0230 - VDSL
Step 1
Connect your nbn™ equipment and modem using the setup guide provided for
your technology type. If you have not completed this, please refer back to the
nbn™set up guides.
Step 2
Ensure the modem is powered on. Using a pin, reset the modem by pressing
and holding the reset button on the modem until all the lights go off.
Step 3
Using your own device (computer, laptop, tablet or smartphone), connect to the
modem using one of the two options shown below: Ethernet cable directly to the
Ethernet port or WiFi.
Ethernet
Connect the Ethernet cable (this is usually yellow, blue, grey or white) as
shown below from the Ethernet port (LAN port) on the modem to the Ethernet
port on your computer or laptop.
Advertisement
Table of Contents

Related Manuals for Telstra DJA0230


Summary of Contents for Telstra DJA0230
- Page 1 Telstra DJA0230 - VDSL Step 1 Connect your nbn™ equipment and modem using the setup guide provided for your technology type. If you have not completed this, please refer back to the nbn™set up guides. Step 2 Ensure the modem is powered on. Using a pin, reset the modem by pressing and holding the reset button on the modem until all the lights go off.
- Page 2 Username – admin Password – Telstra( Case sensitive) If it advises the information is incorrect, Please check the sticker on the bottom of your Telstra DJA0230. Details listed will be for Admin & Password field. Step 6 Once back on the main menu, you will notice the heading “PPPoE Settings”.
- Page 3 ← User ID ← Step 7 You can adjust the Wi-Fi as you wish by clicking Wi-Fi at the top then scrolling down to “Wi-Fi network”. Please enter your new Wi-Fi name under Network name and password under Network Key. Click save once completed. Step 8 If you have a VoIP service, please contact us (contact details are listed below).
- Page 4 Please include in your email your: Account Number Step number and description of issue/fault Any relevant pictures etc. which may assist our team in resolving this for you Preferred contact method and/or contact time (we’ll do our best to ...
Need help?
Do you have a question about the DJA0230 and is the answer not in the manual?
Questions and answers
CHANGE MY 5G TO 2.4