Table of Contents
Advertisement
Advertisement
Table of Contents

Related Manuals for Oneil MF4T


Summary of Contents for Oneil MF4T
- Page 1 MICROFLASH 4T User's Guide...
-
Page 3: Table Of Contents
4t Printer: Top View ... 1 Using Batteries: General Guidelines ... 2 Installing and/or Replacing Batteries ... 2 Charging the Battery ... 3 Determining Battery Condition ... 3 Installing Paper ... 5 Printing a Self-Test ... 7 Configuring the Printer ... 7 Using Printer Data Cables ... -
Page 4: Microflash 4T Printer: Top View
MICROFLASH 4T PRINTER USER'S GUIDE microFlash 4t Printer: Top View Battery Retaining Clip Battery/Battery Well RF/Power Button/LED Self-Test Button Charge LED Print Head Release Lever Data Port Roller Power Port Paper/Paper Cavity Figure 1... -
Page 5: Using Batteries: General Guidelines
Installing and/or Replacing Batteries on this page If you are storing your printer for a long period of time, reinstall the battery isolator labels. Both batteries must be installed for your printer to operate properly. -
Page 6: Charging The Battery
To charge the battery, you must first remove the red, battery isolator labels. If the battery is low when the printer “wakes up,” the printer sounds three short beeps. Plug the AC Adapter into an appropriate power source. The Charge LED turns red when charging and turns green when fully charged. - Page 7 Caution: The operating temperature of this portable printer is 50° C. However, the operating temperature when used with O’Neil power supply for charging the portable printer is limited to 40° C. Please charge the printer in a suitable location that meets this temperature requirement.
-
Page 8: Installing Paper
Do not stop at the partial open position (Figure 5). Figure 4 3. Wake up the printer by briefly pressing the red, self- test button (Figure 6). 4. Feed the end of the paper under the roller. The paper automatically feeds under the roller and exits the top of the print head. - Page 9 MICROFLASH 4T PRINTER USER'S GUIDE 5. Lower the gray, print head release lever (Figure 8). 6. Feed the paper through the printer's cover (Figure 9). Figure 9 Figure 8 7. Close and latch the printer's cover.
-
Page 10: Printing A Self-Test
2. Insert the plug into the printer's data port (Figure 10). Figure 10 3. Lead the cable through the notch on the outside of the printer's cover. 4. With the cable exiting the front of the printer, close and latch the printer's cover. -
Page 11: Using 802.11B/Bluetooth
(For more information, Printing a Self-Test on page 7 printers, configure them specifically for use in your environment. For proper system operation, set the following parameters on your printer and host computer: 802.11b Parameters ESS ID IP Address (if not DHCP) DHCP... -
Page 12: Using Buttons, Leds, And Audio Indicators
If printer is asleep and RF power is on; printer wakes up and RF power is turned off. If printer is awake and RF power is off; RF power is turned on. If printer is awake and RF power is on; RF power is turned off. -
Page 13: Charge Led Indicators
MICROFLASH 4T PRINTER USER'S GUIDE Charge LED Indicators State of Charge Solid Red Charge in progress. Green Charge complete. Red flash - Battery is disconnected. slow Battery is too cold. Red flash - High temperature. fast Red to Battery voltage is very orange - low. -
Page 14: Audio Indicators
MICROFLASH 4T PRINTER USER'S GUIDE Audio Indicators Beep(s) Description Printer wakes up. Out of paper. Low battery. 1 short RF power is on (when blue, RF power button is pressed and power was turned off). 2 short RF power is off (when blue, RF power button is pressed and power was turned on). -
Page 15: Using A Cardreader
CardReader slot. One short beep indicates the CardReader/printer is awake. If you are using a Smart CardReader, insert a card with the gold contacts facing away from the printer and leave the card in CardReader slot. If you are using a Magnetic CardReader, insert a card with the stripe facing toward the printer, then slowly remove the card from the CardReader slot. -
Page 16: Using External Charging
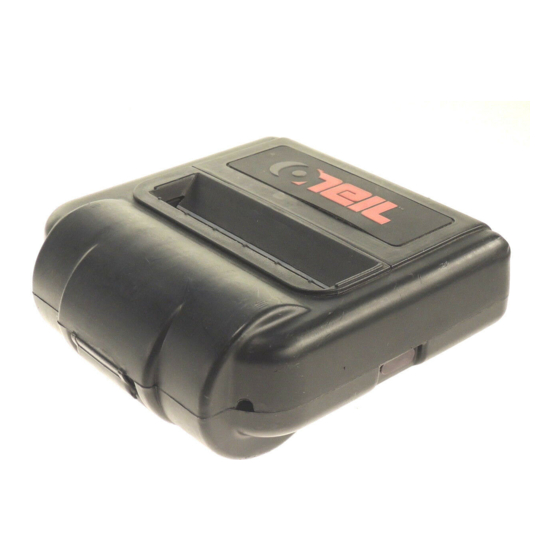
Figure 12 Overview External charge-capable printers have two charging contact points located on the back of the printer's case (Figure 12). External charge-capable printers can be used with various O'Neil accessories such as the swivel lock bracket and the external swivel lock depot charger. -
Page 17: Agency Approvals
MICROFLASH 4T PRINTER USER'S GUIDE Agency Approvals FCC Notice This equipment has been tested and found to comply with the limits for a Class B digital device, pursuant to Part 15 of the FCC Rules. These limits are designed to provide reasonable protection against harmful interference in a residential installation. - Page 18 MICROFLASH 4T PRINTER USER'S GUIDE...
- Page 19 MICROFLASH 4T PRINTER USER'S GUIDE Copyright This manual and any examples contained herein are provided “as is” and are subject to change without notice. O’Neil Product Development, Inc. makes no warranty of any kind with regard to this manual, including, but not limited to, the implied warranties of merchantability and fitness for a particular purpose.
-
Page 20: Supplies
(when using linerless labels) in addition to dirt and other contaminants. For more information, contact O'Neil Printer Supplies Group at (949) 458-6400. For more information For information about using the printer, contact O'Neil at (949) 458-0500, or visit wsww.oneilprinters.com. - Page 22 World Headquarters O'Neil Product Development 8 Mason Irvine, CA 92618-2705 Ph: 949.458.0500 Fx: 949.458.0708 Europe 6 Joplin Court, Crownhill Milton Keynes MK8 0JP United Kingdom Ph: +44 (0) 1908 635360 Fx: +44 (0) 1908 635361 COPYRIGHT © 2007, O’NEIL PRODUCT DEVELOPMENT, INC. Part Number 110118-009, February 2007, Made in USA WWW.ONEILPRINTERS.COM...
Need help?
Do you have a question about the MF4T and is the answer not in the manual?
Questions and answers