Table of Contents
Advertisement
Quick Links
Advertisement
Table of Contents

Subscribe to Our Youtube Channel
Related Manuals for Kabuto Ryuki


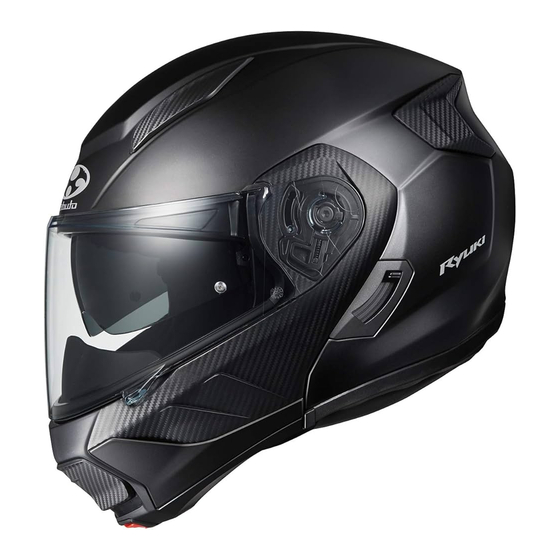
Summary of Contents for Kabuto Ryuki
- Page 1 Instruction Manual BEFORE USE ● Make sure to read this Instruction Manual before use. Keep this instruction manual in a safe place when you finish reading this manual. ● This is a motorcycle helmet. Do not use this helmet for any other purposes. www.ogkkabuto.com 202206-E2206-YC...
-
Page 2: Table Of Contents
Instruction Manual • Table of Contents Part Descriptions Head Ventilation Shell Rear Ventilation ・ ・ ・ ・ ・ P-1 Table of Contents Integrated Wake Stabilizer ・ ・ ・ ・ ・ P-2 Part Descriptions PATENTED NOTES BEFORE USE ・ ・ ・ ・ ・ P-3 –Exterior–... -
Page 3: Notes Before Use
Do not paint or apply solvent Any paint, glue, adhesive stickers, etc. (or the use of detergents and solvents other than those Thank you very much for purchasing the Kabuto helmet. prescribed) may not only reduce the original protective performance of the helmet considerably, This Instruction Manual describes proper handling, various functions, and but may also cause damage to the helmet that cannot be detected by the naked eye. -
Page 4: Ventilation
Ventilation —Head Ventilation— Move the shutter to the back. Move the shutter to the front. Head Ventilation To Open To Close Air duct —Chin Ventilation— Air duct To Open To Close Rear Ventilation Chin Ventilation *No open/close function Raise the shutter. Lower the shutter. -
Page 5: Shield
—Attaching— Shield ① Hitch the upper hook on the shield —Removal— to the upper groove on the ratchet side and hold it down. ② Press the shield Pull the lever to edge forcefully. remove shield. Fig.1 ① Attach the upper hook on the shield by pressing on the part shown in Figure 1 of the shield while hooking it to the upper groove located in the shield ratchet. - Page 6 —Attaching— <Shield Ratchet> ① Check the direction of the shield The shield ratchet appears when the shield is completely removed. ratchet and the collar. (Figure 1) —Removal— * The collar has an engraving of right = R, left = L. ①...
- Page 7 OPTION Section view Make sure the Pinlock Original ® of the shield Insert Lens to be fit inside the chase. Pinlock® Original Insert Lens has international patent Original Insert Lens protection and is a registered brand name of Pinlock® Protective film fog-free systems B.V..
-
Page 8: Inner Sunshade
Inner Sunshade CAUTION! • Attach the Pinlock ® Original Insert Lens after you made the shield to be adequately flat. The eccentric pin could be damaged. —How to Open and Close— • Remove any dirt from the inside of the shield when attaching. Be very careful not to touch the anti-fog surface on the silicone seal side of the Pinlock ®... - Page 9 Stopper —Removal— —Attaching— ① Raise the sunshade lever (the inner Lever Lever sunshade will be fully closed). Check that the Close completely. sunshade lever is upward. インナーサンシェー ド Inner Sunshade (Fig.1) (Fig.2) ② Insert the end of the inner ① ②...
-
Page 10: Chin Cover
Chin Cover —Removal— ① Remove the shield. (Refer to the —How to Open the Chin Cover— relevant page for details on removal.) While pressing the lock lever (the red part) shown in the drawing, raise the chin ② Remove the shield ratchet and the cover until it stops. -
Page 11: Chinstrap
<Chinstrap Cover> Chinstrap —Removal— <Micro Ratchet Buckle> Remove the chinstrap cover from the hook and loop fastener at the base of the chinstrap. (Fasten) (Remove) —Attaching— ① Check the front and back of the chinstrap cover (front: leather; back: cloth) and Insert Remove pass the chinstrap through the inlet.* The chinstrap cover is the same part on... -
Page 12: Cheek Pads
<D-ring Buckle> Cheek pad ① Let the strap go through the D ring, —Removal— D-ring Chinstrap and pull the strap to the direction of the arrow to fasten it. Chinstrap Chinstrap ② Fasten the snaps to prevent looseness in the chinstrap. WARNING! Front Side Be sure to fasten the chinstrap... -
Page 13: Inner Pad
—Attaching— Inner pad Direction of the Cheek Pads —Removal— Insert the rear side of the core material into the back of the head Front Front 2 Locations portion in the helmet. Left Right Core Material Core Material The part that touches the cheek Cheek pad (Fig.1)... -
Page 14: Interior Compatibility
Interior Compatibility Wind Shutter Inner Pad —Removal— Shell size Helmet size Pad thickness Compatibility Inclusion Hold a portion near the core material of (default) OPTION 21mm the entire wind shutter and pull it in the Compatible direction of the arrows in the order ① to 18mm among S and M ④... -
Page 15: Aa Breath Guard
• Helmet body (shell) • Shock absorbing liner (main body, chin area) Breath Guard • Chinstraps including buckles *Contact authorized Kabuto dealers for detailed information about repair and others. —Attaching— Securely insert the three inserts into the mounting port on the helmet at Breath Guard the bottom of the breath guard. -
Page 16: Parts Table And Repair Correspondence Table
* In order to improve product performance, materials, specifications, prices, and other elements are subject to change, without notice. www.ogkkabuto.com * Parts details can also be found on the Kabuto website. Repair Compatible and Commercially Available Parts These parts are repaired at cost to the user except damage attributable to a defect in material and workmanship of Kabuto helmets.
Need help?
Do you have a question about the Ryuki and is the answer not in the manual?
Questions and answers