Table of Contents
Advertisement
Quick Links
Advertisement
Table of Contents

Subscribe to Our Youtube Channel
Related Manuals for Kokido xtrovac 710


Summary of Contents for Kokido xtrovac 710
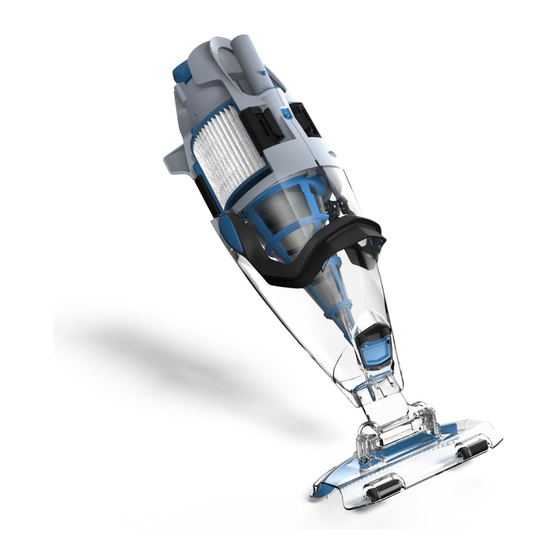
- Page 1 Pool Vacuum Cleaner xtrovac 710 USER MANUAL...
-
Page 2: Safety Warnings & Instructions
SAFETY WARNINGS & INSTRUCTIONS Information contained in this Instruction Manual will help you operate the item safely, protect yourself and others from hazards, and prevent damage to the device and other property. SAVE THESE INSTRUCTIONS WARNING! This is not a TOY. Children should be kept out of reach from this pool vacuum and its accessories. - Page 3 while it is charging with wet limbs and without shoes. You should not operate this pool vacuum when people/pets are present in the water. DO NOT use this pool vacuum without an intact filter cone in place, as your warranty will be voided as a result. Suction entrapment hazard: This pool vacuum generates suction.
- Page 4 Keep the external adaptor disconnected from power when it is Ÿ not in use. Never attempt to open the external adaptor and charging plug. Ÿ If the supply cord of the external adaptor is damaged, the Ÿ external adaptor must be replaced by the manufacturer or its service agent to prevent hazards of any kind.
-
Page 5: Getting Started
GETTING STARTED Charging the battery IMPORTANT NOTE: Fully charge the pool vacuum (about 6 hrs) before using it for the first time. WARNING! Use only the original external adaptor and charging plug provided. Ÿ Make sure the pool vacuum and the charging port are clean and dry Ÿ... - Page 6 3. Connect the external adaptor to the power source. The indicator light on the external adaptor will turn red when the vacuum is charging and green when it is fully charged. Charge it for 5-6 hours for best performance. RED light - Charging GREEN light - Charged NOTE: if the motor is generating noise, turn off the unit by positioning the switching knob to Power Off/Charging Mode position.
- Page 7 Set-Up Before Use Telescopic pole (not included) assembly (For EU & USA only) Press down the side pins of the connector and slide the telescopic pole to the connector until both side pins secured in the holes of the pole. Press down the top pin of the connector and insert it into the connector chamber until top pin is secured in the hole.
- Page 8 Cartridge filter setting For general cleaning, place the cartridge filter on NORMAL position or completely remove the cartridge filter in order to prolong the cartridge life. For fine filtration, place the cartridge filter at the FINE position for picking up fine debris (i.e., sand, fine dust etc).
-
Page 9: Operation
Reverse the steps to lock both latches. Make sure the hook is secured on the edge of the cartridge filter and the latch is completely pressed down to the body. Pool Preparation If there are stones, roots or metal corrosion in contact with the underside of the liner, discard them prior to using the pool vacuum. - Page 10 Ensure the charging cable is detached before the pool vacuum is Ÿ deployed. 1) Bring your pool vacuum to the side of your pool / spa. Immerse the pool vacuum in water and turn the power switching knob clockwise to initiate operation. Power indicator lights: 4 lights ON Up to 75 minutes left.
- Page 11 CAUTION! If the pool vacuum is charging, disconnect the external adaptor from the power source and detach the pool vacuum from the charging plug. Make sure the pool vacuum is OFF. Ÿ Cleaning the filter cone Place the pool vacuum on a stable surface. Hold the pool vacuum and pry up the canister lever to the end to completely release the side locks.
-
Page 12: Maintenance And Storage
Align and re-assemble the hood to the pool vacuum and make sure the lever is completely pushed down to the hood. You will hear a “click” sound. Clean the cartridge filter Ÿ Follow the instruction in “Cartridge filter setting” to detach cartridge filter. Inspect everything for damage and wear. -
Page 13: Battery Disposal
Ÿ The pool vacuum must be disconnected from the supply mains when removing the battery. Ÿ The battery is to be disposed safely and according to local ordinances or regulations. NOTE: Incorrect maintenance may reduce the battery life and affect its capacity as a result. - Page 14 How to remove the battery pack for battery disposal only (To be done by authorized technician) Recommended tools (not included): Philips screwdriver 1. Use Philips screwdriver to unfasten all screws on the body. Pay attention that it needs to detach the small cap to locate the screw on the top of the left body.
-
Page 15: Troubleshooting
Toll-Free Voicemail: (866) 683-7672 without prior notice. International patents pending Download Instruction Manual & Videos: RoHS SAVE THESE INSTRUCTIONS QR Code: Manufacturer: Kokido Development Limited. Unit 1319, Sunbeam Centre, https://shop.kokido.com/pages/support-xtrovac-710 27 Shing Yip Street, Kwun Tong, Kowloon, HK EV75BX/AMZ/US Made in China...
Need help?
Do you have a question about the xtrovac 710 and is the answer not in the manual?
Questions and answers