Advertisement
Quick Links
ION 9200
1
Before You Begin
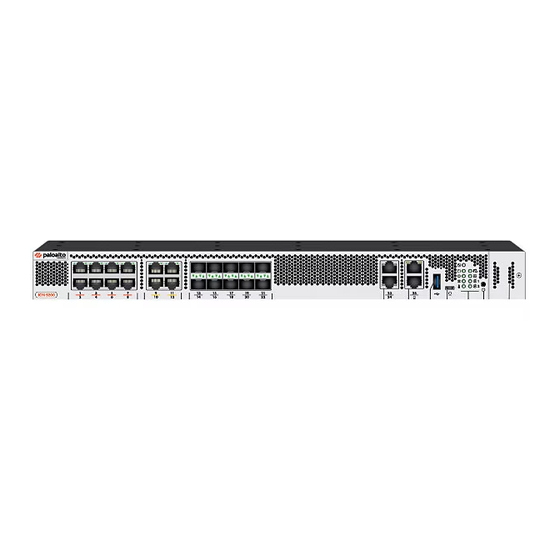
Use this document to install and set up your Prisma SD-WAN ION 9200. Refer to the ION 9200
Hardware Reference at
https://docs.paloaltonetworks.com/hardware/ion-9200-hardware-
reference
for safety information, specifications, and more detailed procedures for installing the
device.
•
Verify that the installation site has adequate air circulation and AC power.
•
Have a #1 and #2 Philips-head torque driver available. Use the #1 Phillips-head bit to attach
the rack-mount brackets to the device and use the #2 bit to secure the rack-mount brackets
to the equipment rack posts.
•
Unpack the equipment and verify that you received the following items:
Items
ION 9200
AC Power Cord
USB 2.0 to RJ45 Console cable
Shielded RJ-45 CAT6 Ethernet cable
Velcro
1RU mounting ears (left and right)
Rear support brackets
Adjustable mounting brackets (left and right)
#6-32 x 5/16" rack-mount screws
#10-32 x 3/4" rack-mount screws
#12-24 x 1/2" rack-mount screws
#10-32 nut cages
End User License Agreement (EULA)
China RoHS Declaration
2
Rack Mount the Device
Install the ION 9200 in a 19" four-post equipment rack using the four-post rack kit.
Attach one rack-mount bracket to each side of the ION 9200 (Figure 1) in the front-mount
1
position using four #6-32 x 5/16" screws for each bracket and torque to 9 in-lbs.
Attach one rack-mouunt rail to each side of the device (Figure 1) using two #6-32 x 5/16"
2
screws for each rail and torque to 9 in-lbs.
docs.paloaltonetworks.com
Quantity
1
2
1
With help from another person, hold the device in the rack and secure the front rack-mount
3
brackets to the front rack-posts (Figure 2) using two screws for each bracket.
1
◼
1
in-lbs.
2
◼
2
Slide one back rack-mount bracket into each of the two previously installed side rack-mount
4
rails (Figure 2) and secure the brackets to the back rack-posts using the appropriate screws for
2
your rack (#10-32 x 3/4" or #12-24 x 1/2") and torque to 25 in-lbs.
13
9
9
8
1
1
Page 1 of 2
Figure 1 - Attach the accessories to the device
Use the appropriate screws (#10-32 x 3/4" or #12-24 x 1/2") for your rack and torque to 25
Use cage nuts to secure the screws if the rack has square holes.
Figure 2 - Install the device in the rack
Quick Start Guide
Advertisement

Summary of Contents for PaloAlto Networks TECHDOCS ION 9200
- Page 1 Quick Start Guide ION 9200 Before You Begin Use this document to install and set up your Prisma SD-WAN ION 9200. Refer to the ION 9200 Hardware Reference at https://docs.paloaltonetworks.com/hardware/ion-9200-hardware- reference for safety information, specifications, and more detailed procedures for installing the device.
- Page 2 /ion-9200-hardware-reference. To learn how to configure the device, refer to the Prisma SD-WAN Administrator's Guide: https://docs.paloaltonetworks.com/prisma/prisma-sd-wan/prisma-sd-wan-admin. Contact PaloAlto Networks Support to get help. Customer Support at https://www.paloaltonetworks.com/company/contact-support. For Technical Support: US: 866 898 9087 | International: +1 408 738 7799 Page 2 of 2 docs.paloaltonetworks.com...


