Table of Contents
Advertisement
Quick Links
INSTRUCTIONS
FIELD-ADJUSTABLE SR™ INSTALLATION
RAB Lighting is committed to creating high-quality, aff ordable, well-designed and energy-effi cient LED lighting and controls that make it easy for electricians to install
and end users to save energy. We'd love to hear your comments. Please call the Marketing Department at 888-RAB-1000 or email: marketing@rablighting.com
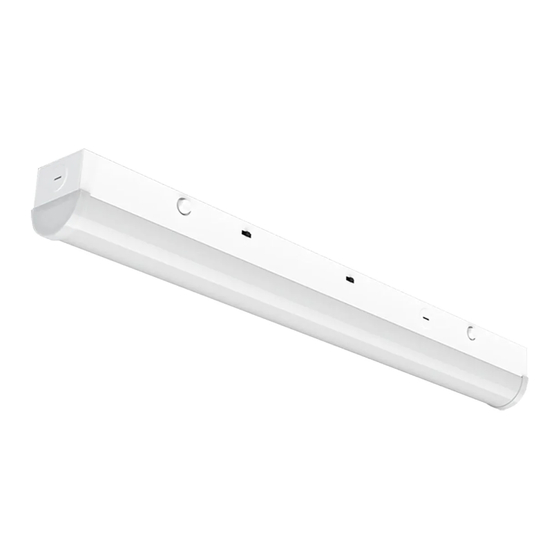
SR2
IMPORTANT
READ CAREFULLY BEFORE INSTALLING FIXTURE. RETAIN THESE INSTRUCTIONS FOR FUTURE REFERENCE.
RAB fi xtures must be wired in accordance with the National Electrical Code and all applicable local codes. Proper grounding is
required for safety. THIS PRODUCT MUST BE INSTALLED IN ACCORDANCE WITH THE APPLICABLE INSTALLATION CODE BY A PERSON
FAMILIAR WITH THE CONSTRUCTION AND OPERATION OF THE PRODUCT AND THE HAZARDS INVOLVED.
WARNING: Disconnect or turn OFF power at the electrical panel before installing or maintaining xture. No User serviceable
parts inside xture.
Suitable for damp locations. Suitable for operation in ambient not exceeding 50°C.
SURFACE MOUNTING
The fi xture is suitable for indoor ceiling mounting, as follows:
1. Press and hold the Release Buttons (4) on both sides of the
Fixture Housing to release the Lens (Fig. 1). When pressing the
Release Buttons use one hand to hold the Lens and press the
Release Buttons on both sides of the Fixture with the other hand.
CAUTION: The Lens may drop out quickly. Lens is supported
with (2) Tether Cables (Fig. 3).
2. Attach both Junction Box Cover Plates to the Fixture Housing by
sliding in the direction of arrows as shown in Fig. 2. Secure with (2)
Screws (provided).
3. Feed supply wires through Wire Access Hole. Secure Fixture
Housing to the junction box or building structure per NEC
Code(Fig. 3).
4. Make electrical connections as shown in wiring diagram
(Fig. 12). Use approved wiring connectors and wire to local NEC
codes. Push all wires back into Fixture Housing. Be careful not to
pinch wires.
5. Snap Lens back into Fixture Housing and remove protective
plastic from Lens.
WARNING: To prevent wiring damage or abrasion, do not expose
wiring to sharp objects.
SR4
Fig: 1
Lens
Fig: 2
Junction Box
Cover Plates
Fig: 3
Fixture Housing
Lens
SR8
Fixture Housing
Release Buttons (4)
Wire Access Hole
Screws (4)
Screws (2)
Tether Cables (2)
Advertisement
Table of Contents

Related Manuals for RAB Lighting SR2


Summary of Contents for RAB Lighting SR2
- Page 1 FIELD-ADJUSTABLE SR™ INSTALLATION RAB Lighting is committed to creating high-quality, aff ordable, well-designed and energy-effi cient LED lighting and controls that make it easy for electricians to install and end users to save energy. We’d love to hear your comments. Please call the Marketing Department at 888-RAB-1000 or email: marketing@rablighting.com IMPORTANT READ CAREFULLY BEFORE INSTALLING FIXTURE.
- Page 2 FIELD-ADJUSTABLE SR™ INSTALLATION RAB Lighting is committed to creating high-quality, aff ordable, well-designed and energy-effi cient LED lighting and controls that make it easy for electricians to install and end users to save energy. We’d love to hear your comments. Please call the Marketing Department at 888-RAB-1000 or email: marketing@rablighting.com...
- Page 3 FIELD-ADJUSTABLE SR™ INSTALLATION RAB Lighting is committed to creating high-quality, aff ordable, well-designed and energy-effi cient LED lighting and controls that make it easy for electricians to install and end users to save energy. We’d love to hear your comments. Please call the Marketing Department at 888-RAB-1000 or email: marketing@rablighting.com CONTINUOUS RUN MOUNTING (multiple fi...
- Page 4 FIELD-ADJUSTABLE SR™ INSTALLATION RAB Lighting is committed to creating high-quality, aff ordable, well-designed and energy-effi cient LED lighting and controls that make it easy for electricians to install and end users to save energy. We’d love to hear your comments. Please call the Marketing Department at 888-RAB-1000 or email: marketing@rablighting.com...
Need help?
Do you have a question about the SR2 and is the answer not in the manual?
Questions and answers