Advertisement
Table of Contents
Advertisement
Table of Contents

Related Manuals for Steelcase Solo


Summary of Contents for Steelcase Solo
- Page 1 Solo Sit-to-Stand Desk Quick-Start Guide...
-
Page 2: What's Included
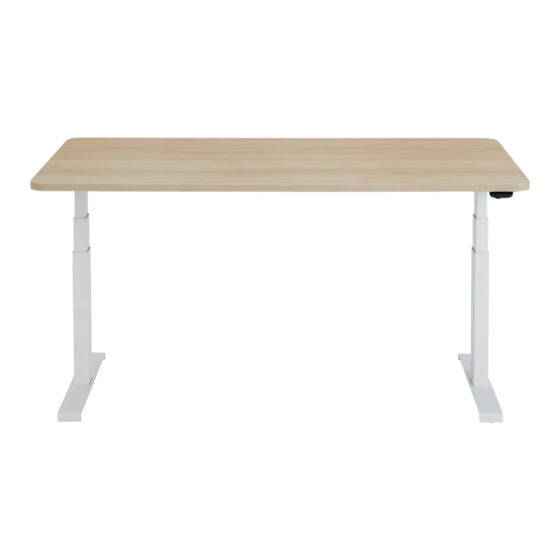
What’s Included Better work is just 4 steps away Worksurface Legs Screws + Power Cord Leg Disassembly Tool + Switch... -
Page 3: Some Helpful Tips
For additional details, please reference the Assembly Directions and User Guide that is also included in this box. If you’d rather watch a video on how to assemble your new desk, scan the QR code below. Enjoy your new Solo Sit-to-Stand Desk! - Page 4 Connect the Legs Hold the leg with the silver label facing the short, outer edge of the desk and the foot facing up. Align the hooks on the leg to the notches on the understructure. Slowly pull the leg upright until you hear a “click.” More details are in the Assembly Directions and User Guide.
-
Page 5: Mount The Switch
Mount the Switch Pick a side for your switch and secure it using the two screws provided and a screwdriver. Plug in the controller. Tip: When you flip the desk over, the switch will be on the opposite side. If you want it on the left, assemble it on the right —... - Page 6 Add Some Power Plug the cord into the outlet on the understructure, but don't plug the desk into the wall power just yet.
-
Page 7: Get To Work
Get to Work Flip over the desk, being cautious of the mounted switch on the underside. Plug the desk into the wall power. Initialize Solo by pressing and holding down the switch for two seconds — and you're done. Any questions? Just call 1-888-STEELCASE... - Page 8 To find out more about solutions for new ways of working, visit Steelcase.com Part # 1443750001 Rev. A – 1/21 © 2021 All rights reserved. All specifications subject to change without notice. Printed in U.S.A. Risk of Electrical Shock, Fire, Serious Injury or Death.
Need help?
Do you have a question about the Solo and is the answer not in the manual?
Questions and answers