Table of Contents
Advertisement
Quick Links
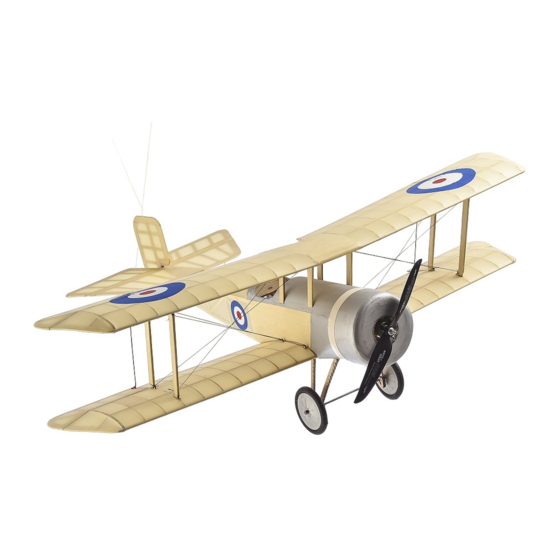
Bristol S cout
Biulding instructions
Please read slowly and carefully!
Thank you for purchasing this kit. Scout was designed to be a slow and easy to fly plane but
still highly maneuverable and fun to fly.
Please refer to the Diagram Sheet while building this model.
Note: Gluing Depron – there are several different types of glue available. One of them is
foam friendly ("styro") CA (Cyano-acrylate). The CA is often used, admittedly making the
parts joint somewhat fragile. Our preferred option is contact glue - one brand tested to
satisfaction is foam UHU-Por. You have to apply the glue on both parts (one trick is to apply
more of it to one glued part and to "stamp" this part to the other one to transfer some of the
glue) and wait about 5 minutes, until the glue is almost dry (yet still a bit tacky), then stick the
parts firmly together. You have to be precise; once glued, the parts are very difficult to take
apart, such attempt sometimes resulting in damage to one or both of them.
Sometimes polyurethane glue is used where extra strength is required. One such brand is
Purex (available in the Czech republic; equivalents should not be difficult to find). Servos can
be also very well glued in by a hot glue.
Any new kind of glue should be always tested on a scrap piece of Depron... you never
know...
Note#2: To cut Depron, use a very sharp hobby knife (and a steel straight edge). Depron tends
to wear out the edge of the knife quite fast – change your blades often.
Note#3: To make the L bend on carbon rod use lighter or tip of soldering iron to heat up the
rod in one spot. If heated enough you should be able to bend the rod easily using pliers. Fix it
in required position with drop of CA glue in the corner, with CA kicker.
Ok, let's start the building...
Step 1
Cut off all the parts of the fuselage. Glue bulkheads A together using contact glue (such as
UHU por). Then glue the motor box , containing 3 gray parts and glue it into the holes in A
bulkhead. Trim the end of fuselage side panels (using sand paper) to 1,5mm thickness, so
when glued together they will fit to the 3mm thick rudder.
Step 2
Glue all bulkheads to the one fuselage side panel, letter side heading forward. When the glue
is hardened, glue the second fuselage side panel. Don't forget checking the geometry!
Step 3
Locate two 41cm long carbon rods and make L bends on one end. Now push carbon rods
through holes in the bulkheads, leaving the L bend in the end out of the fuselage.
Step 4
Advertisement
Table of Contents

Related Manuals for RC Factory Bristol Scout


Summary of Contents for RC Factory Bristol Scout
- Page 1 Bristol S cout Biulding instructions Please read slowly and carefully! Thank you for purchasing this kit. Scout was designed to be a slow and easy to fly plane but still highly maneuverable and fun to fly. Please refer to the Diagram Sheet while building this model. Note: Gluing Depron –...
- Page 2 Close up bottom rear part of the fuselage and glue the front upper part of the fuselage. Trim edges of the upper part to fit on side panels perfectly. Step 5 Cut a bevel to all edges where elevator meets the stabilizer and rudder meets the stabilizer. NOTE: Elevator control horn is in the LEFT control surface! Hinge the elevators to the stabilizer using clear tape.
- Page 3 Also you can challenge your friends to fly race around two trees or to land on table tennis table. Wherever you’re going to fly, just have fun and enjoy your new Bristol Scout! Your RC Factory team.
Need help?
Do you have a question about the Bristol Scout and is the answer not in the manual?
Questions and answers