Table of Contents
Advertisement
Quick Links
Advertisement
Table of Contents

Related Manuals for Kuka iiQKA LBR iisy


Summary of Contents for Kuka iiQKA LBR iisy
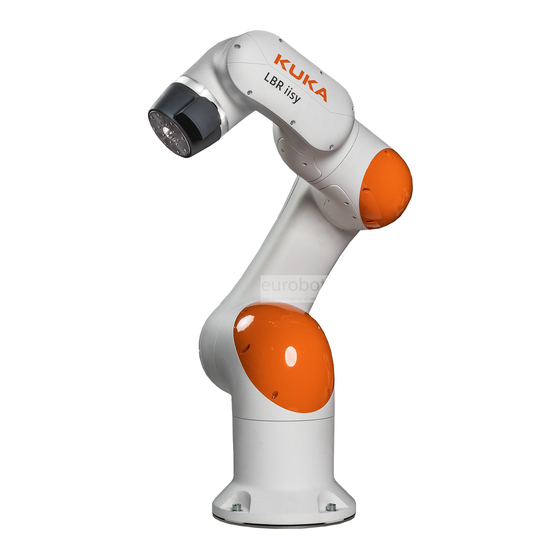
- Page 1 iiQKA & LBR iisy Quick Setup Guide...
- Page 2 What's inside your box Box side A Box side B KR C5 micro controller LBR iisy cobot KUKA smartPAD pro and cables other components and cables iiQKA_Quick Setup Guide...
- Page 3 KUKA smartPAD pro and cable KR C5 micro robot controller KR C5 micro power cable Prototyping gripper fingers* Gripper power and data cable...
- Page 4 Unpack and transport LBR iisy from box side B 2.1 Cable Positioning Take the cables from the top of box side B and hang them over the edge of box side A, then remove the packaging covering LBR iisy. 2.2 Preparation Turn LBR iisy upright inside the box, then hang the cables from step 2.1 over LBR iisy as shown.
- Page 5 3.1 Mounting Ensure you follow safety instructions and mounting patterns included in the LBR iisy documentation available in KUKA Xpert by scanning the QR Code. The mounting pattern is also reproduced to the right. 3.2 Cables at the base of LBR iisy The LBR iisy comes with three cables preinstalled at its base.
- Page 6 Connect all cables Connect the cables from box side A and the base of the LBR iisy by following the letters from step 01 and step 03. The cables and connectors are also labeled with the names of the ports (e.g. XF21, XD20.1, XD20.2, etc.). Frontside smartPAD Pro cable Gripper power &...
- Page 7 Ensure all cables are connected properly before pressing the power button on the KR C5 micro controller. Additional iiQKA Resources * requires registration with an account on my.kuka iiQKA Customer Portal* iiQKA Help Portal iiQKA Ecosystem on KUKA Xpert* Marketplace*...
- Page 8 Details provided about the properties and usability of the products are purely for information purposes and do not constitute a guarantee of these characteristics. The extent of goods delivered is determined by the subject matter of the specific contract. No liability accepted for errors or omissions. Subject to alterations. © 2022 KUKA www.kuka. com...
Need help?
Do you have a question about the iiQKA LBR iisy and is the answer not in the manual?
Questions and answers