Advertisement
Quick Links
Placement and Maintenance
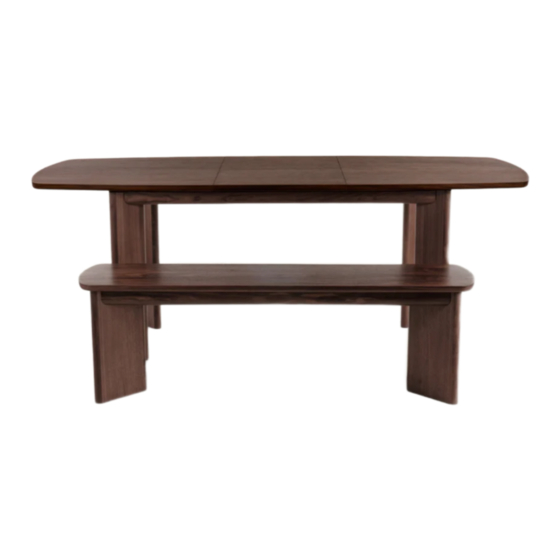
Your Vail Bench is designed for indoor use on level floors.
Furniture with hard lacquer, wax polish or painted surface
should be dusted with a dry cloth. Spillages should be wiped
up as soon as possible. Our furniture will endure most tem-
peratures in the home but it is best to avoid placing furniture
next to heat sources such as radiators or fires.
Step 1
Unpack and identify the parts listed below. It is required to
have 2 people to carry and assemble the units over 50Ibs.
The assembly workspace should be a non-marring surface
such as carpet. For missing hardware pieces, visit our web-
site www.mossdesign.us
VAIL
BENCH
C2 Leg A x 2
C3 Leg B x 2
YNG TAL 14 / MFMT33 D:07.03.2022 / RN 001
Tool Required:
Mallet or Hammer
Tool Provided:
T1 M4 Allen Key x 1
H1 Bolt
(6x40mm) x 8
C1 Top module x 1
Advertisement

Related Manuals for moss DESIGN VAIL


Summary of Contents for moss DESIGN VAIL
- Page 1 Tool Required: Placement and Maintenance Mallet or Hammer Your Vail Bench is designed for indoor use on level floors. Furniture with hard lacquer, wax polish or painted surface Tool Provided: should be dusted with a dry cloth. Spillages should be wiped up as soon as possible.
- Page 2 Step 2 - Attach the legs. Attach the leg B C3 to the leg A C2 as shown below. Step 3 - Fix the legs. Fix the legs by using the mallet T2 as shown below.
- Page 3 Step 4 - Place legs onto the top module. Put the top module C1 upside-down onto the floor and place the legs onto the top module as shown below. Step 5 - Fix the legs by using allen bolts. Use 8 bolts H1 to fix the legs to the top module. Tighten by using allen key T1. Check the rmness of the imbus bolts every 6 months.
- Page 4 Step 6 - End of the assembly. Lift the until to standing position carefully. Moss Design is a trade name of a Colorado company Moss Furniture LLC www.mossdesign.us...
Need help?
Do you have a question about the VAIL and is the answer not in the manual?
Questions and answers