Table of Contents
Advertisement
Quick Links
Placement and Maintenance
Your Nord Dining Table is designed for indoor use on
level floors. Furniture with hard lacquer, wax polish or
painted surface should be dusted with a dry cloth.
Spillages should be wiped up as soon as possible. Our
furniture will endure most temperatures in the home
but it is best to avoid placing furniture next to heat
sources such as radiators or fires.
Step 1
Unpack and identify the parts listed below. It is
required to have 2 people to carry and assemble the
units over 50Ibs. The assembly workspace should be
a non-marring surface such as carpet. For missing
hardware pieces, visit our website
www.mossdesign.us
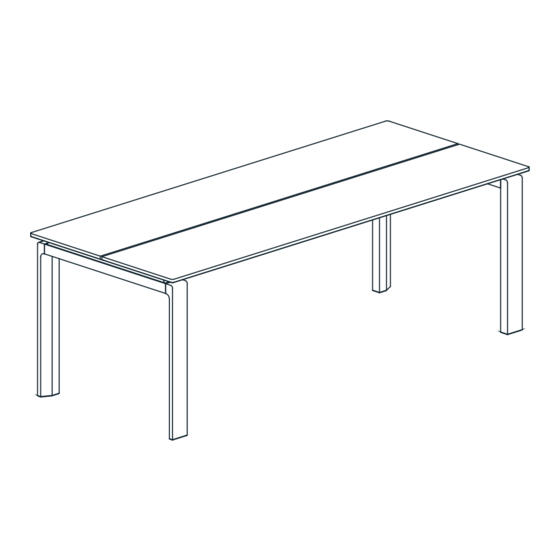
C1 Top Panel x 2
C3 Bottom Rail x 2
NORD
DINING TABLE
C4 Cross Rail x 2
C2 Leg Frame x 2
YNG TAL 14 / MFMT41 D:28.03.2023 / RN 000
Tool Not Provided:
Screwdriver
Mallet or Hammer
Tool Provided:
T1 Wrench
(M13) x 1
T2 Allen Key
(M4) x 1
H1 Wooden Dowel
(8x35mm) x 12
H2 Barrel Housing x 4
H3 Set screw x 4
H4 Steel Dowel x 4
H5 Bolt (6x70 mm) x 26
H6 Headless Bolt
(8x74mm) x 4
H7 Fixing Head x 4
H8 Hex Nut x 4
Advertisement
Table of Contents

Related Manuals for moss DESIGN NORD


Summary of Contents for moss DESIGN NORD
- Page 1 DINING TABLE Tool Not Provided: Placement and Maintenance Screwdriver Your Nord Dining Table is designed for indoor use on level floors. Furniture with hard lacquer, wax polish or painted surface should be dusted with a dry cloth. Mallet or Hammer Spillages should be wiped up as soon as possible.
- Page 2 Step 2 -Attach wooden dowels to cross rails. Place 8x wooden dowels H1 to cross rails C4 by using a mallet as shown below. Step 3 - Attach steel dowels to bottom rails C3. Fix 4x steel dowels H4 by using a screwdriver to bottom rails C3 as shown below.
- Page 3 Step 4 - Attach barrel housings to bottom rails. Place 4x barrel housings H2 and 4x set screws H3 to bottom rails C3 as shown below. Step 5 - Attach wooden dowels to bottom frame. Place 4x wooden dowels H1 to bottom frame by using a mallet as shown below.
- Page 4 Step 6 - Attach headless bolts to leg frames. Fix 4 headless bolts H6 to the leg frames C2 by hand. Step 7 - Attach legs to the bottom frame Place 4 fixing heads H7 into the slots on the bottom rails. Attach the legs C2 to the bottom frame as shown below.
- Page 5 Step 8 - Fix the bottom frame and legs by using bolts. Use 26 x bolts H5 to x the bottom frame under the top panels C1 by using the allen key H10. ATTENTION There has to be a small gap between the two panels.
Need help?
Do you have a question about the NORD and is the answer not in the manual?
Questions and answers