Advertisement
Quick Links
Placement and Maintenance
Your Caisson Credenza is designed for indoor use on level
floors. Furniture with hard lacquer, wax polish or painted
surface should be dusted with a dry cloth. Spillages should
be wiped up as soon as possible. Our furniture will endure
most temperatures in the home but it is best to avoid placing
furniture next to heat sources such as radiators or fires.
Step 1
Unpack and identify the parts listed below. It is required to
have 2 people to carry and assemble the units over 50Ibs.
The assembly workspace should be a non-marring surface
such as carpet. For missing hardware pieces, visit our web-
site www.mossdesign.us
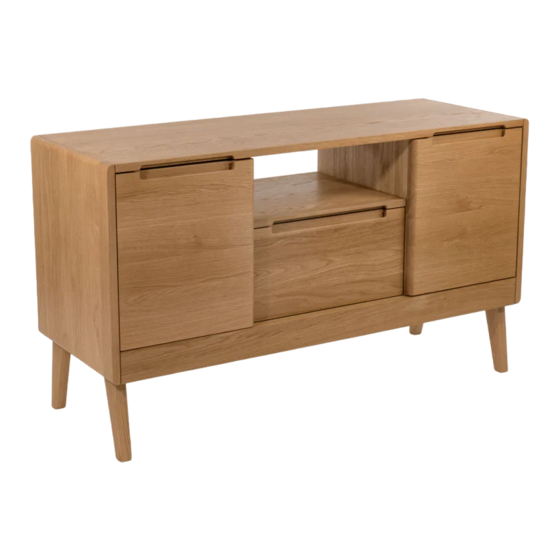
CAISSON
CREDENZA
C2 Leg Frame x 2
C1 Main Module x 1
YNG TAL 14 / MFMT20 D:01.03.2022 / RN 001
Tool Required:
Mallet or Hammer
Pliers
Tool Provided:
T1 M4 Allen Key x 1
H1 Wooden Dowel
(8x35mm) x 4
H2 Bolt
(6x40mm) x 6
H3 Screw (3,5x16) x 2 pcs
H4 Wedge x 1
Advertisement

Related Manuals for moss DESIGN Caisson Credenza


Summary of Contents for moss DESIGN Caisson Credenza
- Page 1 CREDENZA Tool Required: Mallet or Hammer Placement and Maintenance Your Caisson Credenza is designed for indoor use on level Pliers floors. Furniture with hard lacquer, wax polish or painted surface should be dusted with a dry cloth. Spillages should be wiped up as soon as possible. Our furniture will endure...
- Page 2 Step 2 - Insert dowels into the holes on the leg frames. Insert 4 wooden dowels H1 into the holes on two leg frames C2 by using a soft hammer. Step 3 - Attach the first leg frame to the main module. Attach the leg frame C2 to the main module C1 by using 3 bolts H2 as shown below.
- Page 3 Step 4 - Attach the second leg frame to the main module. Attach the leg frame C2 to the main module C1 by using 3 bolts H2 as shown below. Tighten the bolts using the allen key T1. Step 5 - End of the assembly. Lift the unit to standing position carefully.
- Page 4 Step 6 - Open the door and remove plastic retainers by using pliers.
- Page 5 Step 7 - Wall Fixing instructions 1 Place your product in the final position. Loosen the screws on the metal brackets just enough so that the slotted bracket can be extended to meet the wall. 2 Then re-secure the screws. 3 Mark the wall for drilling through the hole in the short face of the bracket.
- Page 6 A guide to wall mounting and fixings Warning Serious or fatal crushing injuries can occur from furniture tipping over. To prevent this furniture from tipping over it must be permanantly fixed to the wall. Wall fixing screws are not included, since different wall materials require different types of screws / fixings.
- Page 7 Step 8 - Hinge Adjustment.
- Page 8 Step 9 Use the plastic wedge on uneven surface if required. Moss Design is a trade name of a Colorado company Moss Furniture LLC www.mossdesign.us...
Need help?
Do you have a question about the Caisson Credenza and is the answer not in the manual?
Questions and answers