ResMed ApneaLink Air Patient Instructions For Use
Hide thumbs
Also See for ApneaLink Air:
- Clinical manual (68 pages) ,
- Patient instructions (9 pages) ,
- Instructions (4 pages)
Table of Contents
Advertisement
Quick Links
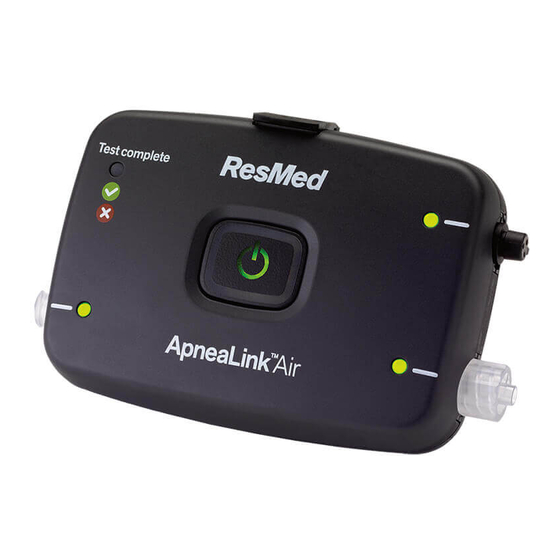
Stopping the test - check if test complete
1
2
Test complete
Test complete
...3
1.
Press the power button for about three seconds.
2.
Check that the test complete indicator light is lit and green. This means
the test is complete. If the test complete indicator light is red, replace the
batteries and repeat the test tomorrow night.
Press and hold the power button for about three seconds to turn off the
3.
device.
Disassembling and returning the device
When the test is completed:
1.
Remove the belt from your body.
2.
Remove all the connectors from the device.
3.
Screw protective caps on effort and nasal cannula connector.
4.
Disconnect the finger sensor from the oximeter.
5.
Remove the device from the belt.
6.
Throw away the nasal cannula and the disposable finger sensor (see the
Equipment section on the first page).
7.
Place everything else back in the bag and return it to your physician or
healthcare provider as requested.
Do not attempt to clean the device.
Note: The device does not need any servicing or maintenance before recording.
WARNING
Ensure that the ApneaLink Air system is assembled as shown and described
so as not to pose a strangulation risk.
3
Test complete
CAUTION
...3
•
Do not blow into the nasal cannula or effort sensor connectors.
•
To avoid irritation or allergic reactions, wear the belt and device over a
long-sleeved shirt.
•
If you develop redness, irritation or a rash from the device or its
accessories, discontinue use and contact your healthcare provider or
physician. You may be having an allergic reaction.
•
Do not set up the ApneaLink Air system while it is attached to a personal
computer via USB.
Electromagnetic compatibility
The ApneaLink Air complies with all applicable electromagnetic compatibility
requirements (EMC) according to IEC60601-1-2, for residential, commercial, and light
industry environments. Wireless communications equipment such as wireless home
network device, mobile phones, cordless telephones and their base stations, walkie-
talkies can affect the device and should be kept at least a distance d away from
the device. For example the distance d for a typical mobile phone with a maximum
output power of 2W would be 10'8" (3.3m).
For further details, see "Electromagnetic Emissions and Immunity" on
www.resmed.com on the Products page under Service & Support. If you do not
have internet access, please contact your ResMed representative.
Symbols
IP22 Protected against finger sized objects and against dripping water when
tilted up to 15 degrees from specified orientation.
Manufacturer: ResMed Germany Inc. Fraunhoferstr. 16 82152 Martinsried Germany. Distributed by:
ResMed Ltd 1 Elizabeth Macarthur Drive Bella Vista NSW 2153 Australia. ResMed Corp 9001 Spectrum
Center Boulevard San Diego CA 92123 USA. See www.resmed.com for other ResMed locations
worldwide. For patent information, see www.resmed.com/ip. ApneaLink is a trademark of ResMed R&D
Germany GmbH and registered in U.S. Patent and Trademark Office.
© 2014 ResMed Ltd. 228677/2 2014-07
ResMed.com
Intended Use
The ApneaLink Air device is indicated for use by Health Care Professionals (HCP),
where it may aid in the diagnosis of sleep disordered breathing for adult patients.
ApneaLink Air records the following data: patient respiratory nasal airflow, snoring,
blood oxygen saturation, pulse and respiratory effort during sleep. The device uses
these recordings to produce a report for the HCP that may aid in the diagnosis of
sleep disordered breathing or for further clinical investigation. The device is intended
for home and hospital use under the direction of a HCP .
Contraindications
•
The ApneaLink Air system must not be used in the vicinity of an MRI device.
•
Explosive Hazard: Do not use the ApneaLink Air system in an explosive
atmosphere or in the presence of flammable anesthetics or gases.
Getting started
Before fitting, lay out all the system components and read these instructions first.
Putting the device on the belt
1
2
Test complete
1.
Thread one end of the belt through the slots on the back of the device. Check
that the device is positioned as shown.
2.
Flip the device over. Thread the end of the belt closest to the device through
one of the slots on the effort sensor (if used).
Patient Instructions
English
3
Test complete
Advertisement
Table of Contents

Related Manuals for ResMed ApneaLink Air


Summary of Contents for ResMed ApneaLink Air
- Page 1 Press and hold the power button for about three seconds to turn off the • Do not set up the ApneaLink Air system while it is attached to a personal blood oxygen saturation, pulse and respiratory effort during sleep. The device uses computer via USB.
- Page 2 Fasten the tab to the belt. Slide the device into a position that is close to the Pull the belt around your body. Thread the end of the belt through the slot on Fitting the finger sensor (Disposable) effort sensor. the effort sensor (if used) and fasten the tab to the belt.
Need help?
Do you have a question about the ApneaLink Air and is the answer not in the manual?
Questions and answers