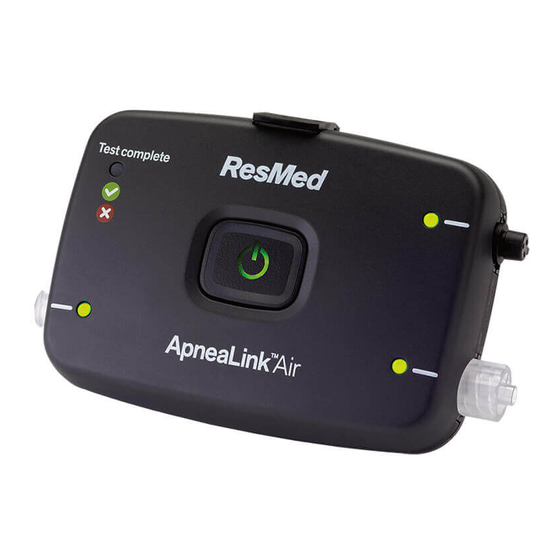
ResMed ApneaLink Air Instructions
Home sleep testing device
Hide thumbs
Also See for ApneaLink Air:
- Clinical manual (68 pages) ,
- Patient instructions (9 pages) ,
- Test instructions (2 pages)
Advertisement
Quick Links
If you have a Medical Emergency, call 911.
If you have technical questions during your test, please call Sleep Insights:
If calling during regular business hours, select option 0 and ask for Home Sleep Study technical support.
NOTE: If there is no answer, the sleep technician may be with a patient. Please leave a voicemail.
Calls are typically returned within 20 minutes.
GETTING STARTED
There are four main steps to setting up and completing your Home Sleep Test (HST):
1. FITTING THE HST DEVICE
2. STARTING THE TEST
3. STOPPING THE TEST
4.
DISASSEMBLING AND RETURNING THE HST DEVICE
Before fitting, set out all the system components and read these instructions first.
NOTE: Wear Apnea Link Air and belt over pajamas or nightshirts with long sleeves to avoid any
discomfort from the belt.
Instructional video at https://www.youtube.com/watch?v=awa4z2fFn7A
1. FITTING:
1
Pull the belt around your body.
Thread the end of the belt through
the slot on the effort sensor (if used)
and fasten the tab to the belt. If you
are not using the effort sensor,
attach the tab to the belt.
HOME SLEEP TESTING DEVICE INSTRUCTIONS
2
Check that the belt is secure and
comfortable and that the device is
positioned over the center of your
chest.
585.385.6070, option 4
3
If using an oximeter, slide the clip
onto the belt. The clip should be
worn on the same side of your
body as the oximeter finger.
Advertisement

Summary of Contents for ResMed ApneaLink Air
- Page 1 HOME SLEEP TESTING DEVICE INSTRUCTIONS If you have a Medical Emergency, call 911. If you have technical questions during your test, please call Sleep Insights: 585.385.6070, option 4 If calling during regular business hours, select option 0 and ask for Home Sleep Study technical support. NOTE: If there is no answer, the sleep technician may be with a patient.
- Page 2 Nasal cannula Fit the nasal pressure cannula so Fit the loop around your ears and Draw the cannula to a comfortable that the two small open tubes then back around your neck, position under your chin. If tape or point towards your nostrils. When without pulling over your head.
- Page 3 Once you have started the test, go to sleep as usual. The lights on the device will dim after 10 minutes. If you have to get up during the night for any reason, leave the device on unless you do not intend to go back to sleep. You can remove the oximeter finger sensor if you need to go to the bathroom or wash your hands.
- Page 4 COMMONLY ASKED QUESTIONS Why are the lights blinking red and how do I make them stop? The sensors are very sensitive, easily detecting tense muscles that tend to be more prevalent when you are awake. Movement causes the indicator lights to blink red if they are not attached appropriately or you are moving around too much.


Need help?
Do you have a question about the ApneaLink Air and is the answer not in the manual?
Questions and answers