Sign In
Upload
Download
Table of Contents
Contents
Add to my manuals
Delete from my manuals
Share
URL of this page:
HTML Link:
Bookmark this page
Add
Manual will be automatically added to "My Manuals"
Print this page
×
Bookmark added
×
Added to my manuals
Manuals
Brands
paco Manuals
Battery Charger
LBC1205
Instruction manual
paco LBC1205 Instruction Manual
Hide thumbs
1
2
3
4
5
6
7
8
9
10
11
12
13
14
15
16
17
18
Table Of Contents
19
page
of
19
Go
/
19
Contents
Table of Contents
Bookmarks
Table of Contents
Product Overview
Charge Status Indicator
Specifications
Charging Instructions
Step 1 - Check the Electrolyte Level
Mounting Instructions
Fault Codes
Advertisement
Quick Links
1
Charge Status Indicator
Download this manual
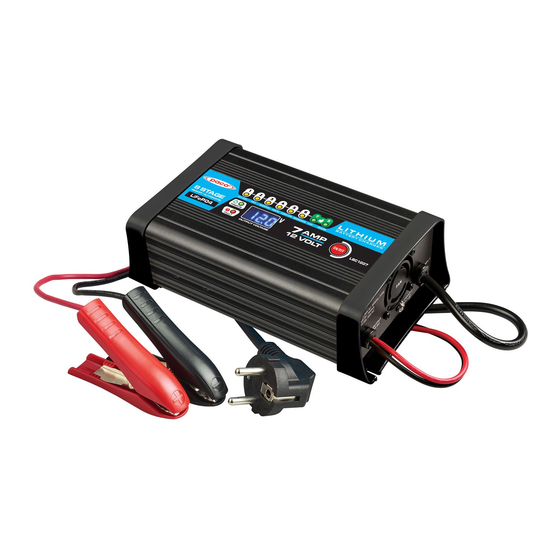
8-STAGE 12V AUTOMATIC LITHIUM (LiFePO4)
BATTERY CHARGER
MCU CONTROLLED & HIGH FREQENCY SWITCHMODE
P/No. LBC1205、
LB
C1207、
LB
C1210、
LBC1212、LBC1215、LB
C1220
Instruction Manual
Please read user manual carefully before use.
Table of
Contents
Previous
Page
Next
Page
1
2
3
4
5
Advertisement
Table of Contents
Need help?
Do you have a question about the LBC1205 and is the answer not in the manual?
Ask a question
Questions and answers
Subscribe to Our Youtube Channel
Related Manuals for paco LBC1205
Battery Charger paco LBC1210 Instruction Manual
(19 pages)
Battery Charger paco MEC Series Installation And Operating Instructions Manual
(72 pages)
Battery Charger paco SVDC1225 Instruction Manual
Dc- dc & solar battery charger (24 pages)
Battery Charger paco MFC1205L Instruction Manual
8-stage automatic battery charger (25 pages)
Battery Charger paco MEC1205L Instruction Manual
8-stage automatic battery charger mcu controlled & high frequency switchmode (24 pages)
This manual is also suitable for:
Lbc1207
Lbc1210
Lbc1212
Lbc1215
Lbc1220
Table of Contents
Print
Rename the bookmark
Delete bookmark?
Delete from my manuals?
Login
Sign In
OR
Sign in with Facebook
Sign in with Google
Upload manual
Upload from disk
Upload from URL


Need help?
Do you have a question about the LBC1205 and is the answer not in the manual?
Questions and answers