Vivotek IP8130W User Manual
Cube network camera
Hide thumbs
Also See for IP8130W:
- Quick installation manual (9 pages) ,
- Specification (6 pages) ,
- Quick installation manual (9 pages)

Related Manuals for Vivotek IP8130W


Summary of Contents for Vivotek IP8130W
- Page 1 IP8130W/8131W Cube Network Camera User’s Manual IP8130W/8131W: 1MP • 802.11n WLAN • WPS Rev. 1.0...
-
Page 2: Table Of Contents
Network > General settings ������������������������������������������������������������������������������������������������������������������� 59 Network > Streaming protocols ����������������������������������������������������������������������������������������������������������� 67 Network > SNMP (Simple Network Management Protocol) ������������������������������������������������������������������ 74 Wireless > WLAN (IP8130W and IP8131W) ����������������������������������������������������������������������������������������� 75 Security > User Account ������������������������������������������������������������������������������������������������������������������������ 77 Security > HTTPS (Hypertext Transfer Protocol over SSL) ��������������������������������������������������������... - Page 3 VIVOTEK Local storage > Content management ����������������������������������������������������������������������������������������������������� 115 Appendix ����������������������������������������������������������������������������������������������������������������������������������������������������� URL Commands for the Network Camera ������������������������������������������������������������������������������������������������ 118 Technical Specifications ��������������������������������������������������������������������������������������������������������������������������� 193 Technology License Notice ����������������������������������������������������������������������������������������������������������������������� 194 Electromagnetic Compatibility (EMC) ������������������������������������������������������������������������������������������������������� 195 User's Manual - 3...
-
Page 4: Revision History
WPS function of IP8130W/31W makes wireless configuration easy and straightforward. Together with the multi-lingual 32-channel recording software ST7501, users can set up an easy-to-use IP surveillance system with ease. VIVOTEK also provides the smart phone application iViewer, both on iPhone and Android phones, enable users to monitor live video off-site. -
Page 5: Read Before Use
Commands of the Network Camera section serves as a helpful reference to customizing existing homepages or integrating with the current web server� Package Contents ■ IP8130W or IP8131W ■ Screws & Plastic Anchors ■ Power Adaptor (+12V, 1A) ■ Camera Stand ■... -
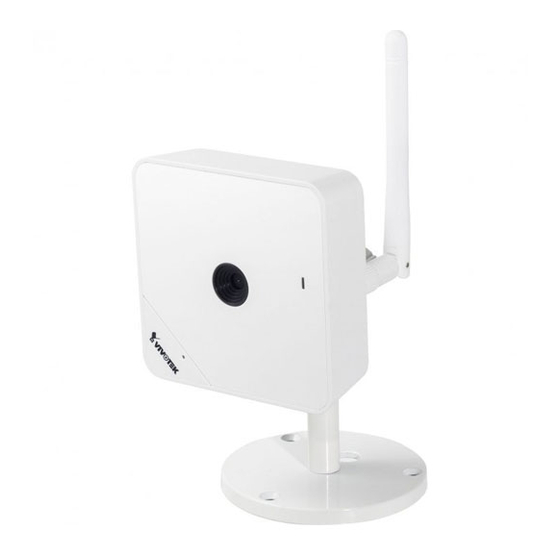
Page 6: Physical Description
VIVOTEK Physical Description Front Panel IP8130W Status LED Lens Microphone MicroSD/SDHC/SDXC Card Slot IP8131W WPS button (wireless models) Lens Status LED IR LEDs Microphone Item LED status Description Steady Powered on, during system boot, or indicating no network connection All LED off... - Page 7 VIVOTEK Rear Panel The back panels are identical for all models. Antenna Connector (for wireless models) Reset Button Power Cord General I/O Socket Terminal Block Ethernet 10/100 RJ45 Socket Audio GND Audio Out Audio out cable is user-supplied� User's Manual - 7...
-
Page 8: Install Camera To Stand
Attach the camera to stand and orient the shooting angle. If preferred, use the included screws to secure the the camera stand to a mounting surface� IMPORTANT: Record the MAC address before installing the camera� IP8130W 0002D10766AD 8 - User's Manual... - Page 9 VIVOTEK Digital Input Diagram Please refer to the following illustration for the connection method� Max. voltage: 40V 3.3V Digital input DI-: Ground Connect a digital input device to the input pins of the camera� From the Applications > Digital Input page, you can let camera report the current signal status as High or Low to determine the signal’s Normal status during operation�...
- Page 10 VIVOTEK Hardware Reset Reset Button The reset button is used to reset the system or restore the factory default settings� Sometimes resetting the system can return the camera to normal operation� If the system problems remain after reset, restore the factory settings and install again.
-
Page 11: Network Deployment
VIVOTEK Network Deployment LAN Connection 1. If you have external devices such as sensors and alarms, make connections from general I/O terminal block� 2� Connect the camera to a switch via Ethernet cable or directly to a computer� Ethernet must be connected before power on�... - Page 12 VIVOTEK Internet connection via a router Before setting up the Network Camera over the Internet, make sure you have a router and follow the steps below� 1. Connect your Network Camera behind a router, the Internet environment is illustrated below.
- Page 13 For more information with network configuration options (such as that of streaming ports), please refer to Configuration > Network Settings� VIVOTEK also provides the automatic port forwarding feature as an NAT traversal function with the precondition that your router must support the UPnP port forwarding feature�...
-
Page 14: Software Installation
After your network environment is analyzed, please click Next to continue the program� 3� The program will search for all VIVOTEK network devices on the same LAN� 4. After a brief search, the installer window will prompt. Click on the MAC and model name that matches the one printed on the product label�... -
Page 15: Ready To Use
VIVOTEK Ready to Use 1� A browser session with the Network Camera should prompt as shown below� 2� You should be able to see live video from your camera� You may also install the 32-channel recording software from the software CD in a deployment consisting of multiple cameras� For its installation details, please refer to its related documents. -
Page 16: Accessing The Network Camera
3� The live video will be displayed in your web browser� 4. If it is the first time installing the VIVOTEK network camera, an information bar will pop up as shown below� Follow the instructions to install the required plug-in on your computer�... - Page 17 VIVOTEK ► By default, the Network Camera is not password-protected. To prevent unauthorized access, it is highly recommended to set a password for the Network Camera� For more information about how to enable password protection, please refer to Security on page 77�...
- Page 18 VIVOTEK IMPORTANT: • Currently the Network Camera utilizes 32-bit ActiveX plugin� You CAN NOT open a management/view session with the camera using a 64-bit IE browser� • If you encounter this problem, try execute the Iexplore.exe program from C:\Windows\ SysWOW64� A 32-bit version of IE browser will be installed�...
-
Page 19: Wireless Connection: Using The Wps Button
VIVOTEK Wireless Connection: Using the WPS Button 1� Make sure your AP (Access Point) and Operating System support WPS (Wi-Fi Protected Setup) functions� WPS enables easy setup with compatible APs� 2. Disconnect your LAN cable, and connect the power cord. -
Page 20: Wireless Connection: Manual Configuration
VIVOTEK Wireless Connection: Manual Configuration 1. In addition to the use of WPS function, you can also use a wired connection to manually set up your wireless configuration. 2� Enter the Configuration > Wireless > WLAN page� Key in the same wireless settings as those on your router/AP (SSID, Encryption type, and Pre-shared key).
Need help?
Do you have a question about the IP8130W and is the answer not in the manual?
Questions and answers