Advertisement
Advertisement
Table of Contents

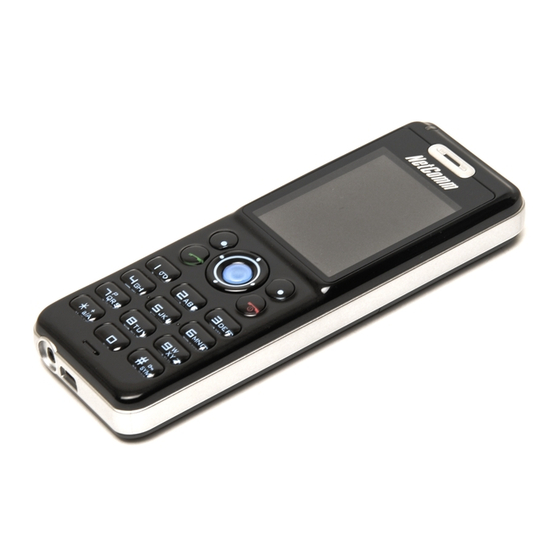
Summary of Contents for NetComm V24W
- Page 1 Quick Start Guide V24W Wi-Fi IP Phone...
- Page 2 Familiarise yourself with your Wi-Fi Phone ... 4 Section 2 - Battery Installation ... 3 Section 3 - Charge the Battery ... 3 Section 4 - Configure the V24W VoIP Phone ... 3 V24W Quick Start Guide YML8�2 �2 www.netcomm.com.au...
-
Page 3: Check The Package Contents
SeCtion 1 introduCtion This document describes the steps for configuring the SIP settings on your NetComm V24W Wi-Fi Phone. Please refer to the User’s Manual in the bundled CD-ROM for more information. Check the Package Contents Your NetComm V24W package contains the following items: •... - Page 4 Power/End Call Different Key Choices/+ symbol Enter Symbol/Space The Power LED is located at the top of the V24W VoIP Phone, while the buttons are located on the front and side panels. Power Led The LED is solid blue when the IP Phone is powered on and ready for phone calls.
- Page 5 When you have the appropriate symbol highlighted, press the center selection key. Press the # (pound) key twice to enter a space. Only available when the prompt window is up. Increases or decreases the volume V24W Quick Start Guide V24W Quick Start Guide...
-
Page 6: Section 2 Battery Installation
Ring Type is set to Silent. (For more information about Ring Types, refer to the User Guide). Note: Only use the included power adaptor. Do not use another power adaptor with the same USB connector as this may damage your phone. V24W Quick Start Guide YML8�2 �2... - Page 7 VoIP information from your Voice Service Provider. Note: The Phone screen will automatically dim and turn off when the phone is not in use. Press any key to turn the display back on. Press the Power button to turn on the V24W Wi-Fi IP phone The phone will boot up and automatically scan the wireless network.
- Page 8 The standby screen will appear. Press the Menu soft key. Then select Phone Settings. V24W Quick Start Guide Select Phone Password. By default the phone password is disabled. Enable it by pressing the Edit soft key. Now highlight the User Password and press Edit soft key to change the key.
- Page 9 Edit soft key. Enter the Register Proxy IP address in the prompt window and press the Center Selection Key. Note: Press the * (star) key to switch between the different modes (Capital letters, small letters and numbers). V24W Quick Start Guide V24W Quick Start Guide...
- Page 10 Center Selection Key. Notes: this step is optional. V24W Quick Start Guide If your Voice Service Provider did not provide an Expire Time setting, then leave the default setting 60 seconds. If your Voice Service...
-
Page 11: Advanced Settings
Change the Enable setting in Phone Settings > Password Setting from “Yes” to “No”. Note you cannot access the SIP settings when the Password is disabled. The basic installation of the V24W Phone is now complete. YML8�2 www.netcomm.com.au... -
Page 12: Contact Information
Note: NetComm Technical Support for this product only covers the basic installation and features outlined in the Quick Start Guide. For further information regarding the advanced features of this product, please refer to the configuring sections in the User Guide or contact a Network Specialist.


Need help?
Do you have a question about the V24W and is the answer not in the manual?
Questions and answers