Table of Contents
Advertisement
Quick Links
Advertisement
Table of Contents

Related Manuals for Ocean Sonics Processing Buoy


Summary of Contents for Ocean Sonics Processing Buoy
- Page 1 Ocean Sonics Processing Buoy User Guide April 2020 Version 1.1...
-
Page 2: Table Of Contents
Buoy Communication ............................4 Opening the Top Hat ............................4 Development on the CuBox ........................... 5 Deployment Guide ..............................6 Connect to Ocean Sonics Buoy ........................6 Assemble Buoy Configuration ........................6 Setup Hydrophone ............................6 Deploy Buoy into the Water .......................... 6 Recovery ................................... -
Page 3: Introduction
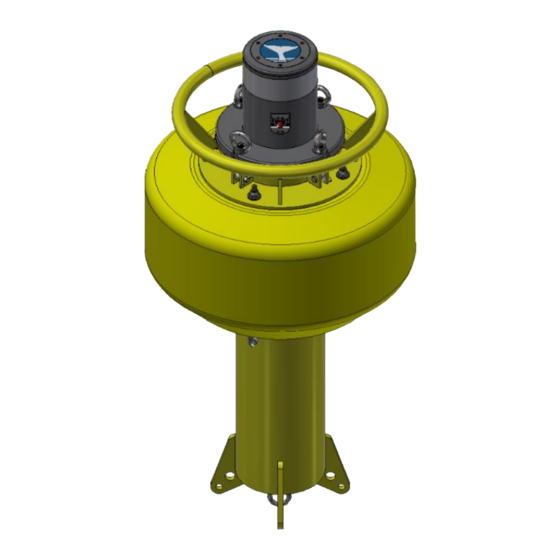
Introduction The Ocean Sonics Processing Buoy is an easy way to deploy one or more icListen Smart Hydrophones while keeping them synchronized. Users can create a custom array using the extension cables and Smart Cables as building blocks. The setup and configuration of the hydrophones can be done with the buoy’s internal access point. -
Page 4: Buoy Power
4. Insert power cord into wall plug (120VAC power source). 5. Mate connector and secure locking sleeve (see below). Figure 1. Power Adapter connecting to Buoy. 6. The charge cycle should be displayed by the LED battery on the charger. Ocean Sonics Processing Buoy User Guide April 2020... -
Page 5: Battery Charger Indication Light
1. Place the buoy on its side. 2. Remove any chain or rope tied in the eye hooks. 3. Unscrew eye bolts holding top hat in place. Ocean Sonics Processing Buoy User Guide April 2020... -
Page 6: Development On The Cubox
The archive can be extracted and read, starting at readme_top.txt. All the sub-folders in the archive should have their own readme file associated. The package can also be accessed online by contacting daniel.kehsler@oceansonics.com support@oceansonics.com. Ocean Sonics Processing Buoy User Guide April 2020... -
Page 7: Deployment Guide
Tip: Marco Lucy on your PC prior to setting up your Ocean Sonics Buoy. Connect to Ocean Sonics Buoy 1. Use a connector to communicate to internal computer in the buoy hardhat. 2. Setup Processing for deployment. (See Buoy Communication for more detail). -
Page 8: Recovery
Slowly pull out the heave plate and recover the remaining array by hand, with special care handling hydrophones. 5. Turn off Ocean Sonics Buoy (OFF Position: 0). 6. Turn off recording on all hydrophones using a test cable and a PC. -
Page 9: Battery Information
Battery Charger Information Model: JAC0224-C More information on the charger can be found on the Charger Manual in the charger box and a copy is also on the USB drive provided with the buoy. Ocean Sonics Processing Buoy User Guide April 2020... -
Page 10: Contact Ocean Sonics Ltd
Contact Ocean Sonics Ltd. To download Ocean Sonics Software please visit: https://sites.google.com/a/oceansonics.com/ocean-sonics-resource-site/ Service To request an RMA or technical support Email: support@oceansonics.com Phone: 1-902-655-3000 Sales For general sales inquiries Email: sales@oceansonics.com Phone: 1-902-655-3000 Website https://OceanSonics.com Mailing and Shipping Address Ocean Sonics 110 Parkway Dr. -
Page 11: Confirming Voltages
2. Place the positive voltmeter lead (red) into pin 7 (pinout below). MCBH8F Bulkhead Connector Pinout Fully Charged Batteries should measure approximately ~25 V. Batteries should not be discharged past 21 V. Ocean Sonics Processing Buoy User Guide April 2020 P.10... -
Page 12: Technical Drawing
Appendix B Technical Drawing Ocean Sonics Processing Buoy User Guide April 2020 P.11...
Need help?
Do you have a question about the Processing Buoy and is the answer not in the manual?
Questions and answers