Table of Contents
Advertisement
Quick Links
Advertisement
Table of Contents

Related Manuals for Ocean Sonics BL-B4-GPS-B


Summary of Contents for Ocean Sonics BL-B4-GPS-B
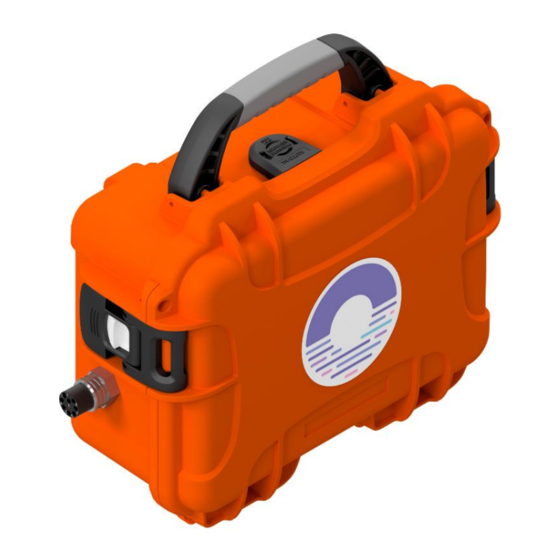
- Page 1 Launch Box User Guide BL-B4-GPS-B July 2022 Version 2022.1...
-
Page 2: Table Of Contents
Introduction ..............................2 Important Notes ............................3 Specifications ............................3 Features ..............................3 Ocean Sonics Launch Box Instructions ....................4 Assemble Launch Box Configuration ....................4 Connect to Launch Box Wi-Fi......................4 GPS Position Logging ........................... 5 Access GPS Files ..........................5 Download Log Files through FileZilla .................... -
Page 3: Introduction
Launch Box User Guide for BL-B4-GPS HERE. Introduction The Ocean Sonics Launch Box is an easy way to deploy icListen Smart Hydrophones in the field. The Launch Box gives users the ability to deploy one or more synchronised hydrophones, with a Wi-Fi connection to your computer or tablet. -
Page 4: Important Notes
Important Notes • Water resistant when Launch Box case is closed and sealed. o The Launch Box is not waterproof when the lid is open, leaving the case open during deployment increases your risk of water damage to internal components. •... -
Page 5: Ocean Sonics Launch Box Instructions
Appendix B. Setup Hydrophone 5. Open Marco on PC [Ocean Sonics’ Software Program found on icListen USB drive]. a. Click Refresh to view hydrophone(s) connected to the Launch Box. b. All units on Marco should be set to DHCP (See Appendix C for Marco Help). -
Page 6: Gps Position Logging
b. Set up Sampling Rates for icListen. i. Under Settings Tab → Data Collection, ii. select the settings for deployment - Sampling rates of WAV and FFT data. iii. Click Apply. GPS Position Logging On the Launch Box BL-B4-GPS B, the GPS automatically starts logging when the GPS switch is turned on. -
Page 7: Deployment
Deployment 1. Secure the Launch Box to vessel or dock prior to deploying hydrophone(s) on the cable attached, so the Launch Box can not be pulled into the water. 2. Ensure the Launch Box case is closed prior to deployment, so no water will get inside the case. -
Page 8: Contact Ocean Sonics Ltd
Contact Ocean Sonics Ltd. To download Ocean Sonics Software please visit: https://iclisten.com/users-software/ Service To request an RMA or technical support Email: support@oceansonics.com Phone: 1-902-655-3000 Sales For general sales inquiries Email: sales@oceansonics.com Phone: 1-902-655-3000 Website https://OceanSonics.com Mailing and Shipping Address Ocean Sonics 110 Parkway Dr. -
Page 9: Appendix A. Troubleshooting The Wi-Fi Connection
Appendix A. Troubleshooting the Wi-Fi Connection If advanced Network Settings have been changed in a computer, it may be necessary to turn on Automatic DHCP. Windows 10: 1. Go to Network Connections: Control Panel→Network and Sharing Centre and click on the Launch Box Wi-Fi. 2. -
Page 10: Appendix B. Wi-Fi Network Settings
Appendix B. Wi-fi Network Settings Notes 1. We do not suggest changing the Network Settings unless required. 2. After applying new Wi-Fi settings, you must reconnect to the Launch Box Wi-Fi before the settings will be configured. A popup will count down (90 seconds) to re-configuring the settings. A reconnection must be made during these 90 seconds to ensure that the settings are applied correctly. -
Page 11: Wi-Fi Frequency Settings [2.4 / 5 Ghz]
Wi-Fi Frequency Settings [2.4 / 5 GHz] The Launch Box BL-B4-GPS B can switch from 2.4 GHz to 5 GHz Wi-Fi. • 2.4 GHz provides a better range. o Useful if you are farther away and having trouble connecting you can use this setting. -
Page 12: Setting Up Web Browser Login Password
5. Click SAVE 6. Click SAVE & APPLY. 7. Reconnect to Wi-Fi to apply the configuration. Setting Up Web Browser Login Password 1. Type in IP Address of Launch Box in web browser. 2. Click on the side menu System drop-down. a. - Page 13 4. Click SAVE. 5. Click SAVE & APPLY. Note The Wi-Fi must be reconnected once the settings are applied. The new IP address will be required to view the web browser, the address can be found by viewing the Network Connection Settings for the Wi-Fi.
-
Page 14: Factory Reset - Reset Button
Factory Reset – Reset Button If there are problems with the Wi-Fi settings a Factory reset can be applied. This will reset to default IP address and password. This is the same function as the Reset Button on the Launch Box (see Resetting Wi-Fi). -
Page 15: Appendix C. Marco Settings - Dhcp
Appendix C. Marco Settings - DHCP 1. Click on the hydrophone serial number 2. Click Configure … 3. Choose Automatic (DHCP). 4. Click Send to Device and wait for settings to be successfully sent to the unit. 5. Continue this for each unit so they are all set to DHCP IP addresses. 6. -
Page 16: Appendix D. Using A Smart Phone Or Tablet
Appendix D. Using a Smart Phone or Tablet 1. Download an App on your device that will allow the discovery of IP addresses on your Network. Suggested App: Fing 2. Connect to Launch Box Wi-Fi on device 3. Open the Fing App to find the IP address of the hydrophone(s) connected 4. -
Page 17: Appendix E. Technical Drawing
Appendix E. Technical Drawing July 2022 Launch Box User Guide P.16... -
Page 18: Appendix F. Gps Logs
Appendix F. GPS Logs The GPS logs are recorded in text files. The GPS is recorded in NMEA message structure. Example String: $GNRMC,173939.00,A,4520.72561,N,06318.54342,W,3.246,327.24,170722,,,A*6A Example $GNRMC 173939.00 4520.72561 06318.54342 3.246 327.24 170722 Field Global Navigation Satellite System (GNSS) Recommended Minimum specific GPS data 123654.00 Fix taken at 12:36:54 UTC Status A=active or V=Void.
Need help?
Do you have a question about the BL-B4-GPS-B and is the answer not in the manual?
Questions and answers