Table of Contents
Advertisement
Quick Links
Advertisement
Table of Contents

Related Manuals for Jason.L Quadro Loop 2P workstation


Summary of Contents for Jason.L Quadro Loop 2P workstation
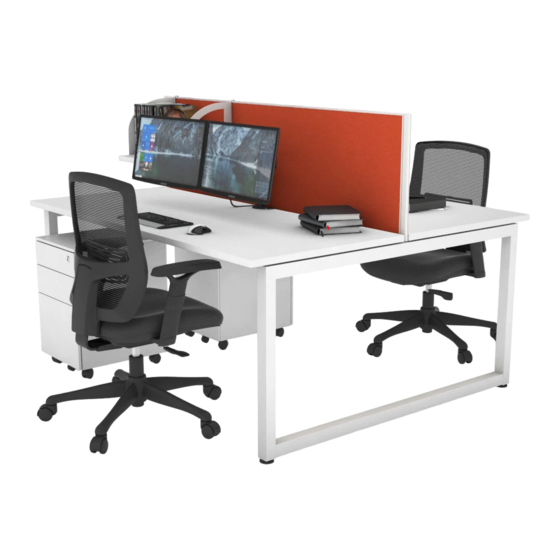
- Page 1 All manuals and user guides at all-guides.com www.jasonl.com.au ASSEMBLY INSTRUCTIONS Quadro Loop Need help! 2P workstation Call us on 1300 527 665 Sizes: 1200, 1400, 1600, 1800 mm Tools Required: Power screwdriver; Allen key set (provided) 2 persons required for installation Page 1 of 6...
- Page 2 All manuals and user guides at all-guides.com www.jasonl.com.au ASSEMBLY INSTRUCTIONS Quadro Loop Need help! 2P workstation Call us on 1300 527 665 Sizes: 1200, 1400, 1600, 1800 mm COMPONENTS Table top x2 Leg Quadro x2 Leg Quadro Loop x2 Beam x2 Plastic bracket x8 SCREWS M8x20MM CSK x4...
- Page 3 All manuals and user guides at all-guides.com www.jasonl.com.au ASSEMBLY INSTRUCTIONS Quadro Loop Need help! 2P workstation Call us on 1300 527 665 Sizes: 1200, 1400, 1600, 1800 mm STEP 02 STEP 01 Using Allen Key provided, attach 4 plastic brackets per leg (E) Using Allen Key provided, attach M8x20MM Socket head (G)- (as per picture above) using M6x20MM (H) Socket head screw.
- Page 4 All manuals and user guides at all-guides.com www.jasonl.com.au ASSEMBLY INSTRUCTIONS Quadro Loop Need help! 2P workstation Call us on 1300 527 665 Sizes: 1200, 1400, 1600, 1800 mm STEP 03 Adjust extendable beam (D) to desired length using markers and secure beam at that length using screws provided 2000 1900...
- Page 5 All manuals and user guides at all-guides.com www.jasonl.com.au ASSEMBLY INSTRUCTIONS Quadro Loop Need help! 2P workstation Call us on 1300 527 665 Sizes: 1200, 1400, 1600, 1800 mm STEP 05 STEP 04 TOP VIEW Attach beam (D) to legs (B) using nut insert in legs. Frame looks like this.
- Page 6 All manuals and user guides at all-guides.com www.jasonl.com.au ASSEMBLY INSTRUCTIONS Quadro Loop Need help! 2P workstation Call us on 1300 527 665 Sizes: 1200, 1400, 1600, 1800 mm TABLE TOPS BOTTOM VIEW STEP 06 nut insert nut insert nut insert nut insert Place desktops ontop of frame.
Need help?
Do you have a question about the Quadro Loop 2P workstation and is the answer not in the manual?
Questions and answers