
Subscribe to Our Youtube Channel
Related Manuals for HOMCOM A90-310


Summary of Contents for HOMCOM A90-310
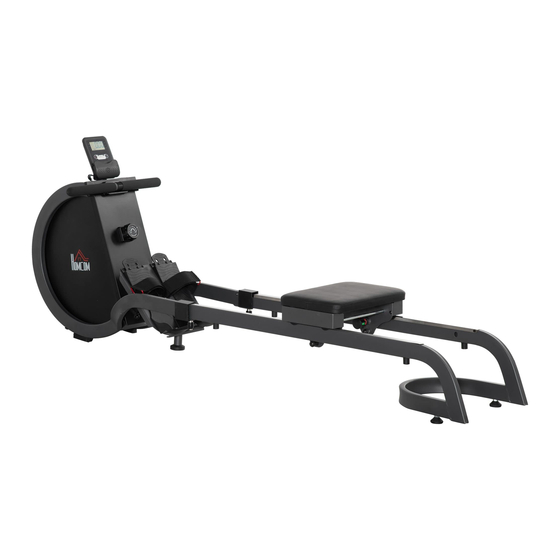
- Page 1 INapa018_UK A90-310 * Maximum user weight is 130 kg. IMPORTANT, RETAIN FOR FUTURE REFERENCE: READ CAREFULLY USING INSTRUCTION...
-
Page 5: Hardware Package
HARDWARE PACKAGE M10*20 2PCS M5*15 1PC φ20*18*M6 2PCS # 11 φ6*20*M5 2PCS # 12 φ20*18*M6 2PCS # 13 2PCS # 14 S13-15 1PC... - Page 6 ASSEMBLY INSTRUCTIONS Step 1: As shown on the left,note that the position of the elastic knob (# 8) is on the right, put the cushion assembly (# 3) into the slide rail assembly (# 2), and move the cushion assembly (# 3) to the slide rail assembly (# 2) At the tail notch, turn the elastic knob (# 8) to fix it to the slide rail assembly (# 2), and tighten the 2 buffer cushions (# 9) on the slide rail assembly (# φ20*18*M6...
- Page 7 Step 3: Connect the two wire terminals as shown in fig (# 7), place the spreadsheet assembly (# 6) on the main frame assembly (# 1), and lock them with a I-shaped knob M5 * 15 (# 5). M5*15 1PC Step 4: As shown on the left, buckle the two connection covers (# 13) onto the main frame assembly (# 1) from top to bottom, and then push it slightly to the direction of the slide rail assembly (#...
-
Page 8: Adjusting The Balance
ADJUSTING GUIDE ADJUSTING THE BALANCE Adjust the Ajustable Foot Lever on the Rear Stabilizer of the rower if the rower is unbalanced during use。 WARNING! It may crush or cut the body when moving parts such as cushions. Please do not touch the slide rail when using the machine. - Page 9 STORAGE Warning! When folding the machine table, please pay attention to fix the When not in use,you can cushion assembly (# 3) on the slide assembly (# 2) with the elastic knob (# fold up the machine to 8), then loosen and remove the two L- save space,and there is an shaped knobs (# 4), and then Remove adjustable foot pad...
-
Page 10: Exercise Computer
EXERCISE COMPUTER Our computerized display console on the Rowing Machine allows the user to tailor a person- alized workout by monitoring their progress. During a workout, the display console will alter- nately and repeatedly display your Time, Count, Calories Burned, Total Count, Distance, and Scan (all of the above).
Need help?
Do you have a question about the A90-310 and is the answer not in the manual?
Questions and answers