Summary of Contents for Tamarack Solar UNI-SP/01A
- Page 1 Installation Manual UNI-SP/01A Installation Manual 2021 Edition UNI-SP01A Manual v3 For model: UNI-SP/01A info@ tamaracksolar.com (800) 819-7236...
-
Page 2: Table Of Contents
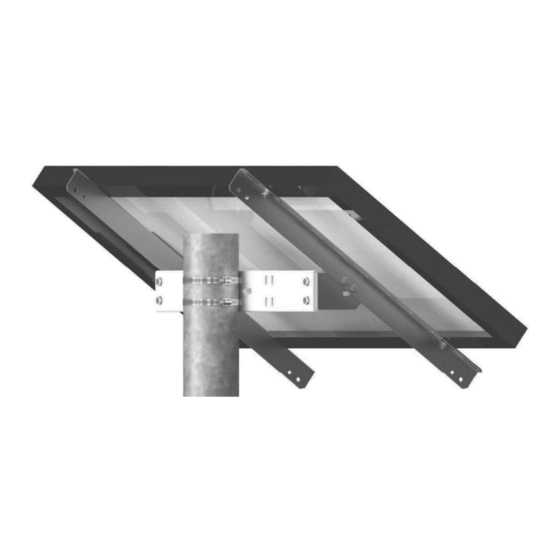
Warranty Information .............................8 Introduction The UNI-SP/01A Side of Pole Mount is a simple and universal pole mounting solution for PV modules with an area of less than 7 square feet. With its user-adjustable angle settings, the Side of Pole Mount can support installations in a wide range of locations. -
Page 3: Components List
Installation Manual UNI-SP/01A Components List : ITEM PART NUMBER DESCRIPTION 51-3517-200 Bucket, 25.5" 51-3517-243 Clip, Left End 51-3517-244 Clip, Right End 51-0527-000 Rail, 27.5" 23-2520-050 Bolt, 1/4-20 x .75" Stainless steel 25-2502-000 Washer, flat 1/4" Stainless steel 25-2501-000 Washer, lock 1/4" Stainless steel... -
Page 4: Step 1. Measure Pv Mounting Hole Distance
Installation Manual UNI-SP/01A Step 1: Measure PV Mounting Hole Distance A. Lay the module(s) face down on a protected surface in the suitable orientation. B. Measure the center to center distance between the inside mounting holes on the back of the PV module as shown and make a note of it. - Page 5 Installation Manual UNI-SP/01A support@tamaracksolar.com 1-800-819-7236 Ext 556 Page 4...
-
Page 6: Step 3. Attaching Clips To Rails
Installation Manual UNI-SP/01A Step 3: Attaching Clips to Rails A. Attach the clips to the rails as determined by the bucket range diagrams (shown in previous step). Example shown has the clips facing in on the inside of the rails that are facing out. -
Page 7: Step 4. Attaching Bucket To Pole
Installation Manual UNI-SP/01A Step 4: Attaching Bucket to Pole A. Un-screw the hose clamp to release the end and thread each hose clamp through one of the sets of narrow center holes in the bucket(s) as shown and SOLID SECTION place at the desired location on the pole. -
Page 8: Step 5. Mounting Pv Assembly On Pole
Installation Manual UNI-SP/01A Step 5. Mounting PV Assembly on Pole A. Place the PV module assembly so the holes on the clips line up with holes in the inside of the bucket. Depending on the size of the panel you started with, your assembly may look different than what is shown in the provided view, with the clips and rails facing in the opposite direction. -
Page 9: Installer Responsibility
The warranty does not cover any defect that has not been reported in writing to Tamarack Solar within ten (10) days after discovery of such defect. Furthermore, it does not cover units that have been altered, modified or repaired without written authorization from the manufacturer or its authorized representative, or units used in a manner or for a purpose other than that specified by the manufacturer.


Need help?
Do you have a question about the UNI-SP/01A and is the answer not in the manual?
Questions and answers