Advertisement
Table of Contents
- 1 Table of Contents
- 2 Technical Data
- 3 Introduction
- 4 Safety Information
- 5 Knowing Your Snow Thrower
- 6 Assembly and Adjustments
- 7 Snow Thrower Preparation
- 8 Operating Your Snow Thrower
- 9 Maintenance
- 10 Storage & Cleaning
- 11 Troubleshooting
- 12 Exploded View and Parts List
- 13 Two (2) Years Limited Warranty
- Download this manual
Advertisement
Table of Contents

Subscribe to Our Youtube Channel
Related Manuals for Powersmart DB7006


Summary of Contents for Powersmart DB7006
- Page 1 INSTRUCTION MANUAL EN 21-inch Single Stage Gas Snow Thrower Model # PSS1210M / DB7006 / PSSW21 Have product questions or need technical support? Please feel free to contact us! Website: www.PowerSmartUSA.com Toll free: 1-800-791-9458 Mon-Fri 9-5 EST Email: support@amerisuninc.com Website...
-
Page 3: Table Of Contents
Storage & Cleaning..................16 Troubleshooting....................17 Exploded view and parts list................18 Two (2) years limited warranty...............22 TECHNICAL DATA 21-inch Single Stage Gas Snow Thrower Model #: PSS1210M / DB7006 / PSSW21 Engine: 212cc Engine oil Capacity: 20 fl.oz Fuel Tank Capacity: 0.42 Gallon... -
Page 4: Introduction
INTRODUCTION ® Thank You for Purchasing a PowerSmart Product. This manual provides information regarding the safe operation and maintenance of this product. Every effort has been made to ensure the accuracy of the ® information in this manual. PowerSmart reserves the right to change this product and specifications at any time without prior notice. - Page 5 TRAINING Read, understand, and follow all instructions on the machine and in the manual(s) before attempting to assemble and operate. Keep this manual in a safe place for future and regular reference. • Be familiar with all controls and their proper operation. Know how to stop the machine and disengage them quickly.
- Page 6 • NEVER LEAVE YOUR RUNNING SNOW THROWER UNATTENDED. Stop the engine. • Do leave your Snow Thrower until it has come to a complete stop. • When stepping backwards, be cautious about any obstacles beneath your feet or behind you avoid falling.
- Page 7 • Do not operate machine while under the influence of alcohol or drugs. • Muffler and engine become hot and can cause a bum. Do not touch. Keep children away. • Exercise extreme caution when operating on or crossing gravel surfaces. Stay alert for hidden hazards or traffic.
- Page 8 • Never store the machine or fuel container inside where there is an open flame, spark or pilot light such as water heater, furnace, clothes dryer etc. • Always refer to the operator's manual for proper instructions on off-season storage. •...
-
Page 9: Knowing Your Snow Thrower
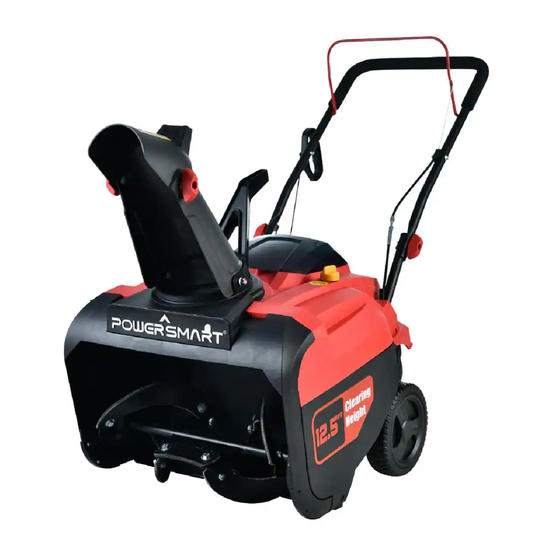
KNOWING YOUR SNOW THROWER Use the illustrations below to become familiar with the locations and functions of the various components and controls of this snow thrower. Auger Control Bar Oil Dipstick Upper handle Wheel Chute Rotation Handle Auger Discharge Chute Fuel Tank Cap Recoil Starter handle Primer Bulb... -
Page 10: Assembly And Adjustments
Unpack the snow thrower and all its parts, and compare against the list below. 1. Snow Thrower 2. Discharge Chute Assembly 3. 2 Wheels 4. 20oz 5W-30 oil only for model#DB7006 ASSEMBLY Your Snow Thrower will require some assembly. Please complete the following steps before using your Snow Thrower. - Page 11 Wheel cover Figure 2 Figure 1 Step 3 – Chute assembly Insert the chute and chute handle to the chute base, fix the chute to the base with bolts, then tighten the nut with a 13mm wrench. See figure 3. Note: Do not over-tighten the lock nuts.
-
Page 12: Snow Thrower Preparation
SNOW THROWER PREPARATION Step 1 - ADD OIL The snow thrower is shipped without oil. User must add the proper amount of oil before operating the snow blower for the first time. The oil capacity of the engine crankcase is 20 fl. oz. For general use, we recommend 5W, 4-stroke engine oil. -
Page 13: Operating Your Snow Thrower
OPERATING YOUR SNOW THROWER The following section describes steps to use your Snow Thrower for use. If after reading this section, you are unsure about how to perform any of the steps please call 1-800-791-9458 for customer service. Failure to perform these steps properly can damage your Snow Thrower or shorten its life. Review the SAFETY section in this manual before operating the engine and snow thrower. - Page 14 STARTING 1. Move the choke lever to START position (Right side). 2. Press the primer bulb 3 times. 3. Insert switch key into slot (Do not turn switch key). 4. Pull on the recoil starter handle slowly until a slight resistance is felt, then pull quickly to start the engine.
-
Page 15: Maintenance
MAINTENANCE WARNING! Never perform maintenance while your Snow Thrower is running. Turn OFF the engine before performing any maintenance tasks on your Snow Thrower. Proper maintenance of your Snow Thrower will help prolong its life. Please perform the following maintenance procedures as required. Do not attempt to repair your Snow Thrower unless you have the proper tools and instructions for disassembly and repair. -
Page 16: Storage & Cleaning
CHANGING/ADDING OIL Change the oil according to the Recommended Maintenance Schedule. Change the oil when the engine is warm. This will allow for complete drainage. Change oil more often if operating under heavy load. It is also necessary to drain the oil from the crankcase if it has become contaminated with water or dirt. The oil capacity of the engine is 20 fl.oz. -
Page 17: Troubleshooting
TROUBLESHOOTING Problem Causes Remedy WARNING - Before attempting to make any inspections, repairs or adjustments, stop the engine, wait for all moving parts to stop moving and carefully disconnect the engine spark plug wire. If tipping or turning the snow blower is required for any inspection or repair, first wait until the engine is cool to the touch and then drain the engine of all fuel and oil into suitable containers and store or dispose of in a proper manner. -
Page 18: Exploded View And Parts List
EXPLODED VIEW AND PARTS LIST... - Page 19 Item Stock# Description Item Stock# Description 303050066 Shaft ring 303030087 Deep groove ball 303100034 303030066 Bolt bearing 303070797 Welded bearing plate 203020336A Knob 302110092 Rubber blade 303042023 Flat washer 303020106 Bolt M8*20 203020380 Tooth pad 303042013 Flat washer 303020161 Bolt 302110091 Rubber blade 203050174...
- Page 20 ENGINE EXPLODED VIEW AND PARTS LIST...
- Page 21 Item Stock# Description Item Stock# Description Hexagon Head Flange Bolt 303020444 9129960701 Piston M6X12 9020960102 Breathing cover 9015960501 Connecting rod 9051960302 muffler pipe 9158960501 Camshaft assembly 9245960103 Cylinder Head Cover Gasket 303020508 Purge cock 303020382 Screw M6X12 303020518 Drain bolt 9143960101 Air lock nut 303043042...
-
Page 22: Two (2) Years Limited Warranty
Limited Warranty, you must return the entire power tool product; transportation prepaid, to PowerSmart Include a legible copy of the original receipt, which lists the date of purchase (month and year) and the name of the company purchased from.
Need help?
Do you have a question about the DB7006 and is the answer not in the manual?
Questions and answers